Building a Docker Container

Software Developer | Technical Writer | Actively helping users with their questions on Stack Overflow.
Docker is a software containerization platform, it allows developers to create, deploy and run applications inside a container. In docker, everything is about container, which can run on any operating system and will allow for applications to be seperated.
What Is Docker?
Docker is a software containerization platform, by using docker developers will be able to build, share and run applications with containers. Containerization is becoming very popular and that’s because containers are portable which enable them to run on any operating system, they are lightweight since containers share the host kernel thus are more efficient than virtual machines, also they are flexible which means any complex application can be containerized.
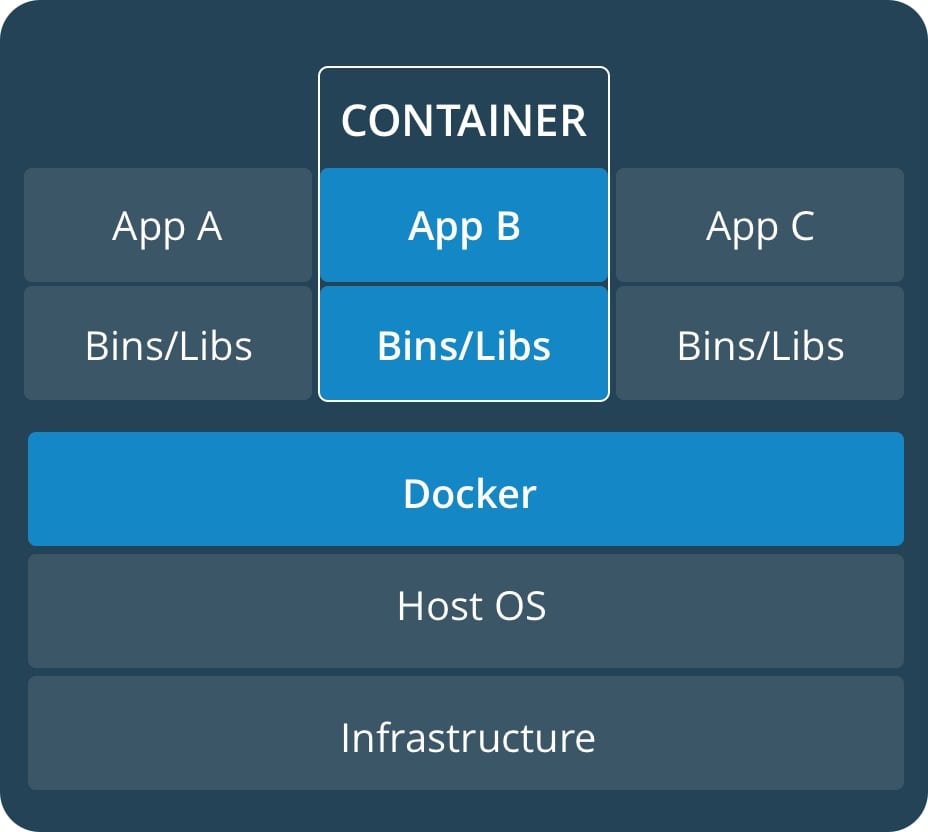
Docker is usually compared with virtual machine, you can see in the image below the difference between docker and VM:
 | 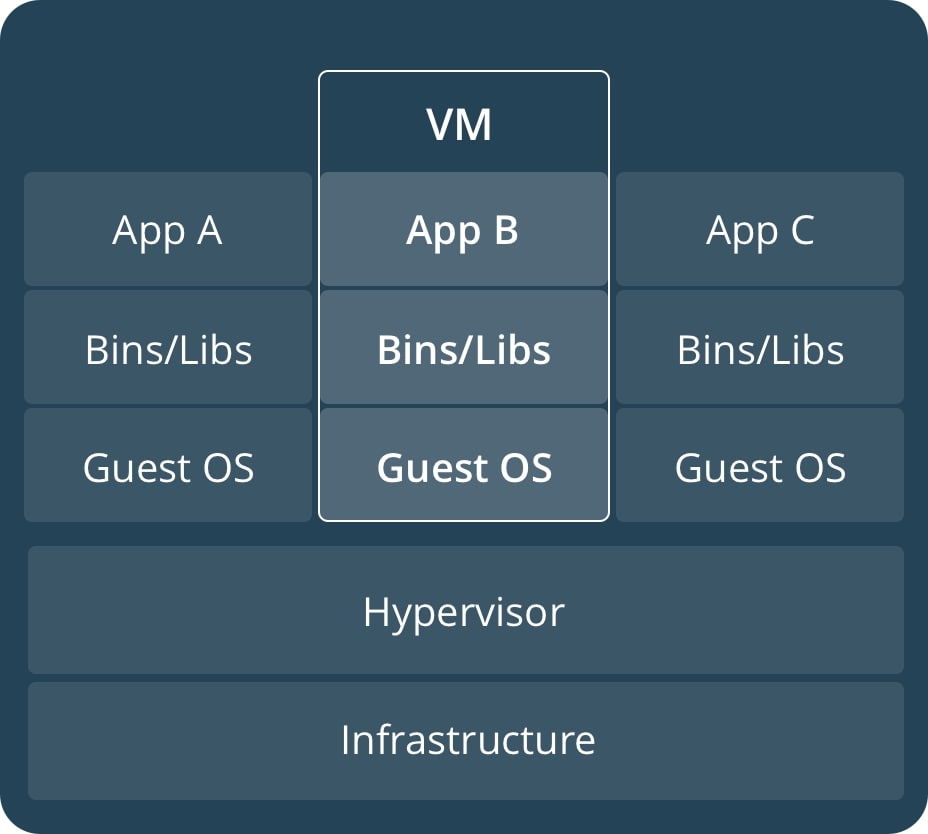 |
As you can see from the image above, in virtual machine it contains the host OS example linux, windows, mac, and then above that their is the hypervisor which can be the virtualBox or the VMware Workstation. Then above the hypervisor, you can see that each virtual machine contains a guest OS example windows, that has virtual access to the host resources, thus making it very heavy and can lead to slowness when using it. Ofcourse, each virtual machine will contain different application, and the necessary binaries and libraries.
While in docker, we also have a host OS but above that we have the docker engine. The docker engine comes with a prebuilt tiny operating system with it, and that OS will hold all the application as containers. Then, above the docker engine we can see that thier is no guest OS anymore, since docker is now taking care of that. Therefore, each container will contain applications, binaries/libraries and they share the kernel with other containers running as process on the host operating system. Each docker container, can run on any infrastructure and any computer.
What Is A Container?
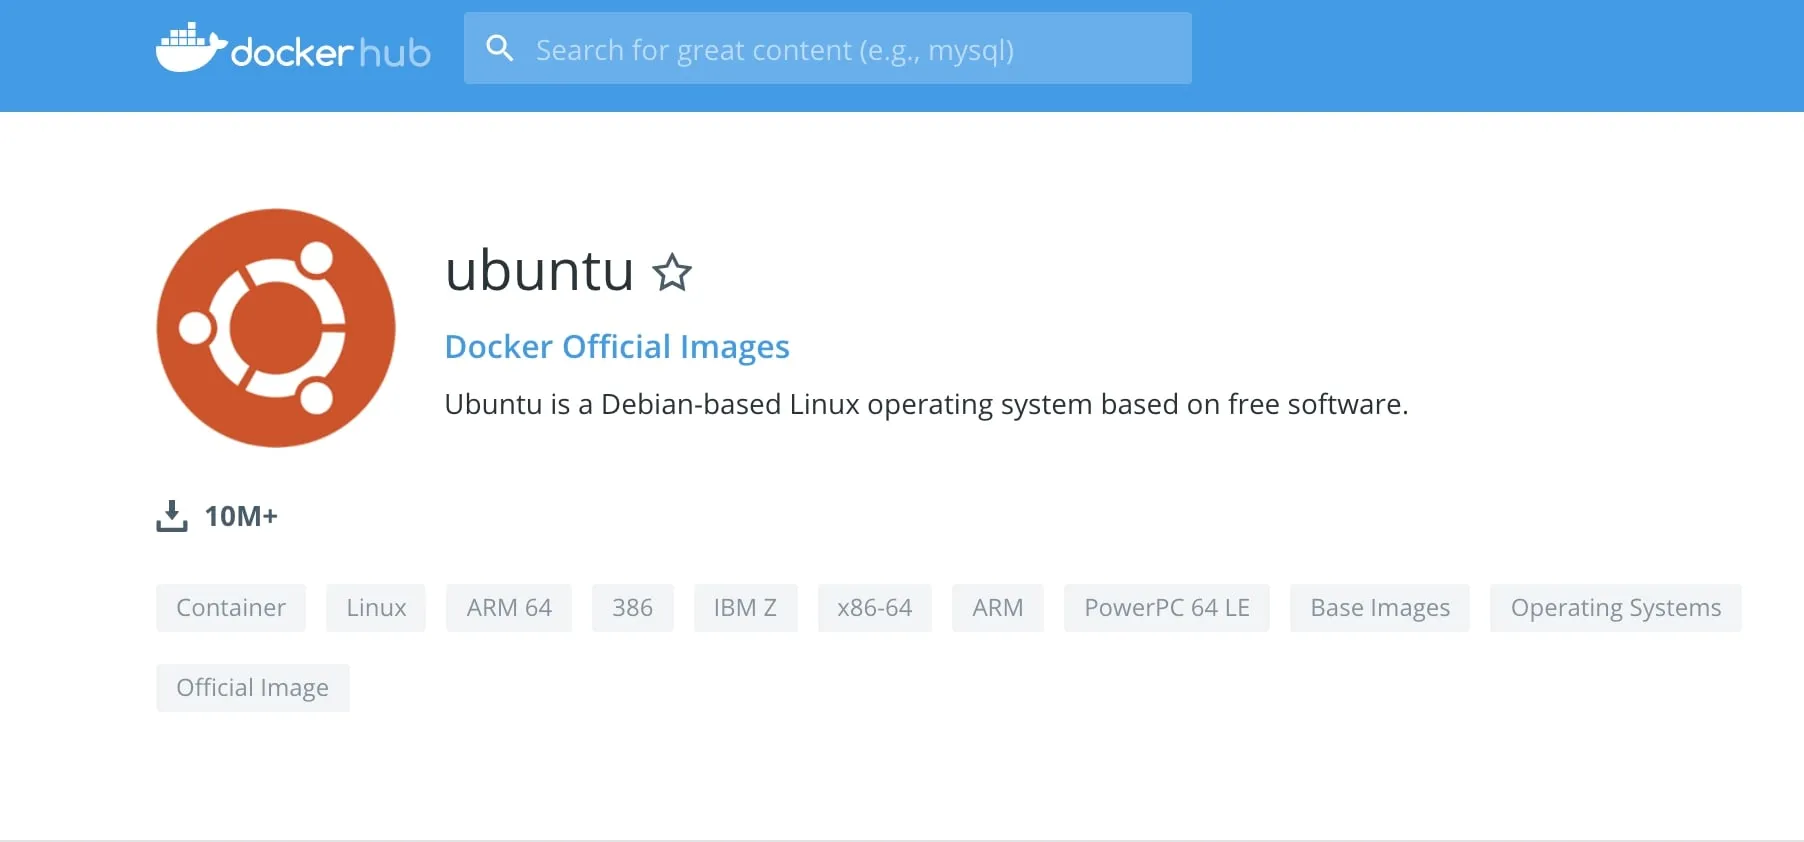
A container is an isolated, resource controlled and portable operating environment. Therefore, containers can be run without affecting the rest of the system. You can find all the containers at the docker hub. For example, you can find an ubuntu, node, or a postgres container and many other containers.
So basically each container is a regular process running on the host machine and each container uses the host’s kernel. Therefore containers, will have an operating system image, software that you build inside of it, dependencies to run the software and everything that is needed for the container to function correctly. The OS image will include everything to be able to run the container for example it will contain the filesystem and libraries but it will not contain a kernel and this why docker containers are efficient.
Therefore the docker images will contain the necessary filesystem and libraries, then when you run a docker image a container will be created that will run the applications.
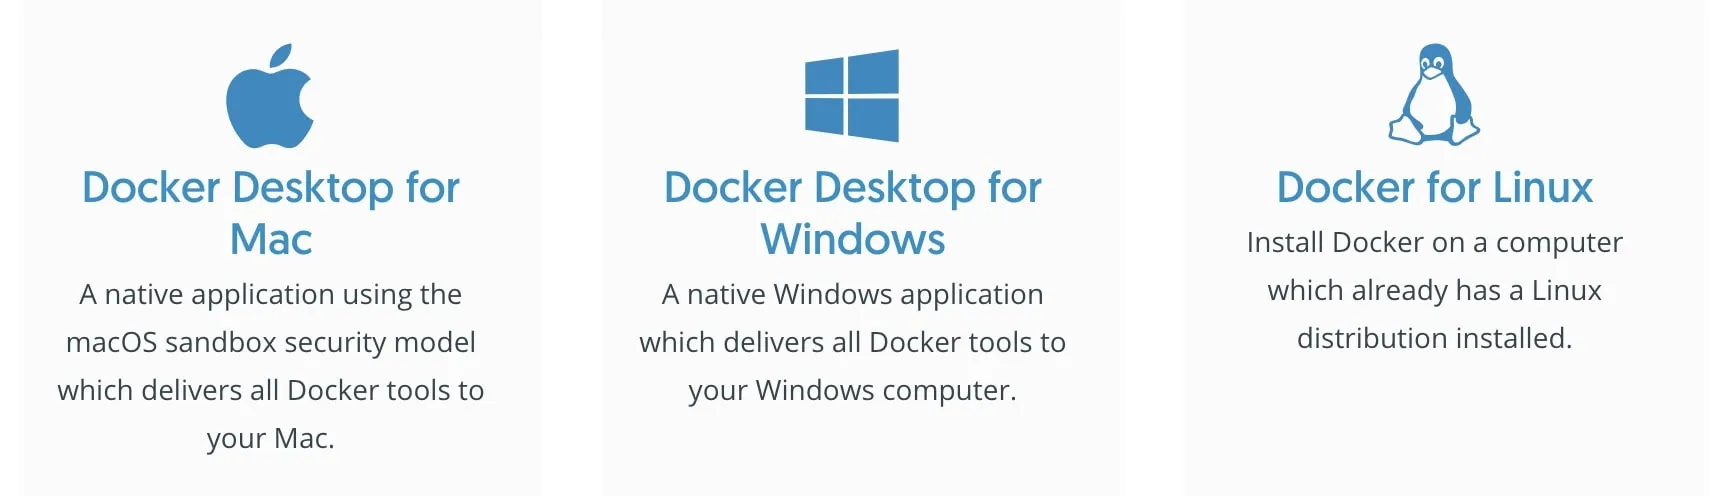
Installing Docker
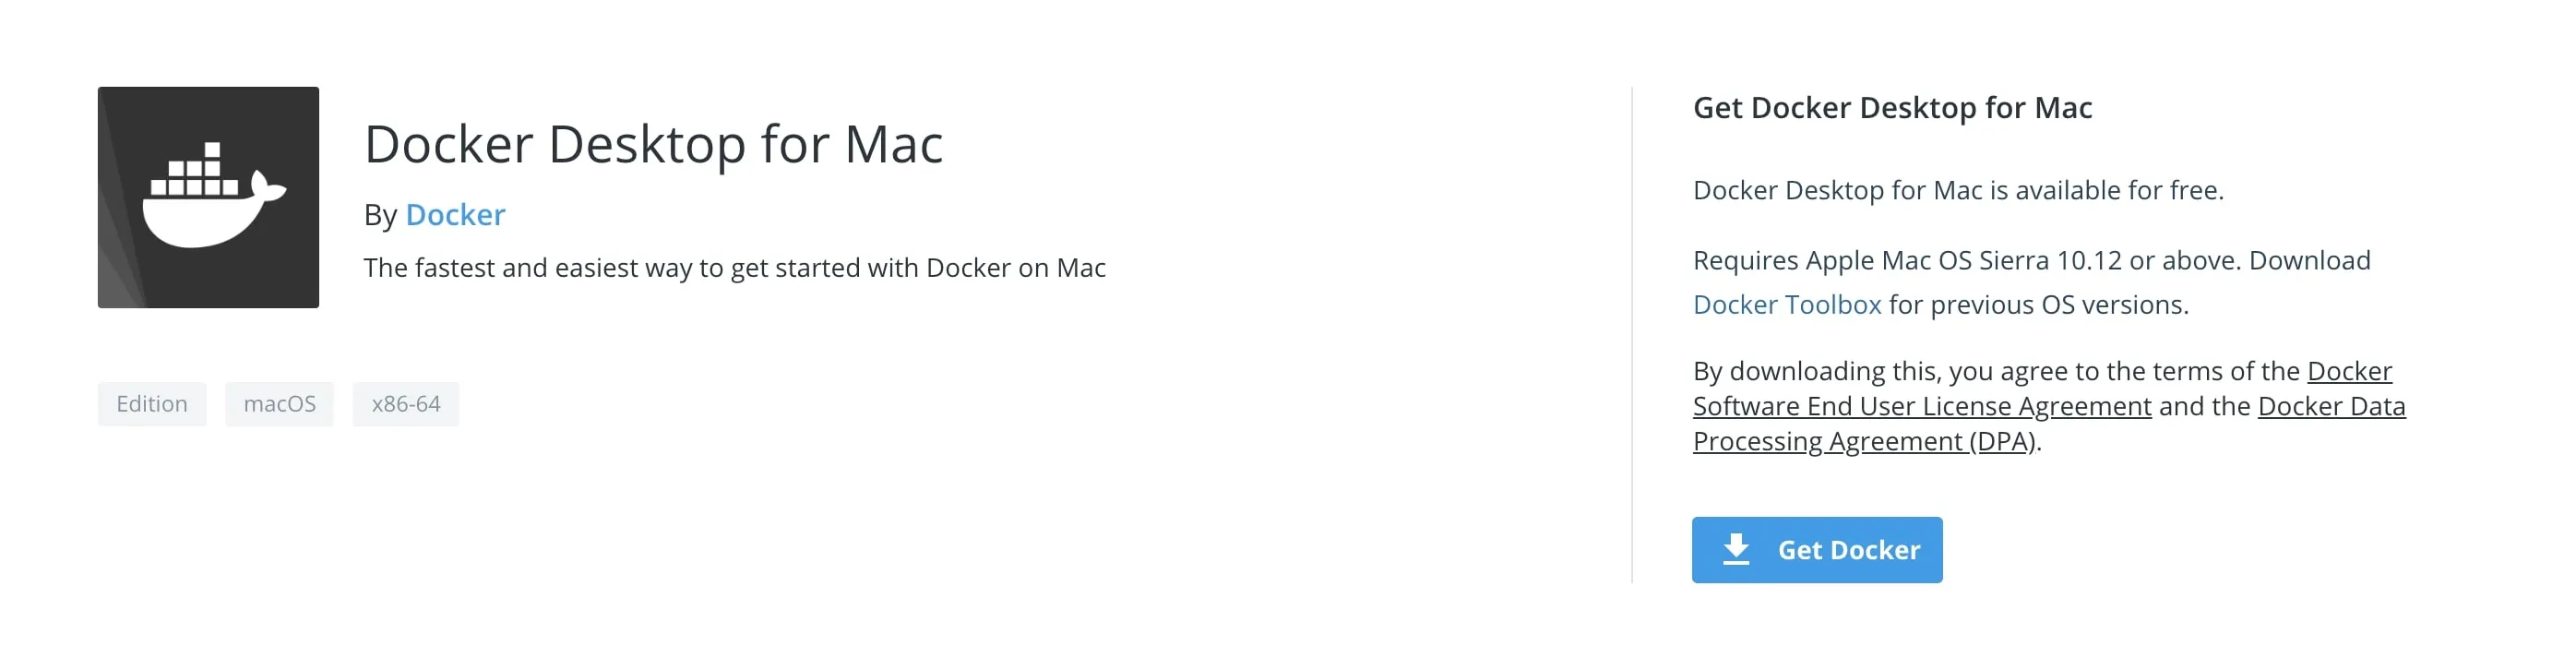
Docker can be installed in multiple platforms like Mac, Windows and Linux. Also docker offer different tools like docker hub which lets you publish your own containers, and docker compose which lets you run mult container docker applications. To install docker, first you need to navigate to docker’s website and then choose on which platform you want to download docker.
After that you need to create a docker account to be able to download docker from docker hub.

Then inside docker hub, you can download docker desktop for the specific platform that you are using, by clikcing on Get Docker. After downloading docker, you can use the Docker command line interface (CLI).
After successfully downloading docker, you will get the following window:
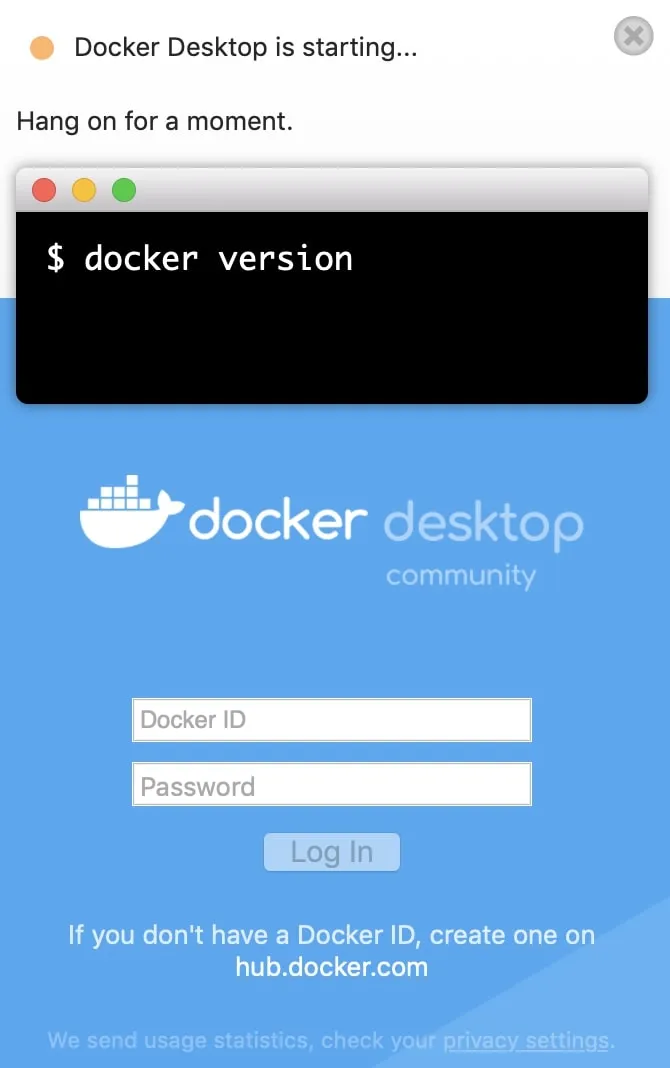
which means now you are able to execute docker commands on the terminal!
Working With Docker
To start using docker, first open the terminal or command line and then execute docker --help which will give you information about all the commands that you can use in docker.
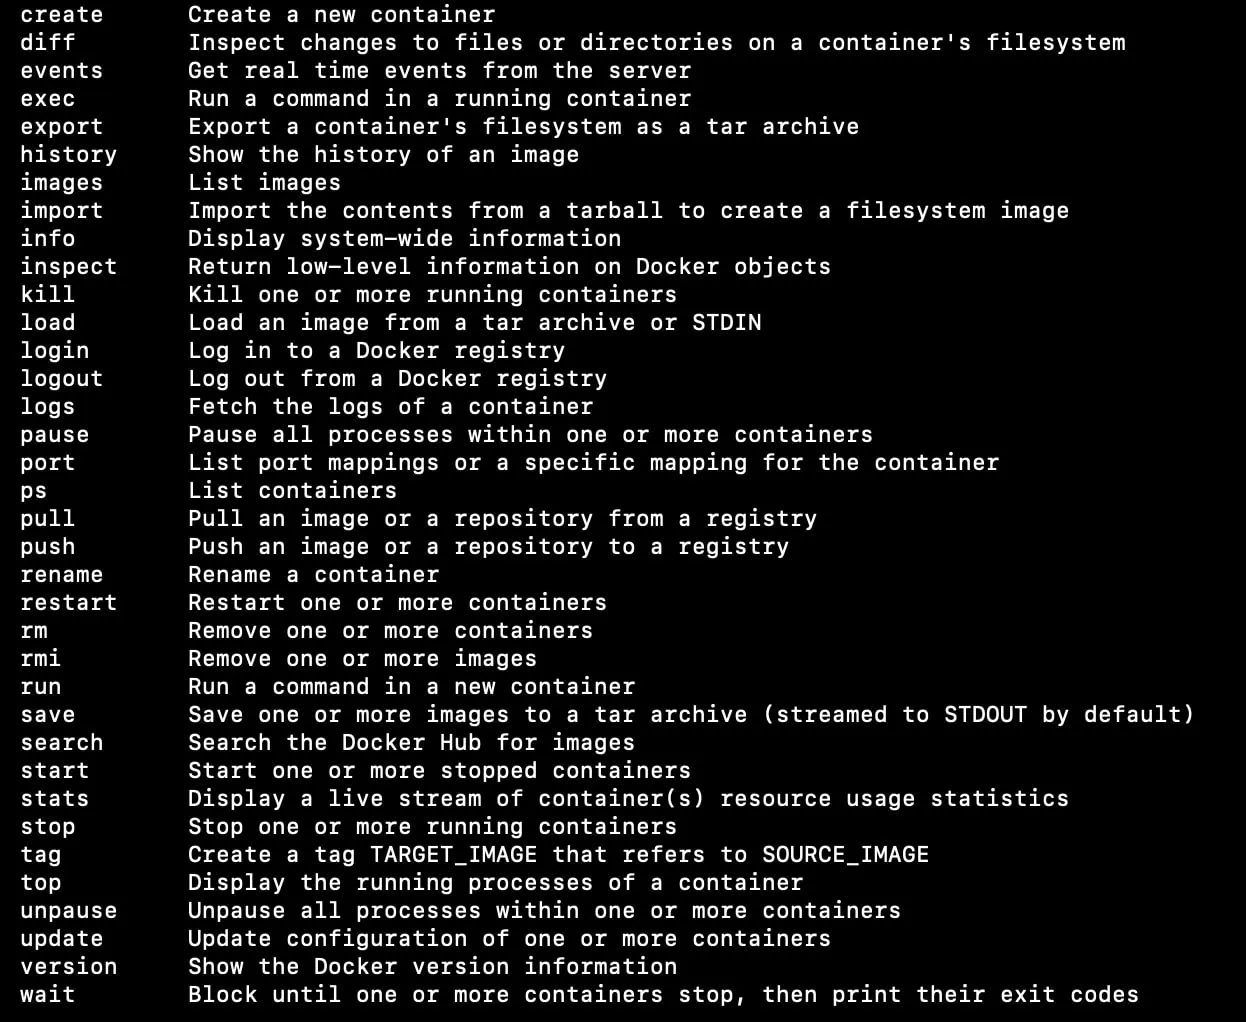
As you can see in the snapshot above, this is the output of the command docker --help. You can use this command whenever you want information about certain commands.
Other useful commands that we will try in the next section:
docker --version, which returns the version of the installed docker.docker create, which will let you to start creating your own container.docker pull, which you can use when you want to pull a container from docker hub.docker push, which is used if you want to push changes to docker hub.docker ps, will show all the process that are running inside docker.docker rm, which will remove the container from docker.docker stop, which will stop one or more running containers.docker start, which will start one or more stopped containers.
Now if you execute docker ps, you wont find any container running in your docker since nothing is installed yet.
Pulling A Docker Container
In docker you can use docker pull to get a container from docker hub, and you can also use docker push to push changes to the repository in docker hub. If you used git before, you will not have diffculties understanding the flow of docker container since it is similar to git.
So, first let us execute in the terminal the command docker pull ubuntu, which will download the ubuntu image inside docker. After successfully pulling the image, you can execute docker images to see the list of images in your docker environment:

As you can see ubuntu is now downloaded, and the size of this image is only 64 mb. Now, to start using ubuntu you need to execute the command docker run ubuntu, and to check if it is running or not, you can execute docker ps -a that will show you that a container is now running with ubuntu as an image.
Now, if we want to execute commands inside the ubuntu image, we can run the following command:
docker run -it ubuntuThe above command will create an interative shell (-it) so we can execute commands inside ubuntu.
root@e05a0a36b8e0:/# ps
  PID TTY          TIME CMD
    1 pts/0    00:00:00 bash
   10 pts/0    00:00:00 ps
root@e05a0a36b8e0:/# ls
bin  boot  dev  etc  home  lib  lib64  media  mnt  opt  proc  root  run  sbin  srv  sys  tmp  usr  var
root@e05a0a36b8e0:/bin# date
Fri Nov 29 13:30:12 UTC 2019
root@e05a0a36b8e0:/bin# exit
exit
As you can see, I’m logged in as a root user in ubuntu, and this e05a0a36b8e0 is the container id which you can use to stop the container later. Also now I am able to execute commands like ps and ls that will give me all the files available in this ubuntu container. To exit the interactive shell, you can use the command exit.
You can then execute the command docker logs <container id> which will give all the operation that were done in the interactive shell.
Building a Docker Container
In this section, we will create a Spring boot application, and then we will add a dockerfile to it so we can build it and push it to docker hub, so let’s get started!
Im not going to explain what is Spring and how to use it since this is not the purpose of this tutorial. But basically Spring enables you to create web applications, you can learn more about it in the offical website.
Aftering creating a Spring project in Intellij, add the following code to the Application.java file:
@SpringBootApplication
@RestController
public class Application {

	@RequestMapping("/")
	public String home() {
		return "Hello World";
	}

	public static void main(String[] args) {
		SpringApplication.run(Application.class, args);
	}

}
So basically here we declare that this is a Spring boot application, the @RestController annotation is used to create REST webservices. The @RequestMapping annotation will map/ to the method home(). The main() method uses Spring Boot’s SpringApplication.run() method to launch an application.
Now if we run the following command:
./mvnw package && java -jar target/spring-docker-0.1.0.jarit will create a jar file under target and run the Spring boot application, which can be accessed at http://localhost:8080.
Creating a Dockerfile
Dockerfile is a text document that contains all the commands a user could call on the command line to assemble an image. When you execute docker build, the command will build an image from the dockerfile.
Below are the most used commands:
FROM, specify the base image for building a new image, it should be at the top of the fileMAINTAINER, specify the author of this imageRUN, which is used to execute commands when building the imageADD, copies new files, directories or remote file URLs from<src>and adds them to the filesystem of the imageENV, sets the environment variableCMD [“executable”, “arg1”, “arg2”], which is used for executing commands when building a new container, which can be overridden by passing arguments indocker runENTRYPOINT [“executable”, “arg1”, “arg2”], allows you to configure a container that will run as an executable, which cannot be overridden.VOLUME, creates a directory mount point to access and store persistent dataCOPY, copies files and directories to the containerARG, defines a variable to pass to Docker at build-time
Now we create a file called Dockerfile in the spring boot application, and add the following:
FROM openjdk:8-jdk-alpine
LABEL maintainer="peter"
VOLUME /tmp
EXPOSE 8081
ARG JAR_FILE=target/spring-docker-0.1.0.jar
ADD ${JAR_FILE} spring-docker.jar
ENTRYPOINT ["java","-Djava.security.egd=file:/dev/./urandom","-jar","/spring-docker.jar"]
As you can see in the dockerfile, the openjdk:8-jdk-alpine is the base image, the LABEL will contain the mainter’s name. The VOLUME is the /tmp folder and in that folder data generated by the container will be persisted. The ARG define the variable JAR_FILE that will be equal to the path of the jar. The ADD command will add the jar into the container inside the /tmp folder. The EXPOSE command informs docker to listen to port 8081. The ENTRYPOINT will contain commands that are executed when inside a container, in this case we are using the java command that creates a jar file.
Now you can build the image by executing the following command:
docker build -t spring-docker .The option -t means we are tagging this image with the name spring-docker. Since im executing the command in the current project directory, then for the path I just add a . which represents current directory.
After building you can execute the command docker images, and you will get the following output:
REPOSITORY          TAG                 IMAGE ID            CREATED             SIZE
spring-docker       latest              ae129765036a        25 minutes ago      122MB
openjdk             8-jdk-alpine        a3562aa0b991        6 months ago        105MB
Now you have both the created image spring-docker and the base image openjdk. You can now run the docker image by executing the command:
docker run -p 8010:8081 spring-dockerThe option -p will enable you to specify on which port, now it will be running on http://localhost:8010.
Publishing the docker Image
After creating this docker image, we want to share it with other people. To perform that we need to publish the image to registry for example we will publish it to the docker hub.
First, we need to login to the docker hub. We can do that by executing the command docker login. Then we need to associate to a repository in the docker hub, to be able to do that we need to execute the following command:
docker tag spring-docker <docker-id>/spring-docker:0.0.1-SNAPSHOTThe docker tag will create a tag TARGET_IMAGE that refers to SOURCE_IMAGE. Here in the above command 0.0.1-snapshot is the tag and spring-docker is the repository which has the same name as the docker image.
Then we can publish the docker image to the docker hub by executing the following command:
docker push <docker-id>/spring-docker:0.0.1-SNAPSHOTNow the repository can be found in the following link:
https://hub.docker.com/repository/docker/1203953/spring-docker
Now, anyone can pull the docker image into their local machine by executing the command docker pull 1203953/spring-docker.
Adding Changes to Repository
Let’s say you changed the return statement in the code to Hello Universe, and you want to push those changes to the docker hub. First, you need to build the spring boot application locally by executing the following command:
./mvnw package && java -jar target/spring-docker-0.1.0.jarThis will create a new jar that contains the changes, then execute the following two commands one after the other:
docker build -t spring-docker .
docker run -p 8010:8081 spring-docker
and the application will be running on port 8010 and will output Hello Universe.
Finally, you need to execute docker tag to give the image a new tag and then push the new tag to docker hub:
docker tag spring-docker 1203953/spring-docker:0.1.1-SNAPSHOT
docker push 1203953/spring-docker:0.1.1-SNAPSHOT
Docker Compose
Docker compose is a tool for defining and running multi-container docker application. When you use compose, you can use a YAML file to configure the application services, then with one command you can create and start all the services from your configuration.
Thus, docker compose helps in start, stop and rebuilding the services, and it also helps in viewing the status and log of the running services. You can also use docker compose on the terminal. For example, you can execute docker-compose version which will give you the version of docker compose:
docker-compose version 1.24.1, build 4667896b
docker-py version: 3.7.3
CPython version: 3.6.8
OpenSSL version: OpenSSL 1.1.0j  20 Nov 2018
Also you can use the command docker-compose ps which will return lists of containers related to images declared in docker-compose file.
Let’s say we have a project that uses Django and PostgreSQL, we first create a dockerfile that will contain the commands to build the image. Then we add a docker-compose.yml file that describes the services used in this project. Since we are using both Django and PostgreSQL then we will have two services a web server and a database. For example, we can have the following docker-compose.yml file:
version: '3'

services:
  db:
    image: postgres
  web:
    build: .
    command: python manage.py runserver 0.0.0.0:8000
    volumes:
      - .:/code
    ports:
      - "8000:8000"
    depends_on:
      - db
So here we are using version 3 of docker compose file. The services block will contain the db and the web service. Inside the db block we declare that we will use the image postgres. Then inside the web block we assign the path . to the build, we declare the ports, and the commands that will be used in this service, and that this services depends on the db service.
Them to run the docker compose file, you can execute docker-compose up, and the command will create and start the containers.
You can find the full example for docker compose in this sample app.