Using Github Actions With Flutter

Software Developer | Technical Writer | Actively helping users with their questions on Stack Overflow.
In this article, we will see how to use Github Actions which is a continuous integration and continuous delivery tool with a Flutter Application.
What Is Github Actions?
Github Actions is an automation software that helps in continuous integration and continuous delivery. It enables the developer to automate many different tasks like building, testing, analyzing and deploying.
What is Continuous Integration (CI)?
Continuous Integration is a practice in which developers commit their code daily to the repository. Every commit is then automatically built which will make it easier to detect different errors that may occur from the commits.
What is Continuous Delivery (CD)?
Continuous Delivery is when the software is automatically built, tested and ready for production. Therefore, continuous delivery helps in automating the release process, the only manual thing that has to be done is deciding when the release should occur.
There are also other CI/CD tools like Jenkins, CircleCI and TravisCI but in this tutorial we will focus on Github Actions.
Explaining Workflow File
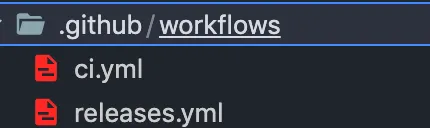
To use Github Actions in your Github repository, then first you need to create the directory .github/workflows:
Now inside the workflows folder, you need to create yml files or workflows that will contain different jobs which will be triggered in response to a specific event (ex. after executing git push). For example:
name: GitHub Actions Demo
on: [push]
jobs:
  Explore-GitHub-Actions:
    runs-on: ubuntu-latest
    steps:
      - run: echo "🎉 The job was automatically triggered by a ${{ github.event_name }} event."
      - run: echo "🐧 This job is now running on a ${{ runner.os }} server hosted by GitHub!"
      - run: echo "🔎 The name of your branch is ${{ github.ref }} and your repository is ${{ github.repository }}."
      - name: Check out repository code
        uses: actions/checkout@v2
      - run: echo "💡 The ${{ github.repository }} repository has been cloned to the runner."
      - run: echo "🖥️ The workflow is now ready to test your code on the runner."
      - name: List files in the repository
        run: |
          ls ${{ github.workspace }}
      - run: echo "🍏 This job's status is ${{ job.status }}."
So the above is a basic workflow file, which we will explain it before showing an example with Flutter:
-
name: This represents the name of this workflow file, that will be shown in the actions tab.
-
on: This will contain the name of the event that will trigger this workflow, or it can contain a list of events, for example in the above file whenever we do a
pushthis workflow file will be triggered. -
jobs: Each workflow run can contain one or more jobs. In the above example only one job is used.
-
Explore-GitHub-Actions: This is the job Id.
-
runs-on: Each job needs to run on a virtual machine (also called runners), in the above case we used
ubuntu-latest, but you can also usewindows-latestormacos-11. -
steps: Each job will contain multiple tasks called steps. A step can either be an action or a shell command.
-
run: This will run the command provided to it, for example in the above file we use
echo "🎉 The job was automatically triggered by a ${{ github.event_name }} eventthat will print the above statement to the log. -
name: The name here is optional, but it can be used to identify the command or action in the log.
-
uses: Selects an action to run as part of a step in your job, for example in the above file we used
actions/checkout@v2. This action will check-out our repository so our workflow file can access it. Actions are basically commands combined together. You can find different actions here.
Using Github Actions With Flutter
Assuming you have a Flutter application and you want to automate the building, analyzing, and testing phase. Then you can create the following workflow file under .github/workflows:
# This is a basic workflow to help you get started with Actions
name: CI

# Controls when the workflow will run
on:
  # Triggers the workflow on push or pull request events but only for the main branch
  push:
    branches: [master]
    paths-ignore:
      - '**/README.md'
  pull_request:
    branches: [master]

  # Allows you to run this workflow manually from the Actions tab
  workflow_dispatch:

  # A workflow run is made up of one or more jobs that can run sequentially or in parallel
jobs:
  # This workflow contains a single job called "build"
  build:
    name: flutter build
    # The type of runner that the job will run on
    runs-on: ubuntu-latest
    env:
      JAVA_VERSION: "11.0"
      FLUTTER_VERSION: "2.5.3"
    steps:
      - uses: actions/checkout@v2
      - uses: actions/setup-java@v1
        with:
          java-version: ${{env.JAVA_VERSION}}
      - uses: subosito/flutter-action@v2
        with:
          flutter-version: ${{env.FLUTTER_VERSION}}
      - run: flutter pub get
      - run: flutter analyze
      - run: flutter test
The above workflow will get triggered on every git push or pull request excluding changes on the README.md file. The workflow_dispatch will allow you to manually run this workflow on the Github UI. The job which has an id called build will run on the virtual machine ubuntu-latest and has a name called flutter build (name is optional).
Then we use the checkout action, that will check-out our repository so our workflow file can access it. Then we use the flutter action, which will set up a flutter environment to use in this action. So because we used this flutter action, we can run different flutter commands, like flutter pub get to get the packages, flutter analyze to check for lint issues and flutter test to run our tests.
Also to use the flutter action, you need to download the requested java version by using the actions/setup-java. The @v1 is the version of this action that is being used. Therefore now whenever you do a push this file will get triggered, you can check the logs under the Action tab of the repository, for example:
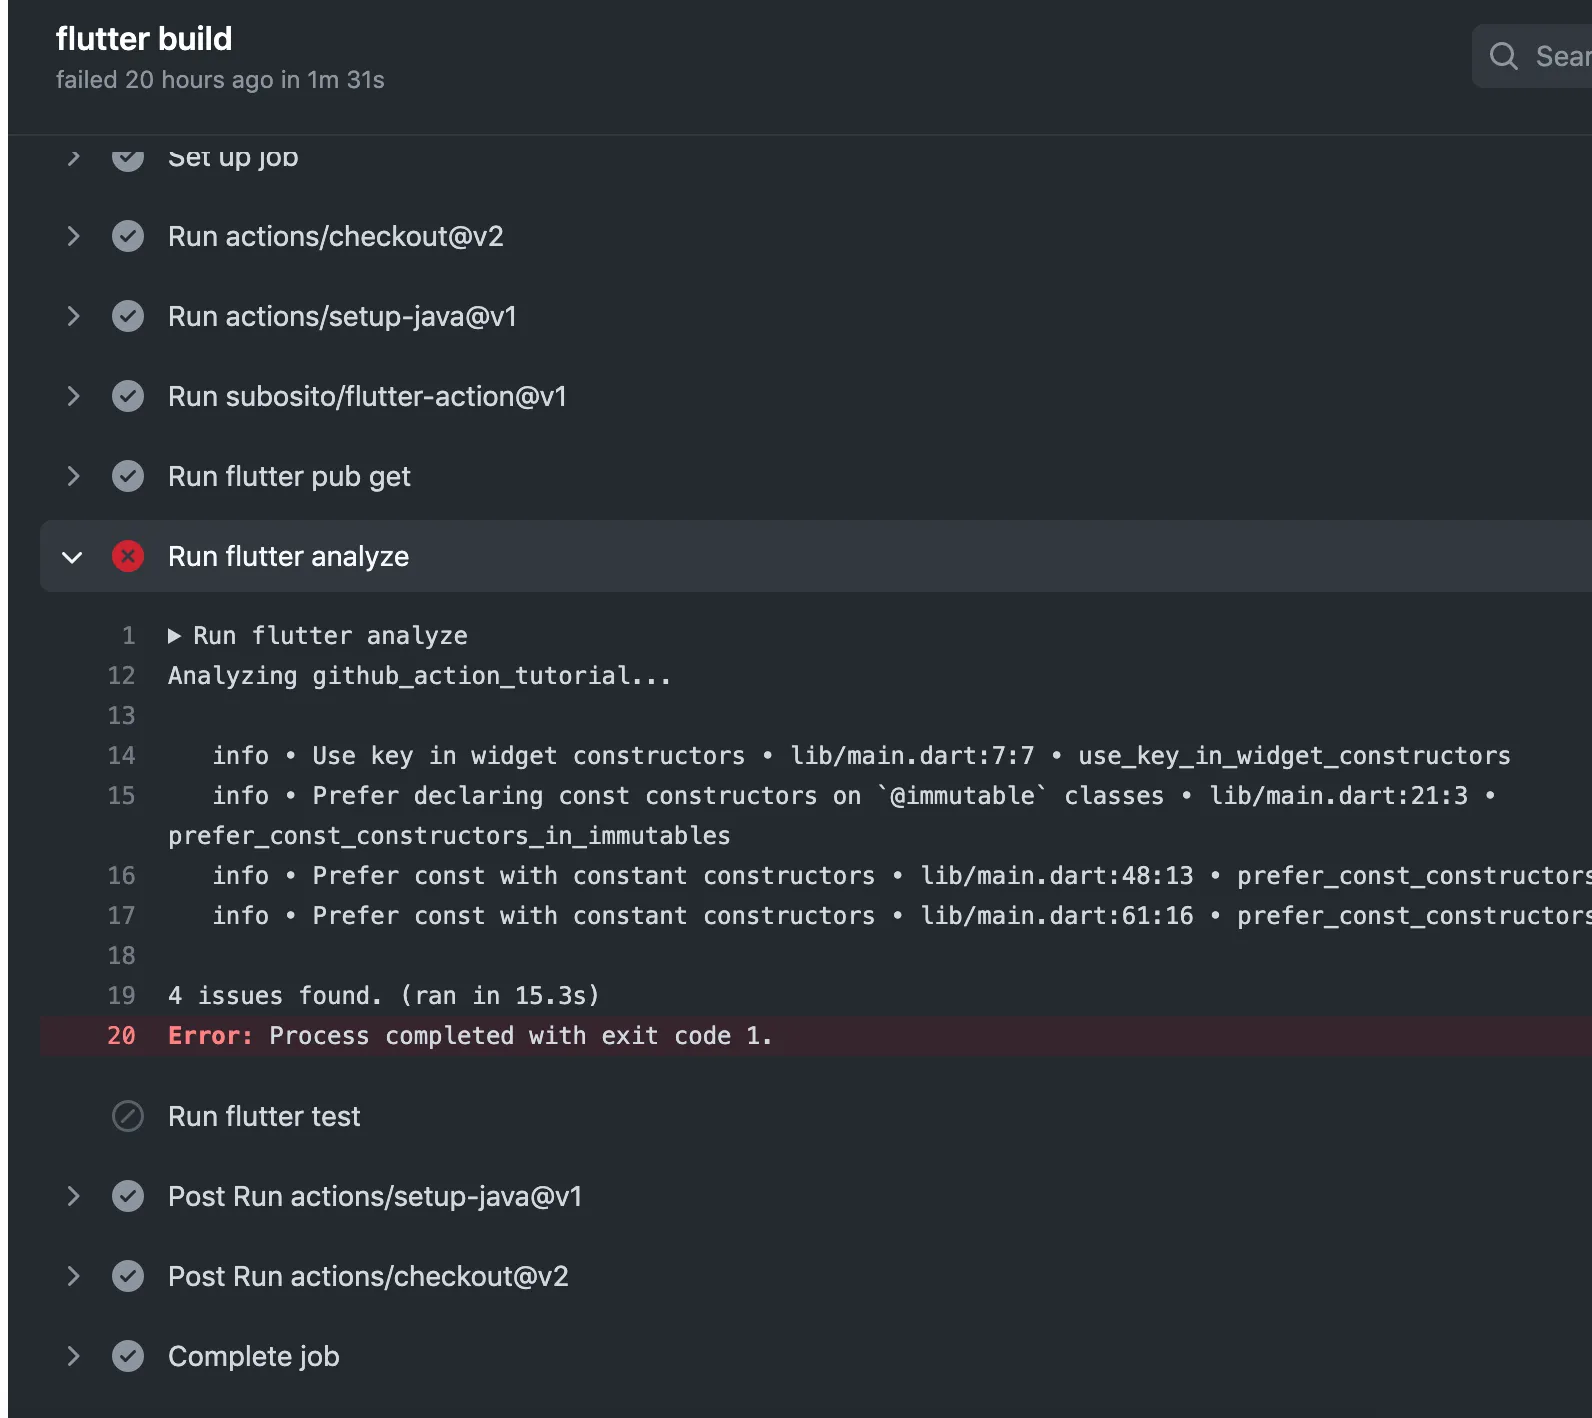
So here we get an error on the flutter analyze command, which we can then fix and execute git push again which will trigger this workflow file.
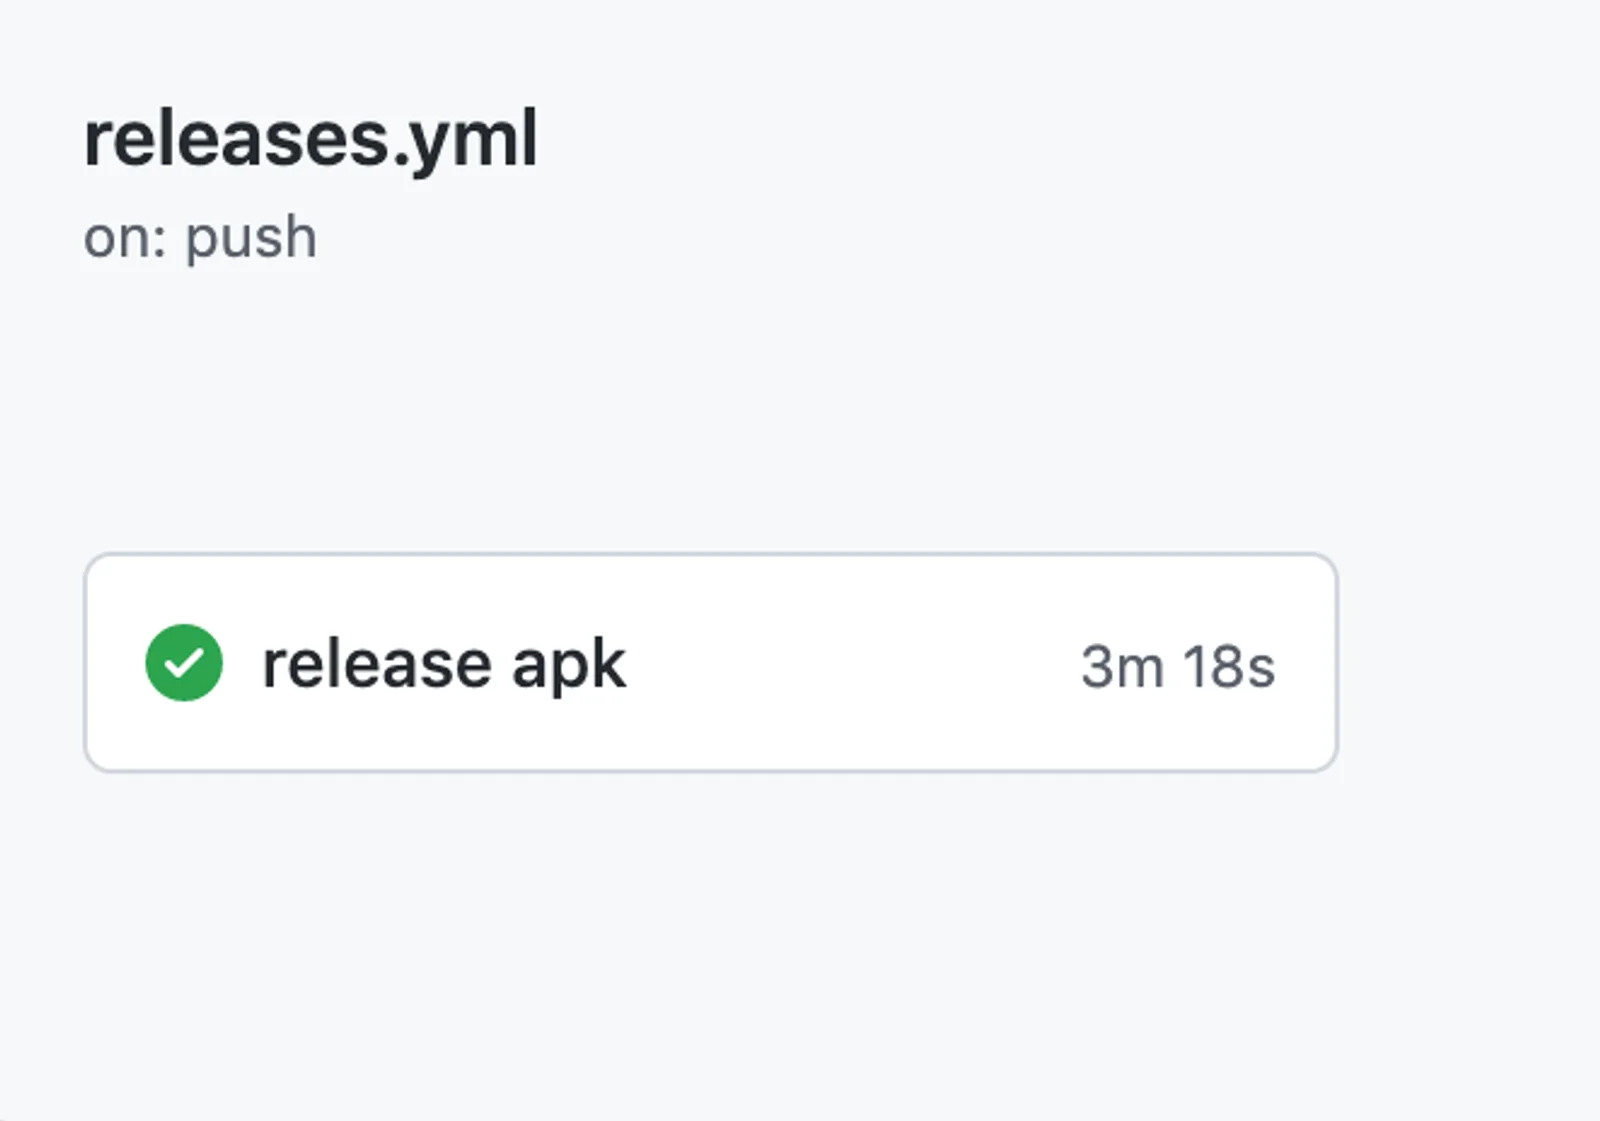
You can also create a different workflow file for deploying or releasing, for example:
# This is a basic workflow to help you get started with Actions
name: Releases

# Controls when the workflow will run
on:
  push:
  # Triggers the workflow on push or pull request events but only for the tagged
    tags:
    - '*'

  # A workflow run is made up of one or more jobs that can run sequentially or in parallel
jobs:
  # This workflow contains a single job called "build"
  releases:
    name: release apk
    # The type of runner that the job will run on
    runs-on: ubuntu-latest
    env:
      JAVA_VERSION: "11.0"
      FLUTTER_VERSION: "2.0.0"
    steps:
      - uses: actions/checkout@v2
      - uses: actions/setup-java@v1
        with:
          java-version: ${{env.JAVA_VERSION}}
      - uses: subosito/flutter-action@v1
        with:
          flutter-version: ${{env.FLUTTER_VERSION}}
      - run: flutter pub get
      - run: flutter analyze
      - run: flutter test
      - run: flutter build apk --release
      - uses: ncipollo/release-action@v2
        with:
         artifacts: "build/app/outputs/flutter-apk/*.apk"
         token: ${{ secrets.GITHUB_TOKEN }}
The above workflow will trigger whenever we create a tag (Tags are used to label and mark a specific commit in the history, for example a version release) and push it to the remote repository. So here we also use the same flutter-action as the previous workflow file, but we also use the release-action and provide it the path toward the generated apk. The release-action will add the apk under the release tab in Github.
I hope you enjoyed reading this github action/flutter tutorial, please feel free to leave any comments or feedback on this post!