What Does Jenkins Do?

Software Developer | Technical Writer | Actively helping users with their questions on Stack Overflow.
Jenkins is an open source automation software that helps in continuous integration and continuous delivery. In this tutorial, I will show you how to download jenkins and use a gradle project inside of it.
What is Jenkins?
Jenkins is an open source server that will automate alot of tasks like building, testing and deploying software. Teams that do not use Jenkins have to wait for Person A in the team to commit his code, so Person B can take the update from the repository and manually build the project to verify the build.
Jenkins using CI will eliminate the above step, thus making it faster to produce production software.
What is Continuous Integration (CI)?
Continuous Integration is a practice in which developers commit their code daily to the repository. Every commit is then automatically built which will make it easier to detect different errors that may occur from the commits.
What is Continuous Delivery (CD)?
Continuous Delivery is when the software is automatically built, tested and ready for production. Therefore, continuous delivery helps in automating the release process, the only manual thing that has to be done is deciding when the release should occur.
An image illustrating both CI and CD:
 Image from Atlassian
Hopefully this will give you a good idea about what continuous integration and continuous delivery. In the next section we will get started with using Jenkins where I will show you how to download, install and configure it!
Installing And Configuring Jenkins
First you need to download Jenkins, to be able to download it navigate to the page Jenkins Download, and then choose on which platform you want to download it.
After downloading it, it will run on http://localhost:8080/, and you will get the following screen:

Then navigate to the link and retrieve the password to be able to unlock Jenkins. Aftering unlocking Jenkins, you need to click on Install suggested Plugins and Jenkins will automatically install plugins like Ant, Gradle, Git, Subversion, etc…
Then you need to create an admin user by filling the following fields:

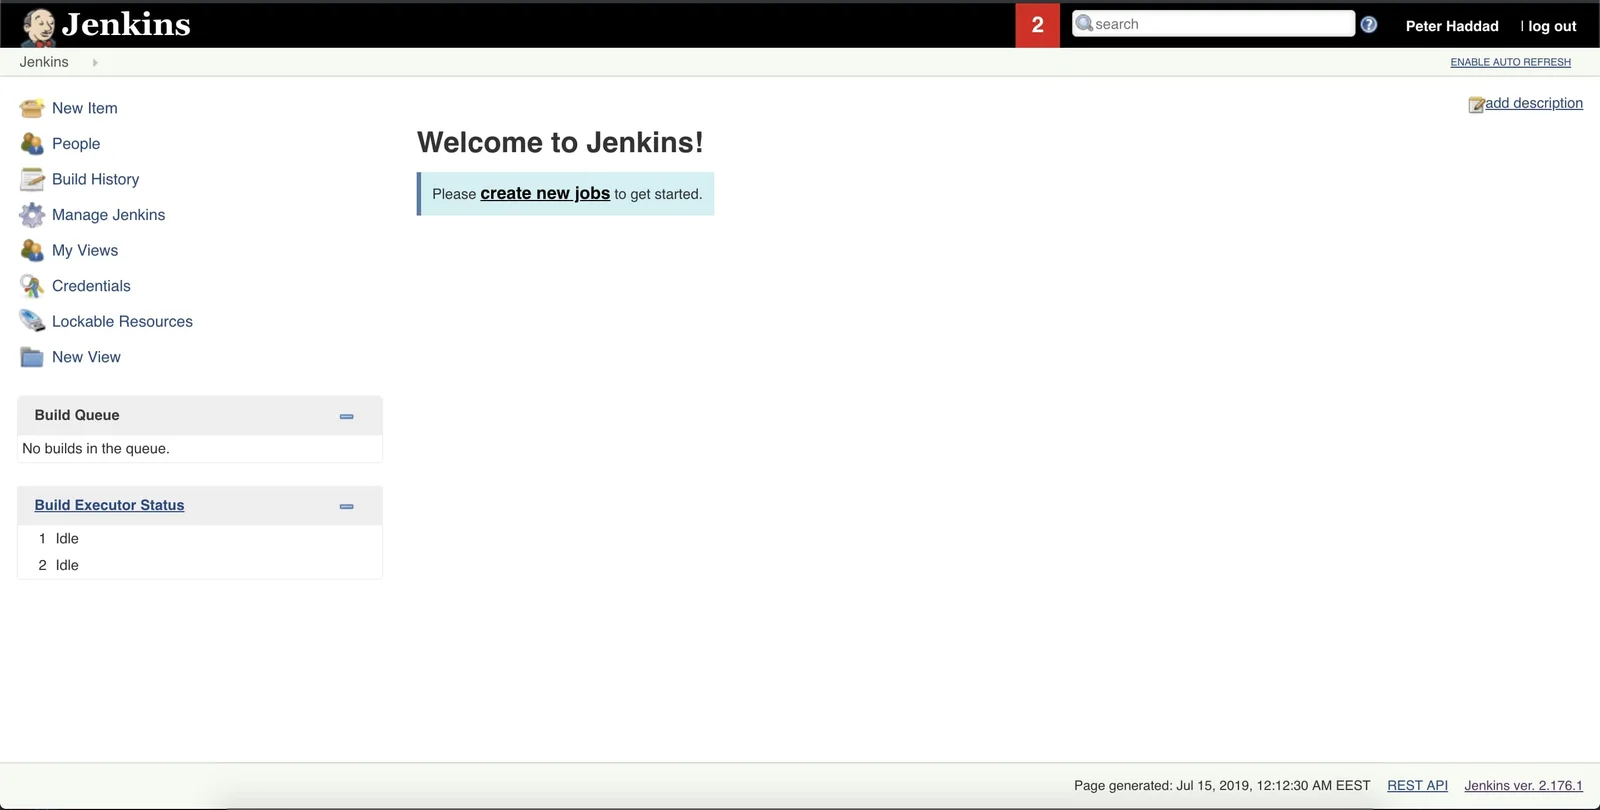
After adding information for admin user, you will reach the home page of Jenkins:

Now you have a Jenkins server running but with no project, in the following sections we will add new users, roles and a freestyle gradle project to Jenkins.
Creating New Users
To be able to create a new user in the jenkin server, first you need to login using the admin user, then click on Manage Jenkins and then click on Manage Users. There you can see all the users in this jenkins server and you can create a new user by clicking on Create User.

Then add the information of the user, click on Create User, and you will have a new user in the jenkin server!
You can also configure the new user. You can do that by first logging in to jenkins using the new user created, click on the arrow next to the user’s name, and then click on configure. You will get the following screen:

Here, you can change the name, email, and password of the user created.
In the next section, we will see how to assign roles to the different users in the jenkins server.
Create And Manage User Roles
Every user in the jenkins server should have a different role, therefore we need to assign different roles for each user. Therefore, first we need to navigate to manage jenkins then click on manage plugins and download the plugin Role-based Authorization Strategy which will help us in creating global roles, such as admin, job creator, anonymous, etc. After installing it, navigate to configure global security and check Role-Based Strategy to enable it.

You can now assign roles, first login using the admin account. Then navigate to manage jenkins > manage and assign roles. You will see three options, first one is to manage current roles and second one is to assign roles to users.
In the manage role, their are three types of roles. The global role provide roles on a global level, you can also add different role inside the global role. The second type is the project role, in this case the role is only applied on a project. Also you can set a regular expression pattern for matching items, so if you have a project that starts with test and in the regular expression you added test.* then if a user has that role they can only access the projects that start with test. As you can see in the image below, I added different roles and for the project role I created a developer role with pattern dev.*.

Then you can click on apply and save. To assign these roles to specific users, you need to click on the option Assign Roles in the previous page. In that page, you can choose either one user or a group and assign them the roles that you created. That’s how you can manage and assign roles, in the next section we will add a new gradle project to jenkins.
FreeStyle Project
Adding a Gradle Project
First, you need to install the git plugin and the gradle plugin to be able to use your repository and the gradle build scripts. To install them click on Manage Jenkins and then click on Global Tool Configuration and add the plugins. But, since you already used Install suggested Plugins when setting up Jenkins then those plugins will already be installed.
Then click on Please create a new jobs to get started, enter a name for the project, choose freestyle project and press OK.

After that, navigate to the Source Code Management and click on Git to add your repository to Jenkins.

Building the Project
To be able to build the project in gradle, we need to configure the build steps. First click on the project then click on Configure and then navigate to the Build tab. After clicking on Add build step, choose the invoke gradle script option since this is a gradle option.
Then choose the radio button Gradle wrapper so we can use the gradle version used in this project, and inside the task field write build so we can invoke the build gradle task.

Now we can build the project by clicking on the Build Now button on the left side menu. We can then check the console output to see the logs:

Jenkins Build Trigger
Build trigger will let you start a job that can be automatically done once a specified event occurs, example scheduling a job that gets triggers when there are changes in the repository.

So, to be able to build according to changes in the repository you can use the Poll SCM option that will check the repository for changes and automatically build a new version. For example we can specify that we can Jenkins to check for changes in the repository every 15 minutes by adding the following to the schedule field:
H/15 * * * *You can check the syntax of the schedule field by clicking on the help icon:
This field follows the syntax of cron (with minor differences). Specifically, each line consists of 5 fields separated by TAB or whitespace:
- MINUTE HOUR DOM MONTH DOW
- MINUTE Minutes within the hour (0–59)
- HOUR The hour of the day (0–23)
- DOM The day of the month (1–31)
- MONTH The month (1–12) DOW The day of the week (0–7) where 0 and 7 are Sunday.
That’s it for this tutorial, in the next tutorial I will expand more on devops and other stuff we can do using jenkins. I hope you enjoyed reading this jenkins tutorial, please feel free to leave any comments or feedback on this post!
Sending Emails
After every build, you can send an email to notify the employees that have access on this project of the build result. To configure the email first you need to go to manage jenkins then click on configure system and enable e-mail notification. Then inside the field SMTP server add smtp.gmail.com to be able to use gmail to recieve the email notifications.

Also if you are using gmail then dont forget to change the port to 465 and to enable authentication and use ssl as in the image above.
Now you can navigate to any jenkins project, click on the post build action and choose email notification.

Then the recipient will recieve an email related to the build.
I hope you enjoyed reading this jenkins tutorial, please feel free to leave any comments or feedback on this post!