What Is Jenkins Pipeline?

Software Developer | Technical Writer | Actively helping users with their questions on Stack Overflow.
Jenkins pipeline is a group of events or jobs that are linked with each other in sequence.
Creating a Jenkins Pipeline Project
Pipeline project will enable you to use groovy code to implement the project’s entire build/test/deploy and you can put that code inside the jenkinsfile (more on that later).
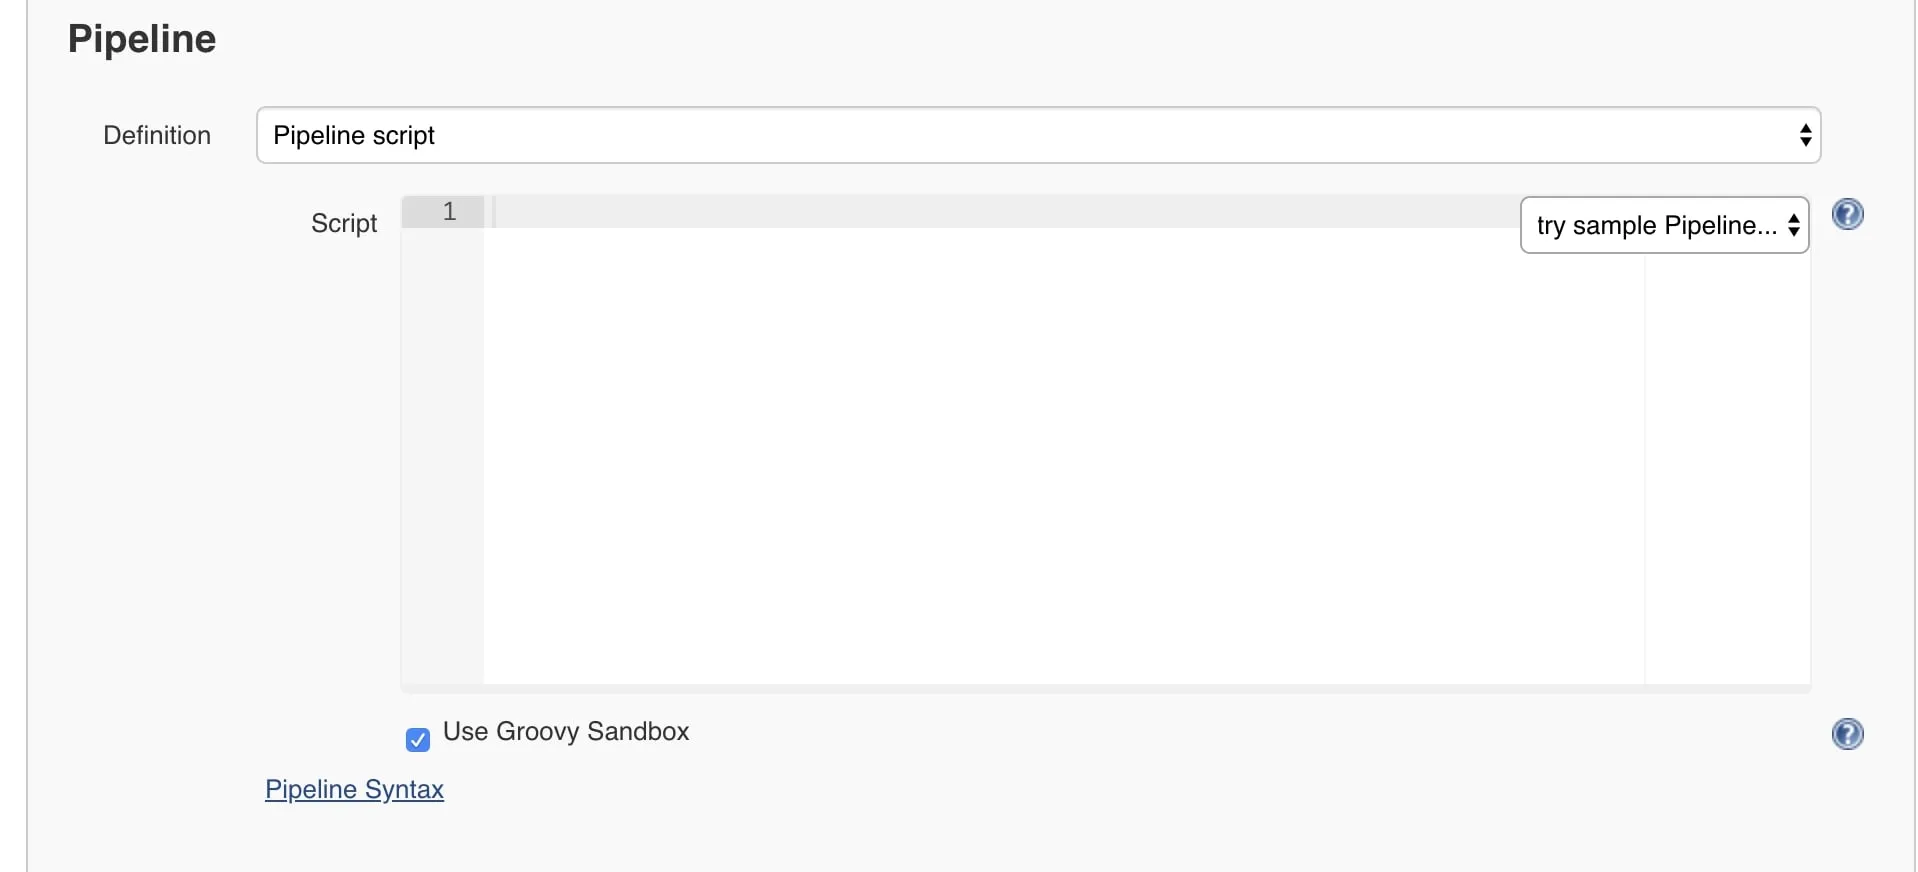
So, first we create a new item, give the project a name and choose pipeline project. Then navigate to the configure screen, you will notice that in the pipeline project there is no build or post build action. A pipeline project is different from freestyle project, now you have to use the groovy DSL to perform the build/test/deploy.
Adding Groovy Code
First click on pipeline syntax, that will open a new page, so you can choose the sample steps and it will automatically generate the code. Example, if you choose git then you can connect the pipeline project to a github repository.
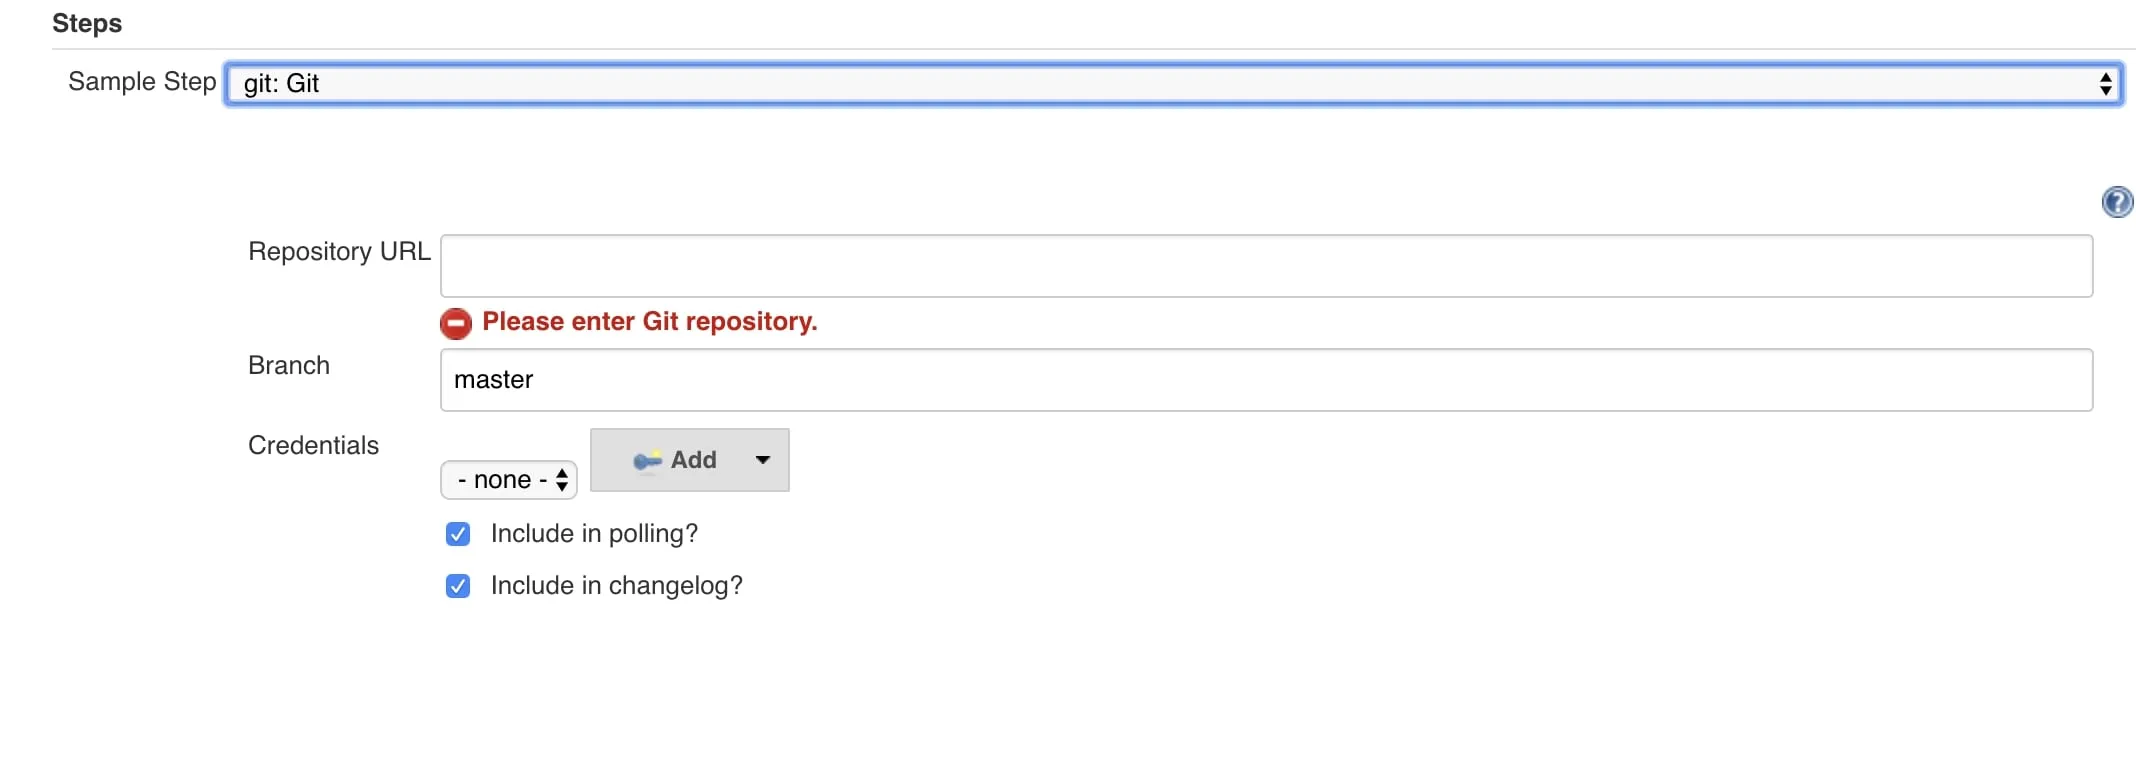
After clicking generate pipeline script, the code will be generated which you can copy and paste it in your pipeline script. This is a very simple “script”, in the other sections I will elaborate more about the syntax.
What is Jenkinsfile?
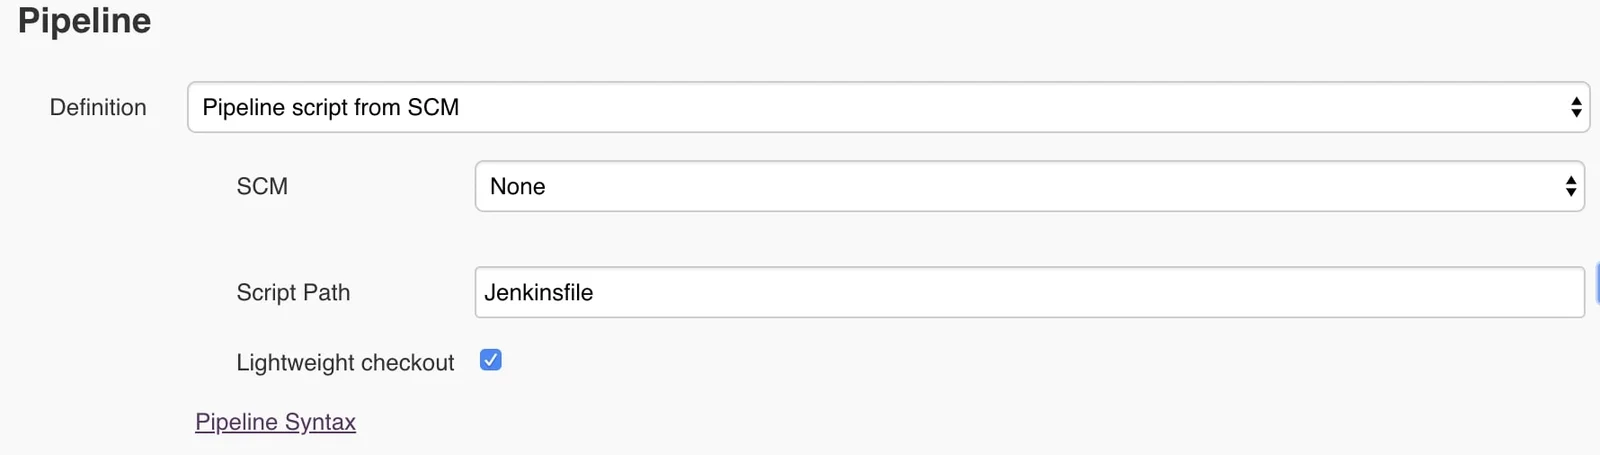
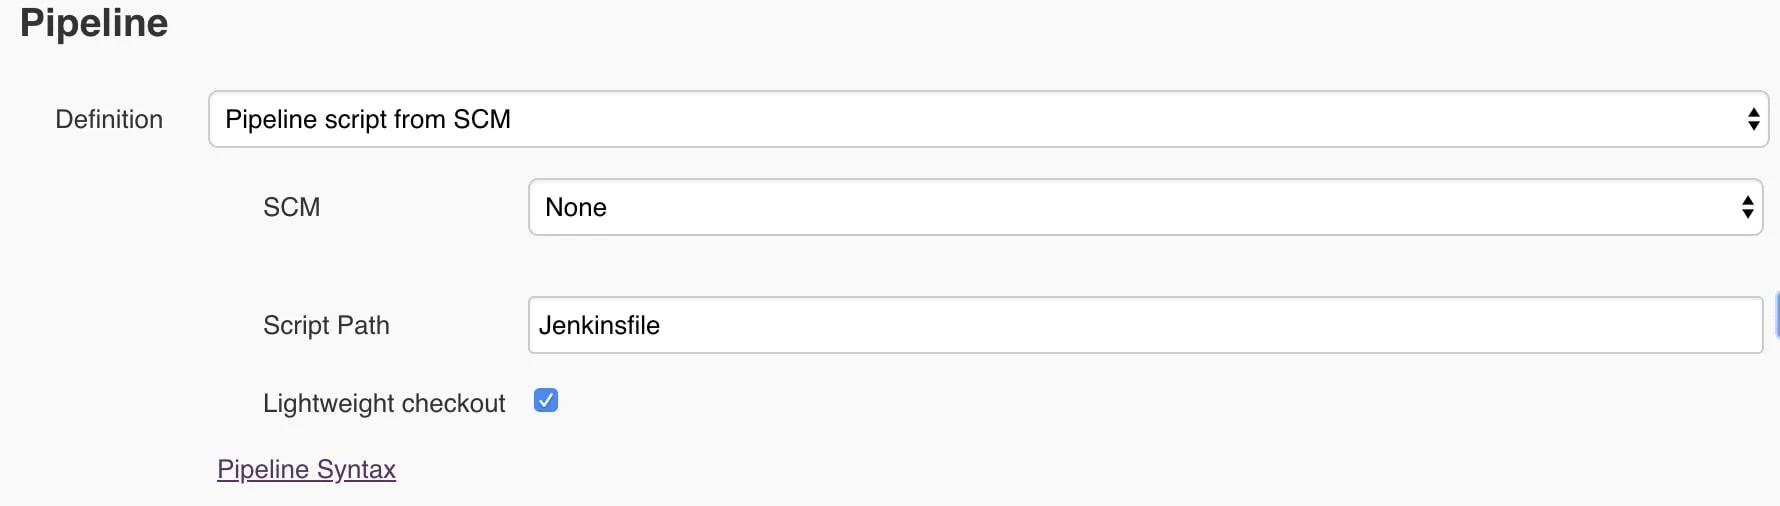
A jenkinsfile is a text file that will contain the groovy code for the jenkins pipeline. The jenkinsfile should be in the root directory of your git repository or subversion. In the configure screen of your pipeline project, you can use the code written in the jenkinsfile by selecting pipeline script from scm, which will search for the jenkinsfile in the path provided.
Pipeline Syntax
The groovy code that is written in the jenkinsfile or in the pipeline script in the configuration page, can be written in two different syntax:
- Declarative Pipeline
- Scripted Pipeline
Scripted Pipeline
Scripted Pipeline was the first way of writing code in jenkins. It is a general purpose DSL built with Groovy. Therefore it uses stricter groovy syntax. Currently, it is recommended to use the declarative pipeline.
Declarative Pipeline
Declarative pipeline is a new addition to jenkins, it is made to simplify the way of writing the groovy code. It contains different predefined blocks that can be used in the jenkinsfile. First, every declarative pipeline must start with the pipeline block:
pipeline {
    /* insert Declarative Pipeline here */
}
A node block declares on which machine jenkins is going to be executed, used in the scripted pipeline:
 node('linux') {
    sh "make"
}
There are also other important sections, such as agent, any, none, label:
Agent:
Agent can run multiple builds, by doing that it allows you to execute multiple projects on one jenkins server.
Any:
Any will run or execute the pipeline/stage on any available agent.
Example:
pipeline {
    agent any
}
Label:
Executes the jenkins pipeline on an agent with a label. Example
agent {
    label 'my-label'
}
Stages:
Stages will contain different stage in a pipeline and each stage will have a different task to perform. The stages section can contain more than one stage. For Example:
pipeline {
	agent any
	stages {
		stage ('build') {

		}
		stage ('test') {

		}
		stage ('verify') {

		}
		stage ('deploy') {

		}
	}
}
Steps:
The last section that is required is called steps. They are used inside the stage section and can perform various commands. Example:
pipeline {
   agent any
   stage('first') {
       steps {
           echo "Hello world"
        }
   }
}
As you can see the stage('first) will contain a steps block with the echo command that will print Hello world.
Jenkinsfile In a Project
Now, that we know a bit how to use declarative pipeline syntax. Let’s create a project and a jenkinsfile inside that project. I will use the following code:
pipeline {
         agent any
         stages {
            stage('prepare') {
                steps {
                    echo 'preparing the build'
                }
            }
                stage('input') {
                    input {
                        message "Should we continue?"
                        ok "Yes, we should."
                        submitter "peter"
                        parameters {
                            string(name: 'PERSON', defaultValue: 'name', description: 'Who should I say hello to?')
                        }
                    }
                steps {
                    echo "Hello, ${PERSON}, nice to meet you."
                    }
                }
                stage('Example Deploy') {
                    when {
                        branch 'production'
                    }
                    steps {
                        echo 'Deploying'
                    }
                }
            }
    }
First, since I used agent any then the pipeline will run on any available agent.
Then in the prepare stage, the echo command will execute. In the input stage, I declare an input directive, that contains a message which will be presented to the user, an optional text for the ok button and the submitter name. I also use the parameters directive that provides a list of parameters which a user should provide when triggering the Pipeline.
In the last stage, I use the when directive which allows the Pipeline to determine whether the stage should be executed depending on the given condition.
I also use the branch built in condition which execute the stage when the branch being built matches the branch pattern.
Executing the Jenkinsfile
After adding the jenkins file to the git repository, you can navigate to the configure page and choose pipeline script from scm. Then you can build the project, and you will see the following output in the stage view section:
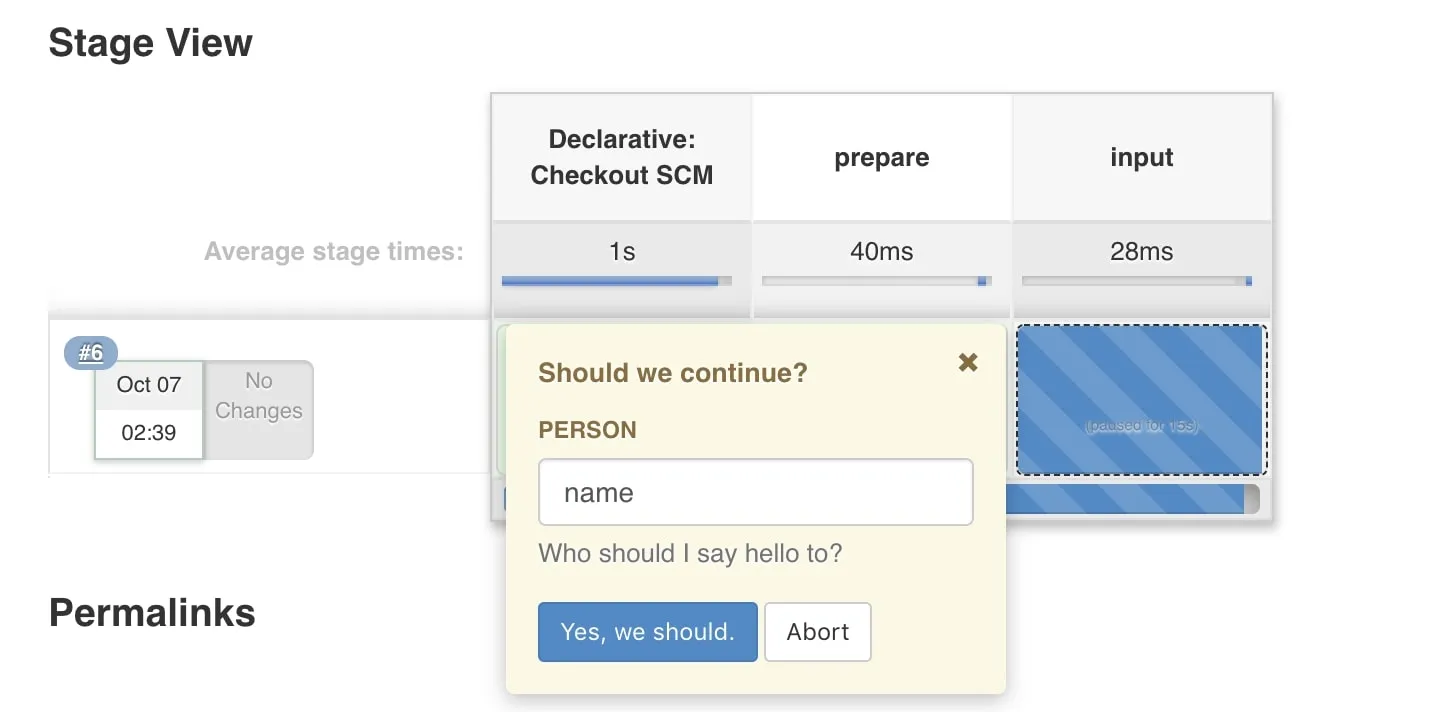
As you can see the first stage("prepare") was a success, and now in the stage("input") you were asked to add your name inside the field as specified in the declarative pipeline in the jenkinsfile.
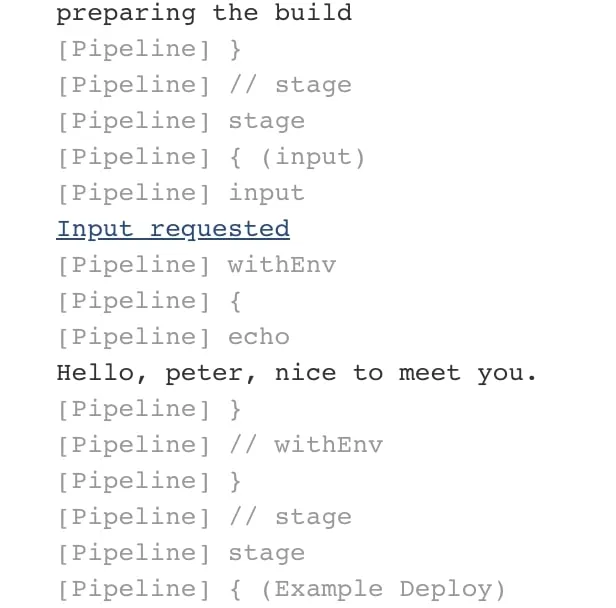
Also in the console ouput, you can see the echo output:
I hope you enjoyed reading this jenkins tutorial, please feel free to leave any comments or feedback on this post!