Blue Ocean In Jenkins

Software Developer | Technical Writer | Actively helping users with their questions on Stack Overflow.

Blue Ocean for Jenkins was created to make it easier for teams to use Jenkins. When using blue ocean you can visualize the jobs getting executed and personalize it, so it can suit every member in a team. Blue Ocean contains many dependent plugins and all of those plugins will form the blue ocean suite of plugins.
Download Blue Ocean
First, to get started in using blue ocean, we need to download it. We can do that by entering our jenkin instance and clicking on manage jenkins then manage plugins and searching for blue ocean in the available plugins.

Then click the checkbox and download the blue ocean plugin and restart Jenkins to be able to use blue ocean. After restarting Jenkins, a new button called “open blue ocean” will be displayed.
When clicking on the button, you will navigate to a new screen with more modern user interface. One of the goals of blue ocean is to completely replace the old Jenkins UI. This is the dashboard in blue ocean:
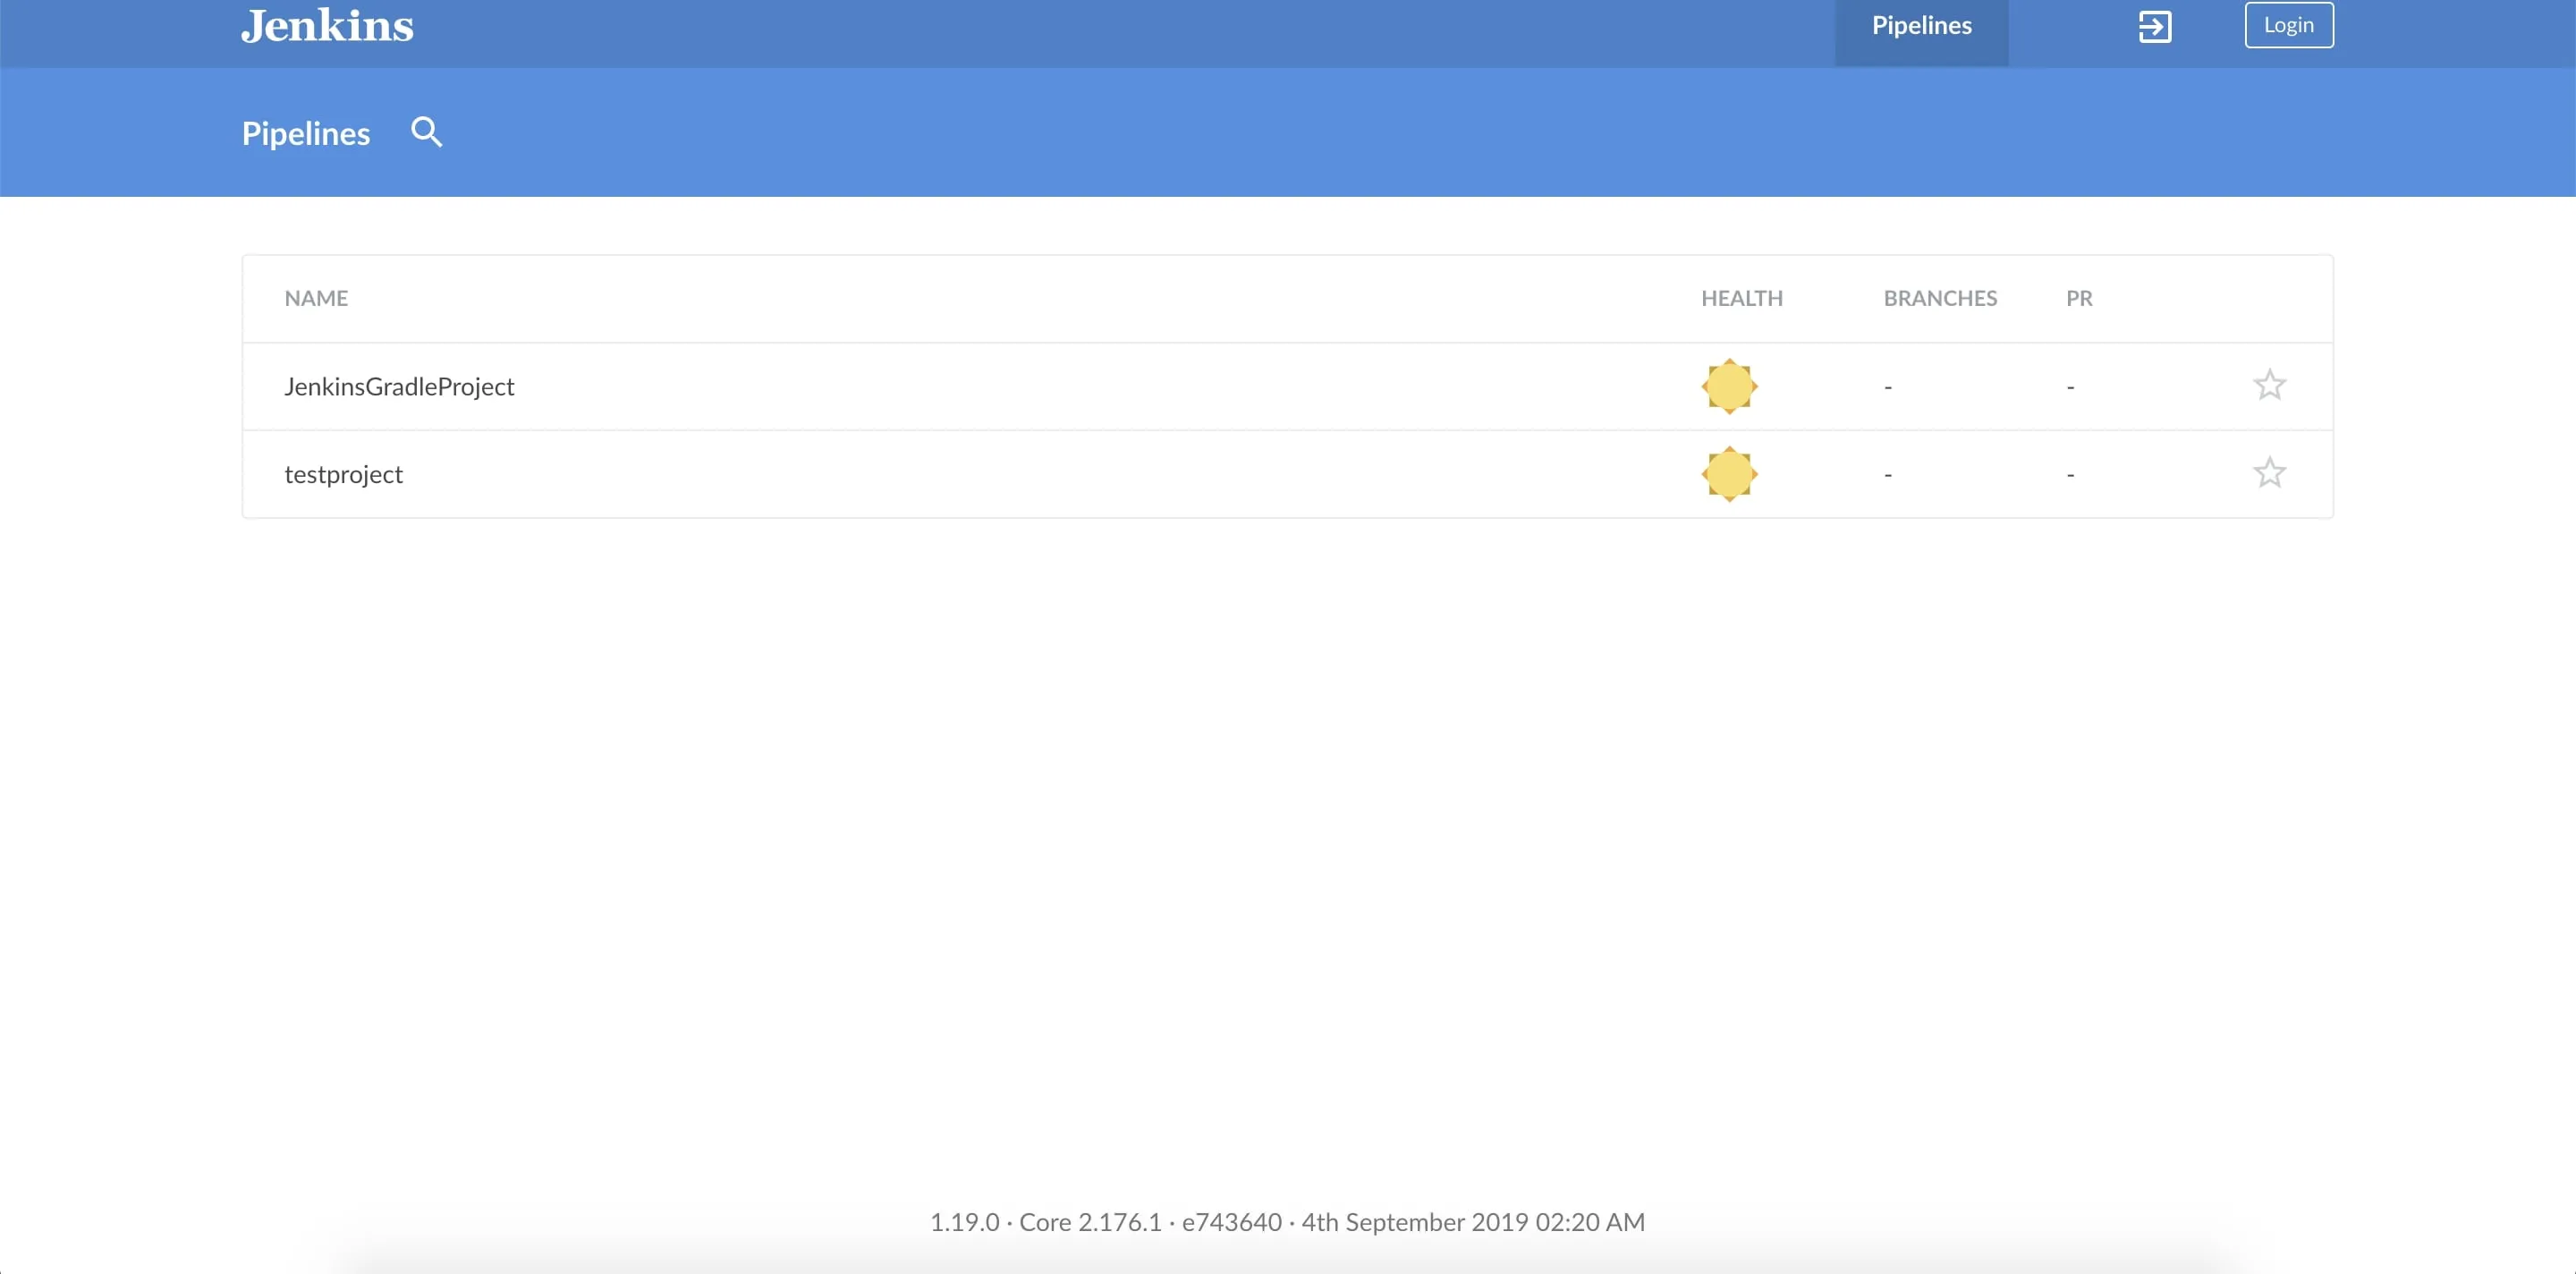
As, you can see it is completely different than the old Jenkins UI. At the dashboard you can see all your projects, example the pipeline and freestyle project. You can also go back to the old jenkins UI by clicking on the exit button next to the login button.
After logging in, you will be able to create new pipeline projects and a new button will be displayed that will take you to manage jenkins section in the old Jenkins UI.
Dashboard In Blue Ocean
In the dashboard, you can see all the projects inside the Jenkins instance. If you click on any project name, you will then be navigated to another screen that will show you details about that project. You can also click on Run to execute the Jenkins pipeline project. After clicking run you will see the following screen:
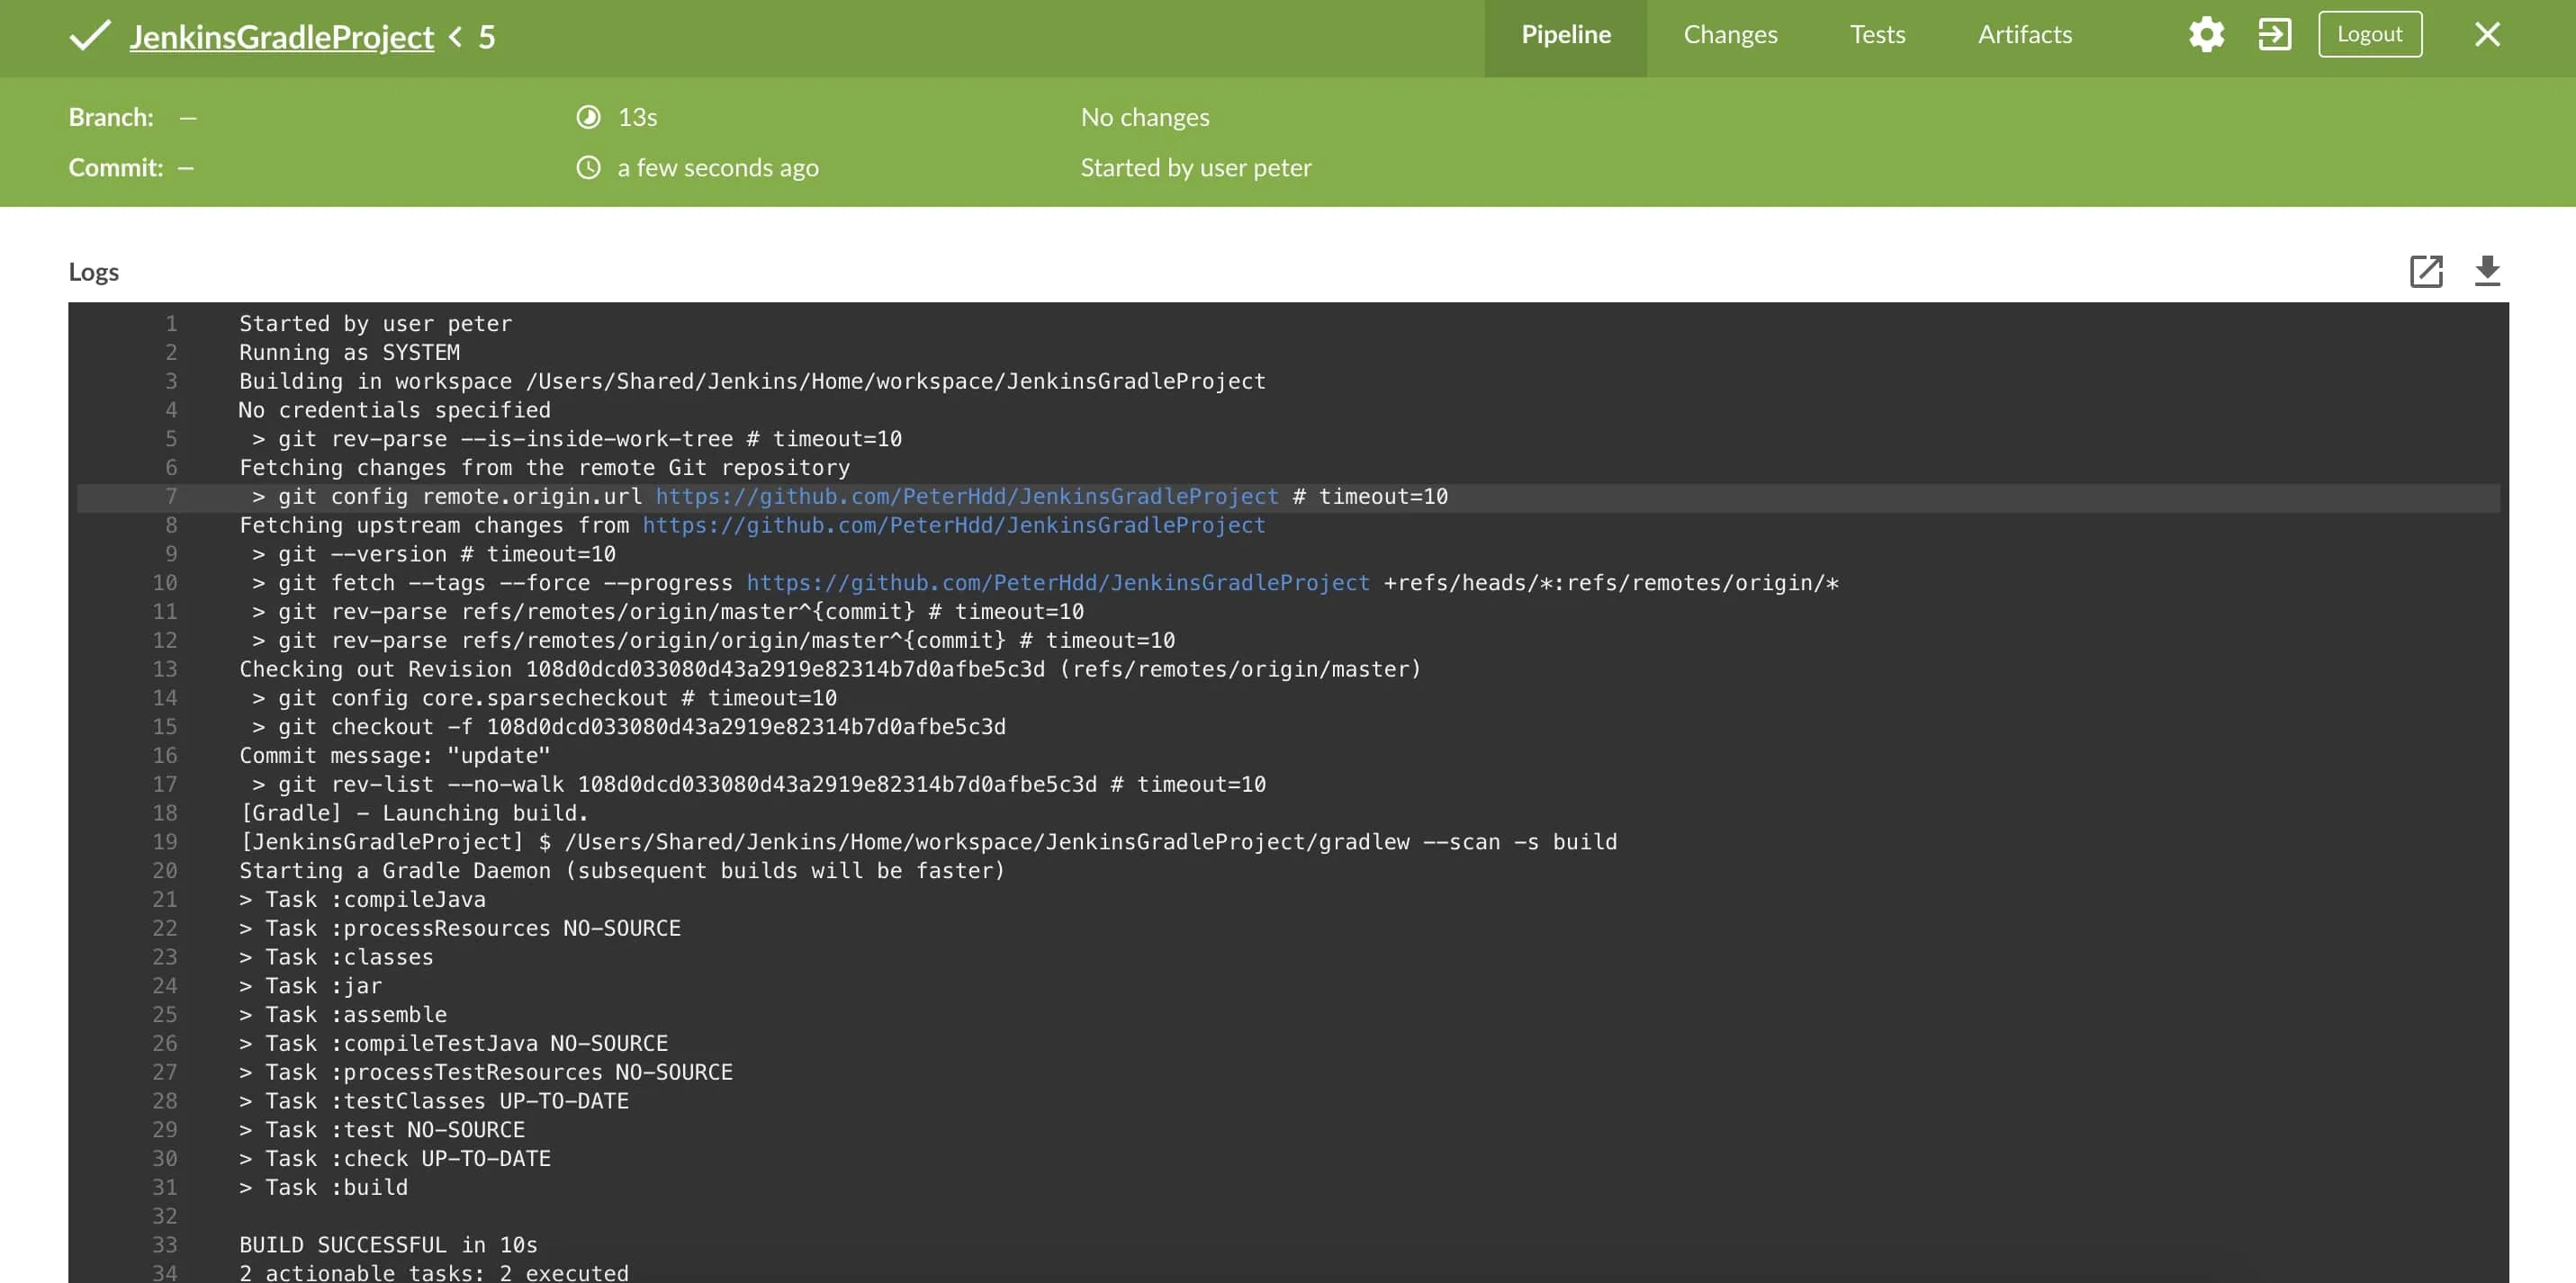
As you can see, this is a new moder UI being used in Jenkins. In the black background, you can see the output of the build and on the top right of the output you can also click on download to download the console output.
At the top navigation bar, you can check all the changes done for this build and all the tested executed in the build.
You can also favorite each project by clicking on the star icon in the project details screen. After doing that, a favorite list will be created above the pipeline projects.
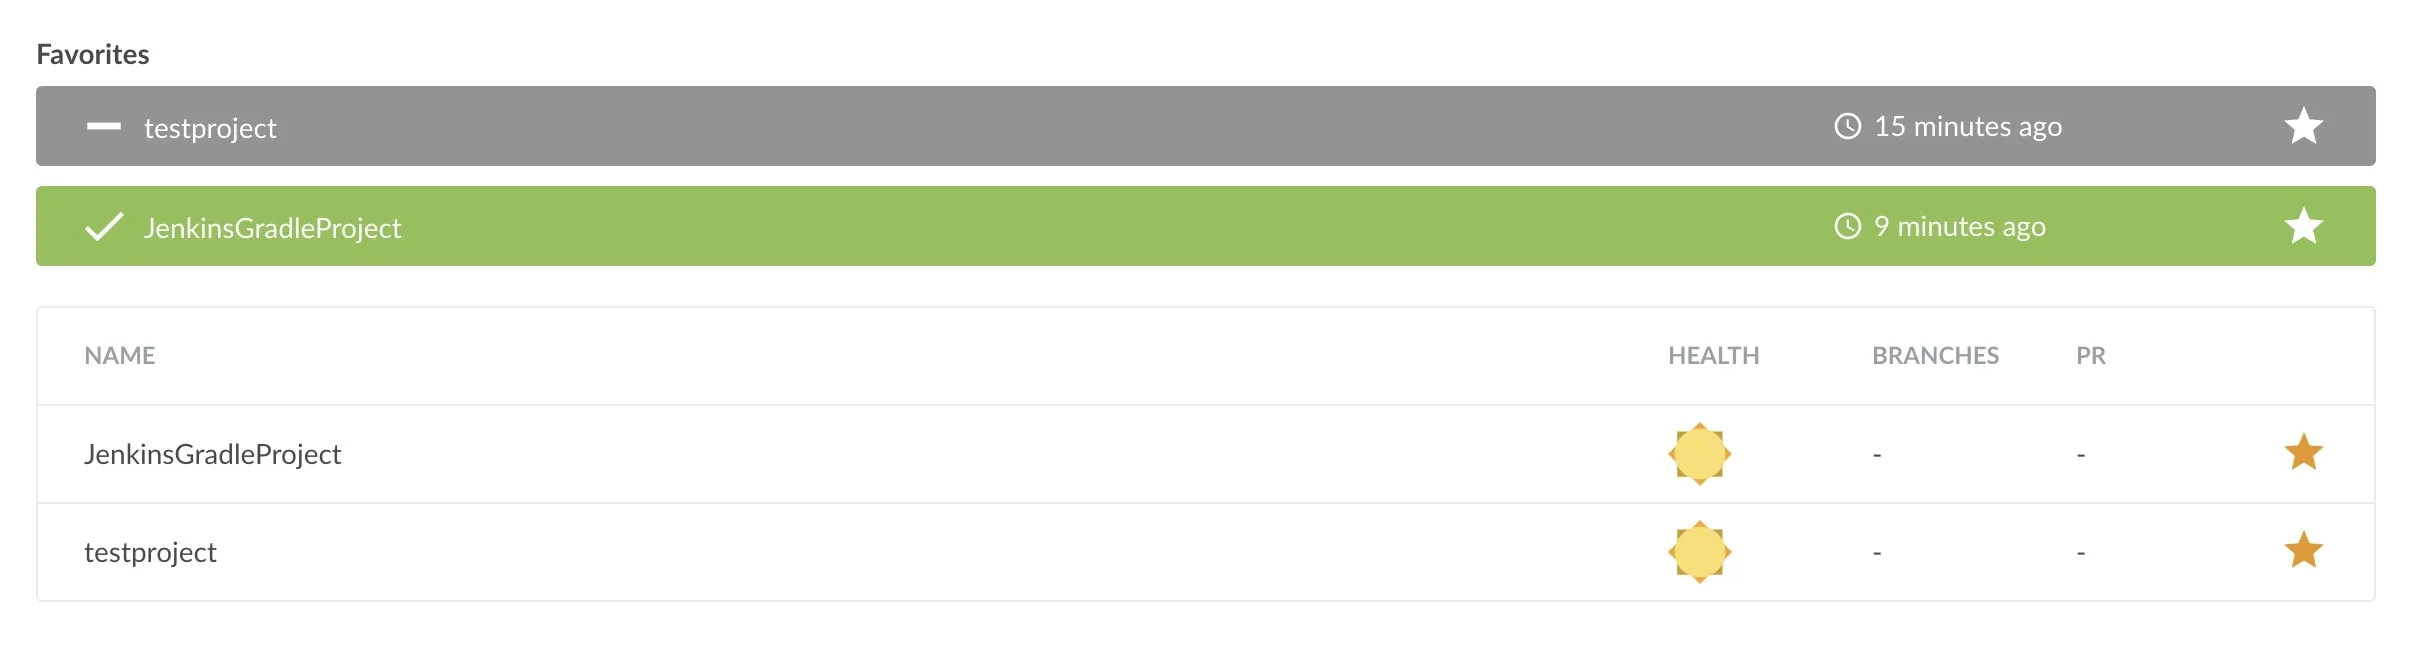
As you can see, each background color of each project in the favorite list, represents the status of the last build. In the image above, the first project was aborted while the second project had a sucessful build.
New Project In Blue Ocean
Now let’s try and create a new pipeline project using blue ocean, so first log in to blue ocean and click on create new pipeline. Then choose the location of your code and click on the radio button.
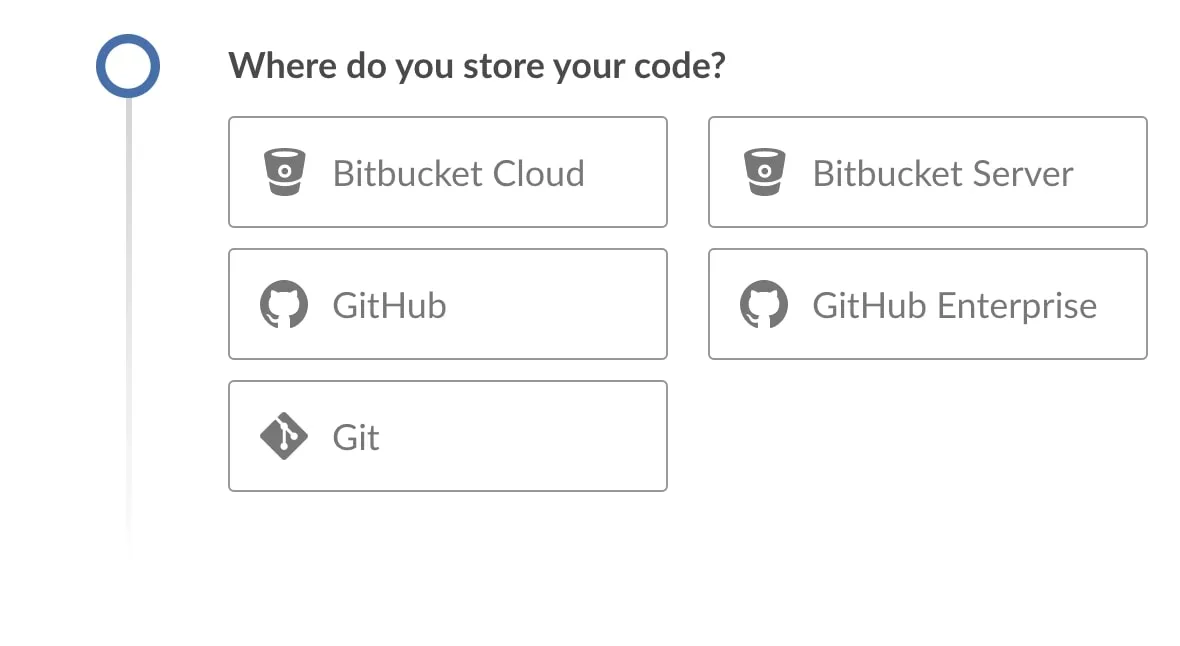
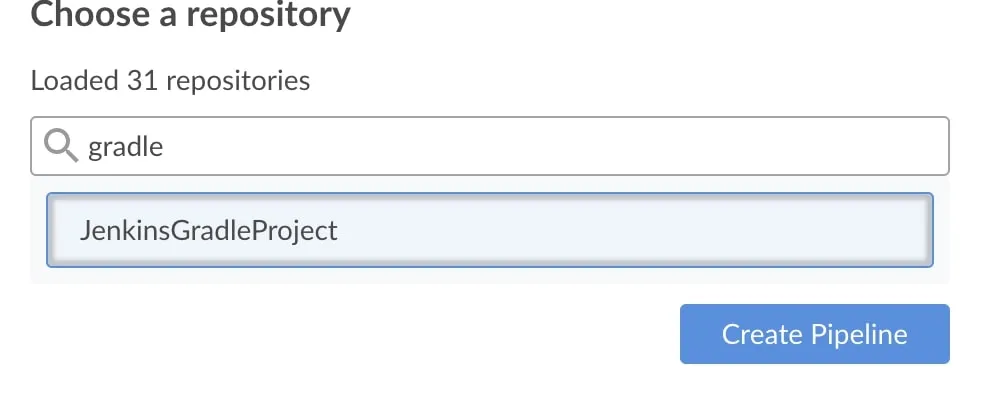
In this example, I will choose Github. Then, navigate to Github and generate the access token so you can use it in Jenkins. It will load all the repositories in your profile, you can then choose one project and create pipeline for that project.
If there is no Jenkinsfile in the repository, then you will have to create the pipeline in pipeline editor in blue ocean. You can click on the plus sign to create a new stage, and then on the right side, you can name the stage and add different steps.
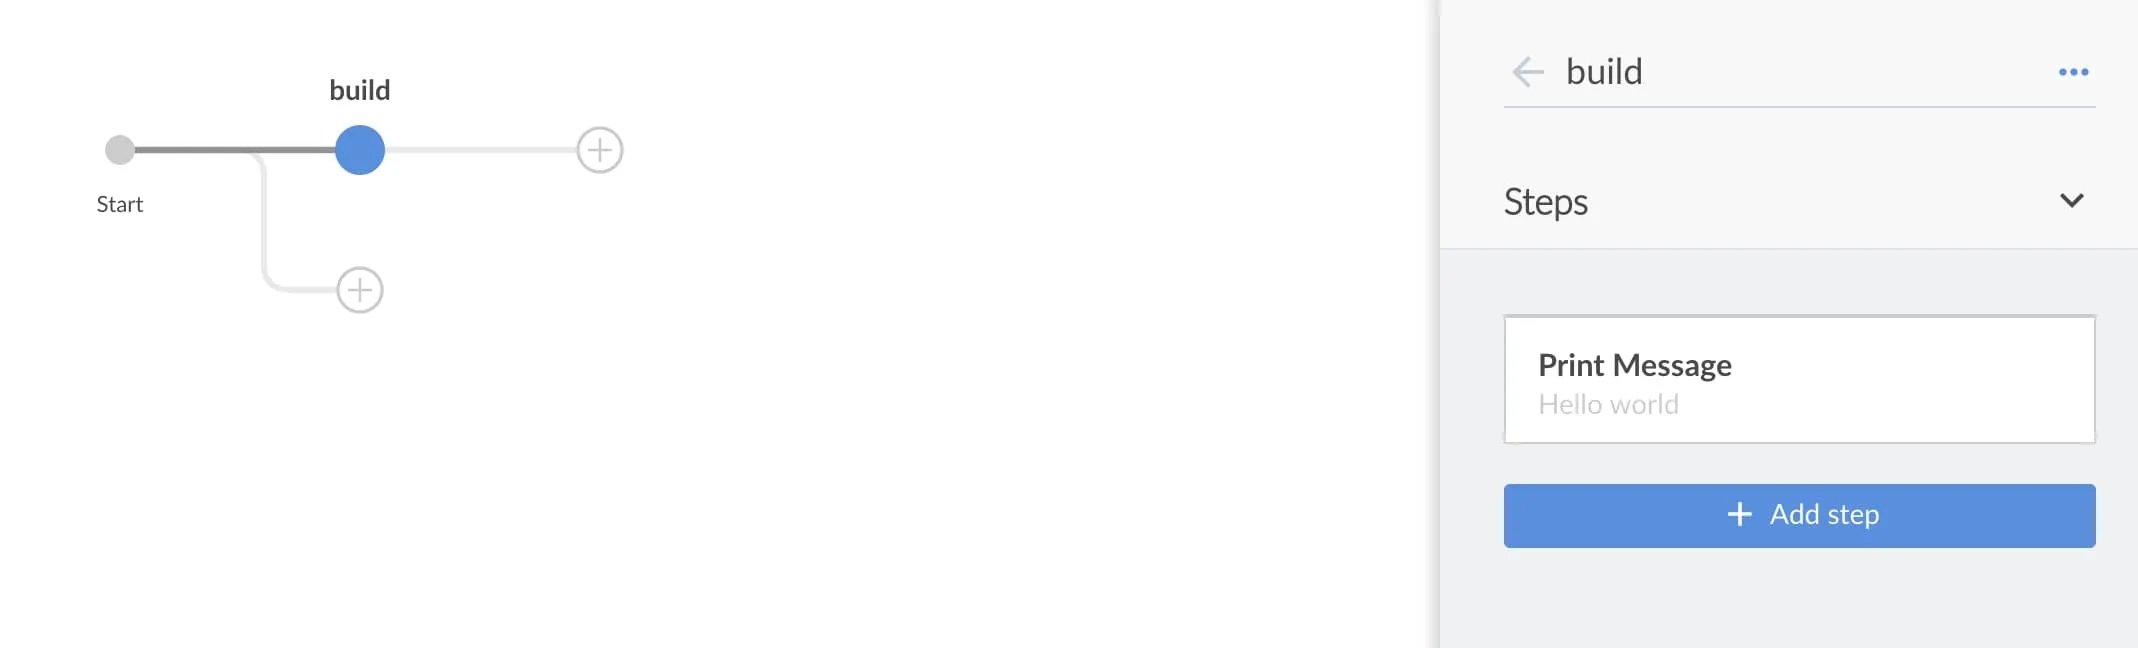
After adding all the required stages, you can click on save and a new Jenkisfile will ne crutated in the repository. After running the project, you will see the following output:
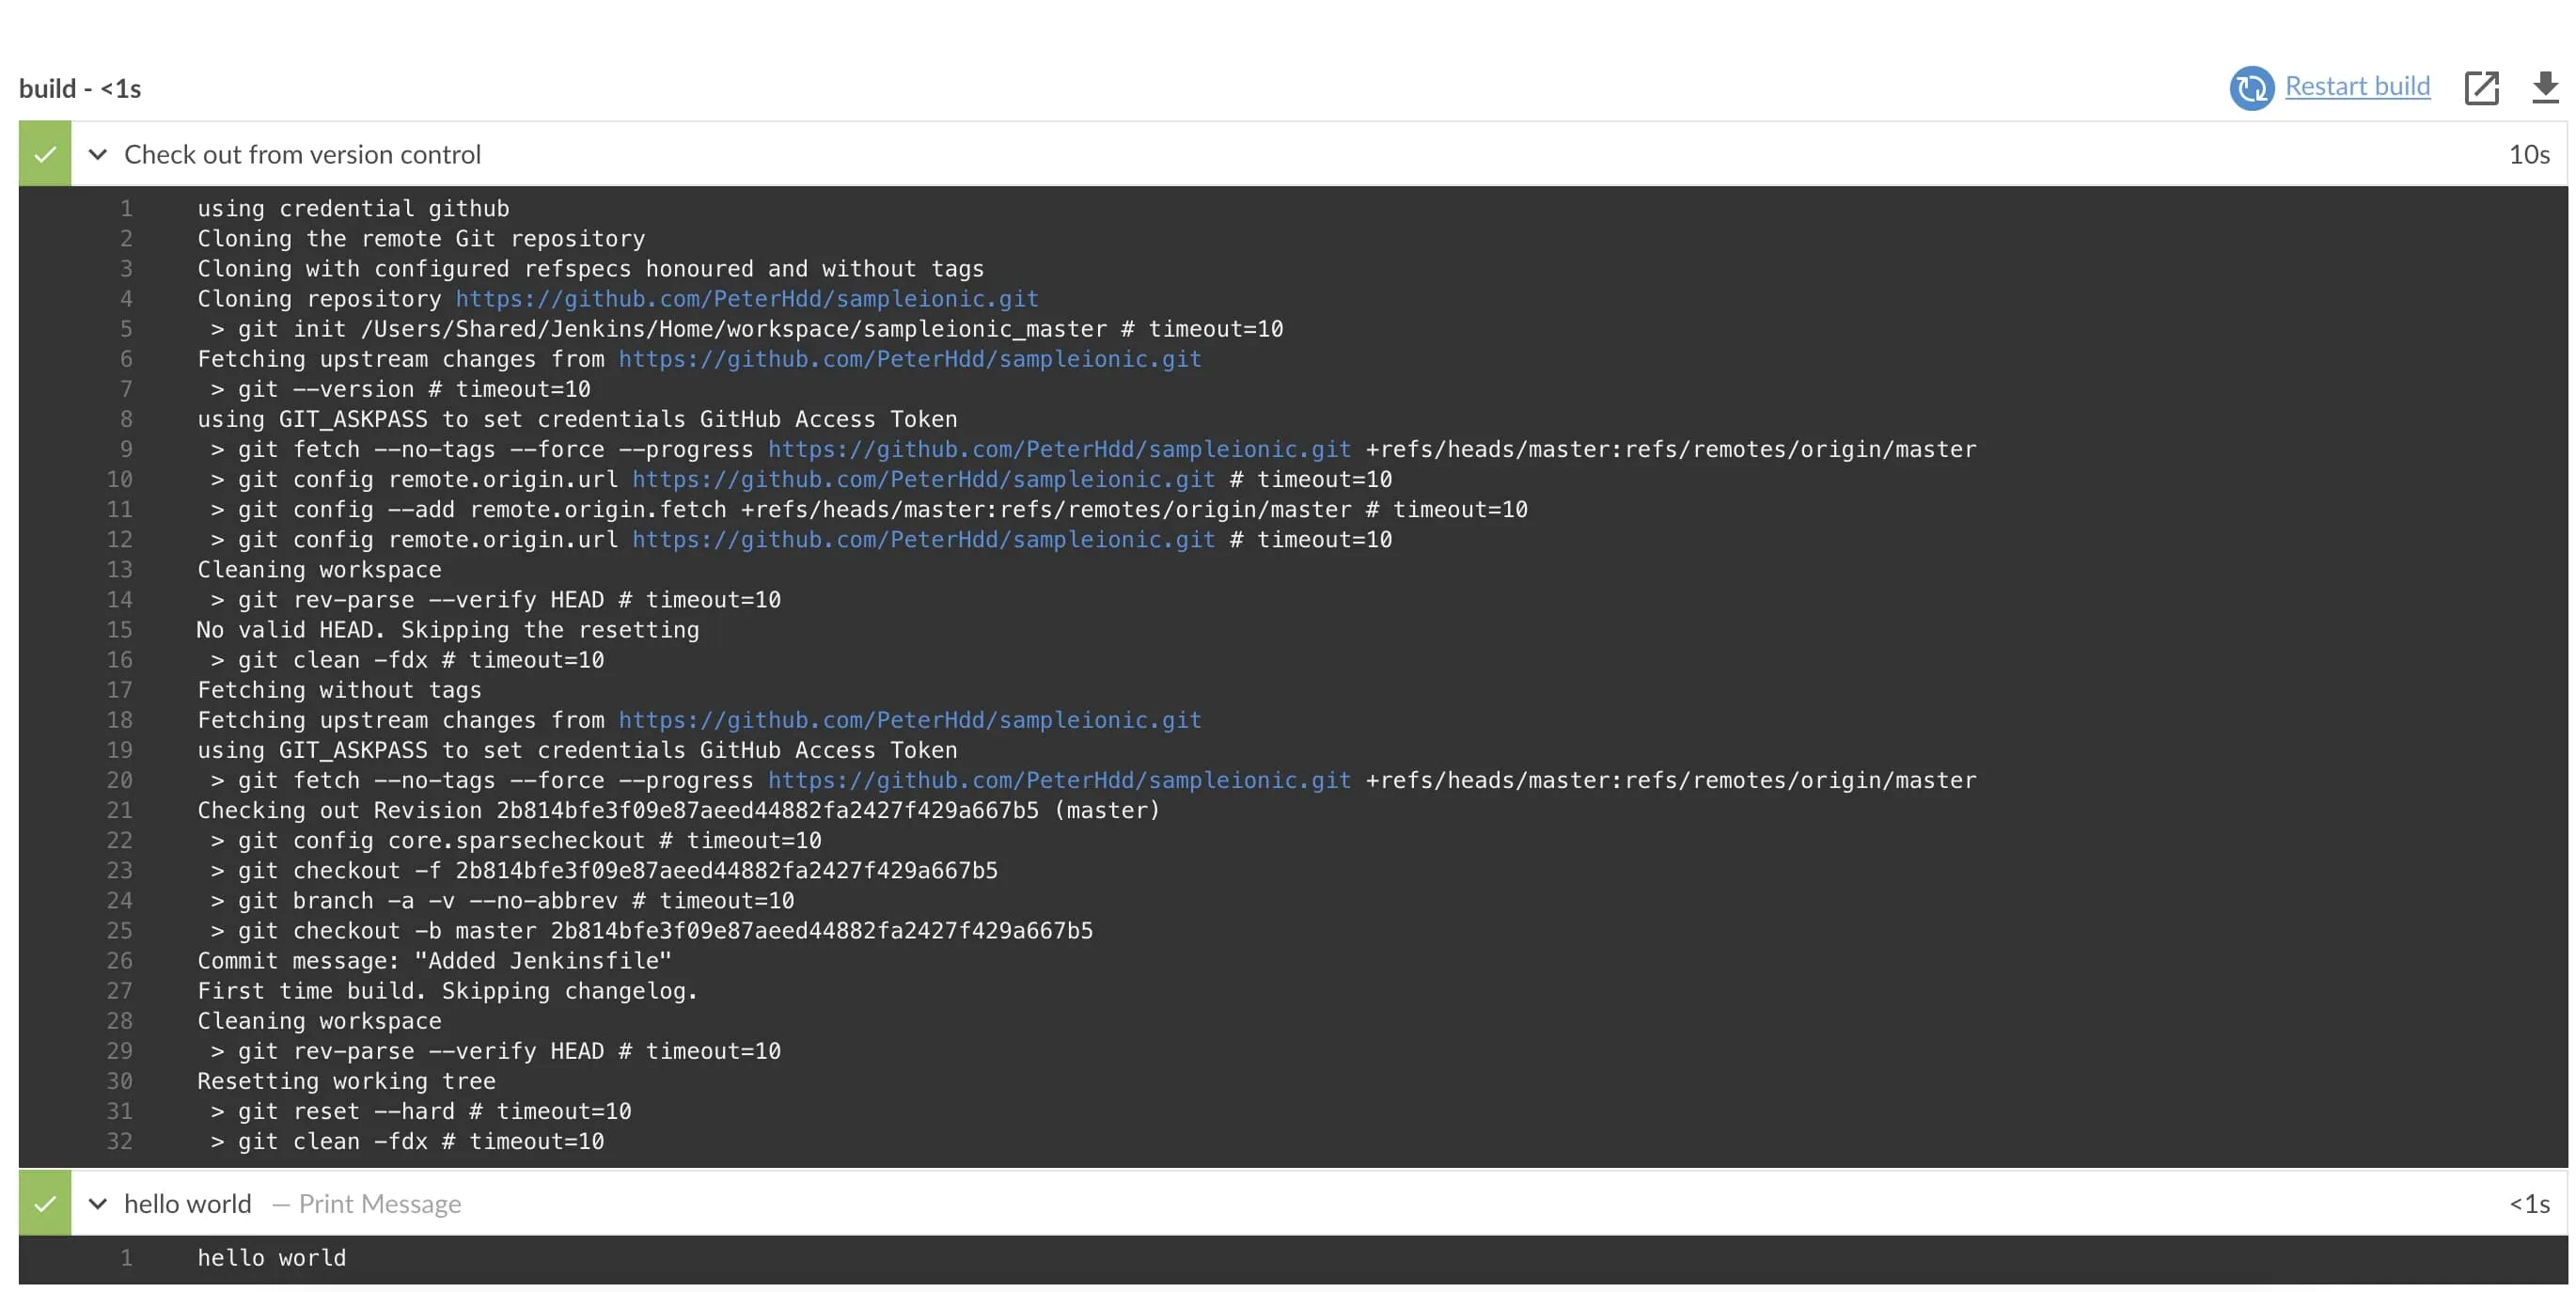
As you can see from the output that the stage was executed and the steps which consisted of display hello world has worked.
Gradle Project In Blue Ocean
First, navigate to the dashboard and click on New Pipeline, choose the repository, and the project and click on create pipeline.
First lets perform a pull request and see what happens, to create a pull request, you need to create a new branch and then do some changes and commit. In my case I deleted the old jenkinsfile inside the new dev branch. Then you can click on Compare & pull request.
I hope you enjoyed reading this blue ocean tutorial, please feel free to leave any comments or feedback on this post!