What Is Travis CI?

Software Developer | Technical Writer | Actively helping users with their questions on Stack Overflow.

Travis CI is a continuous integration service that is used mostly in Github. It also provides free plan for open source projects. Also it is a hosted service, which means you don’t have to host your own server unlike jenkins.

Note: This tutorial is mostly an explanation how to use Travis CI, if you want to learn what continuous integration and Continuous Delivery are, then check the tutorial before What Does Jenkins Do?
Setup And Build Travis CI
It is very simple to setup travis ci in your open source project. First you need to navigate to the following website Travis CI. Then sign in using your github account and give travis ci authorization. You will be presented with the following page:
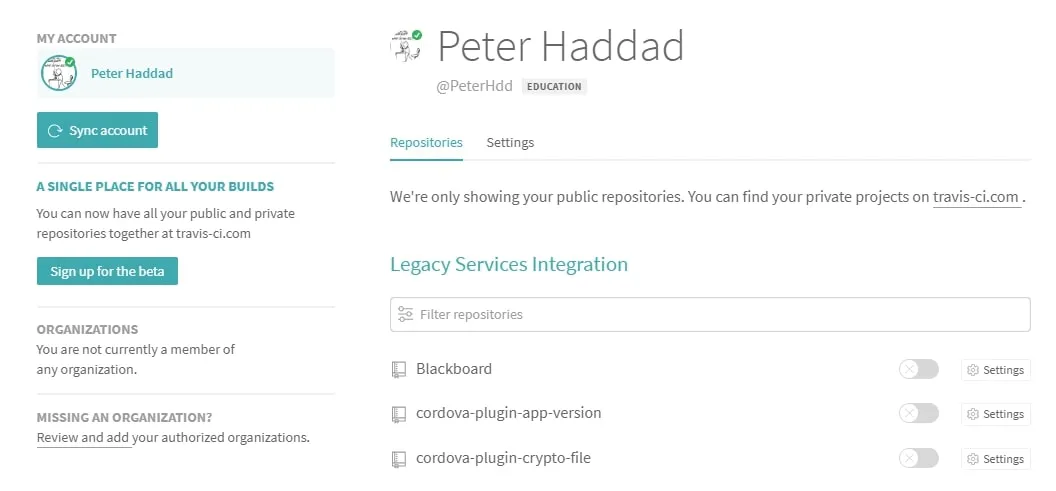
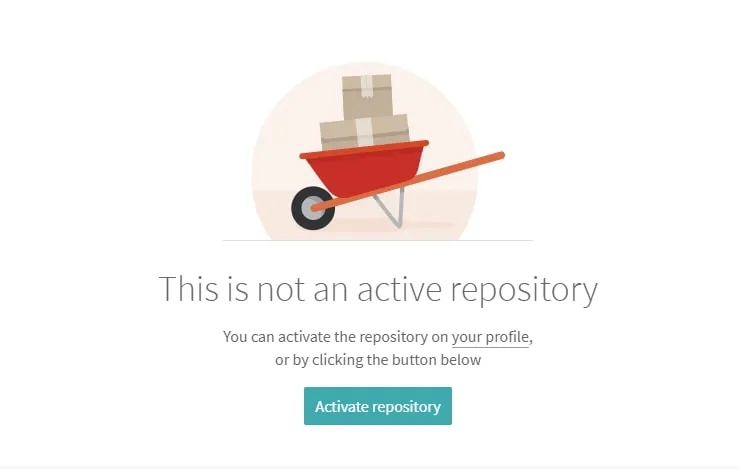
In that page, you can find all your repositories at Github. You can then activate any repository to be used in travis ci. First click on a repository and then click on activate button so it can be used inside of travis ci.
Then to activate travis ci on every commit in the repository, you need to create a configuration file and call it .travis.yml. Travis CI supports many programming languages, you can find the details of each langauge in the following link Travis CI Docs. Now, since this is an ionic project, I will use the language nodejs inside the .travis.yml file. For example inside the .travis.yml you can write the following:
language: node_js
node_js:
  - 10.15.0

branches:
  only:
  - master
before_script:
  - npm install -g @angular/cli
script:
- ng lint
- ng build --prod
This will specify that nodejs is the language and that version 10.15.0 needs to be used. Also this will only check the master branch for any changes. The before_script is used to prevent any scripting running before installing @angular/cli. Then ng lint is executed and after ng build --prod. Therefore, after executing git push origin master, travis ci will build the project. You can then access the logs of the builds by going to to travis ci. You will also recieve an email about the status of the build.
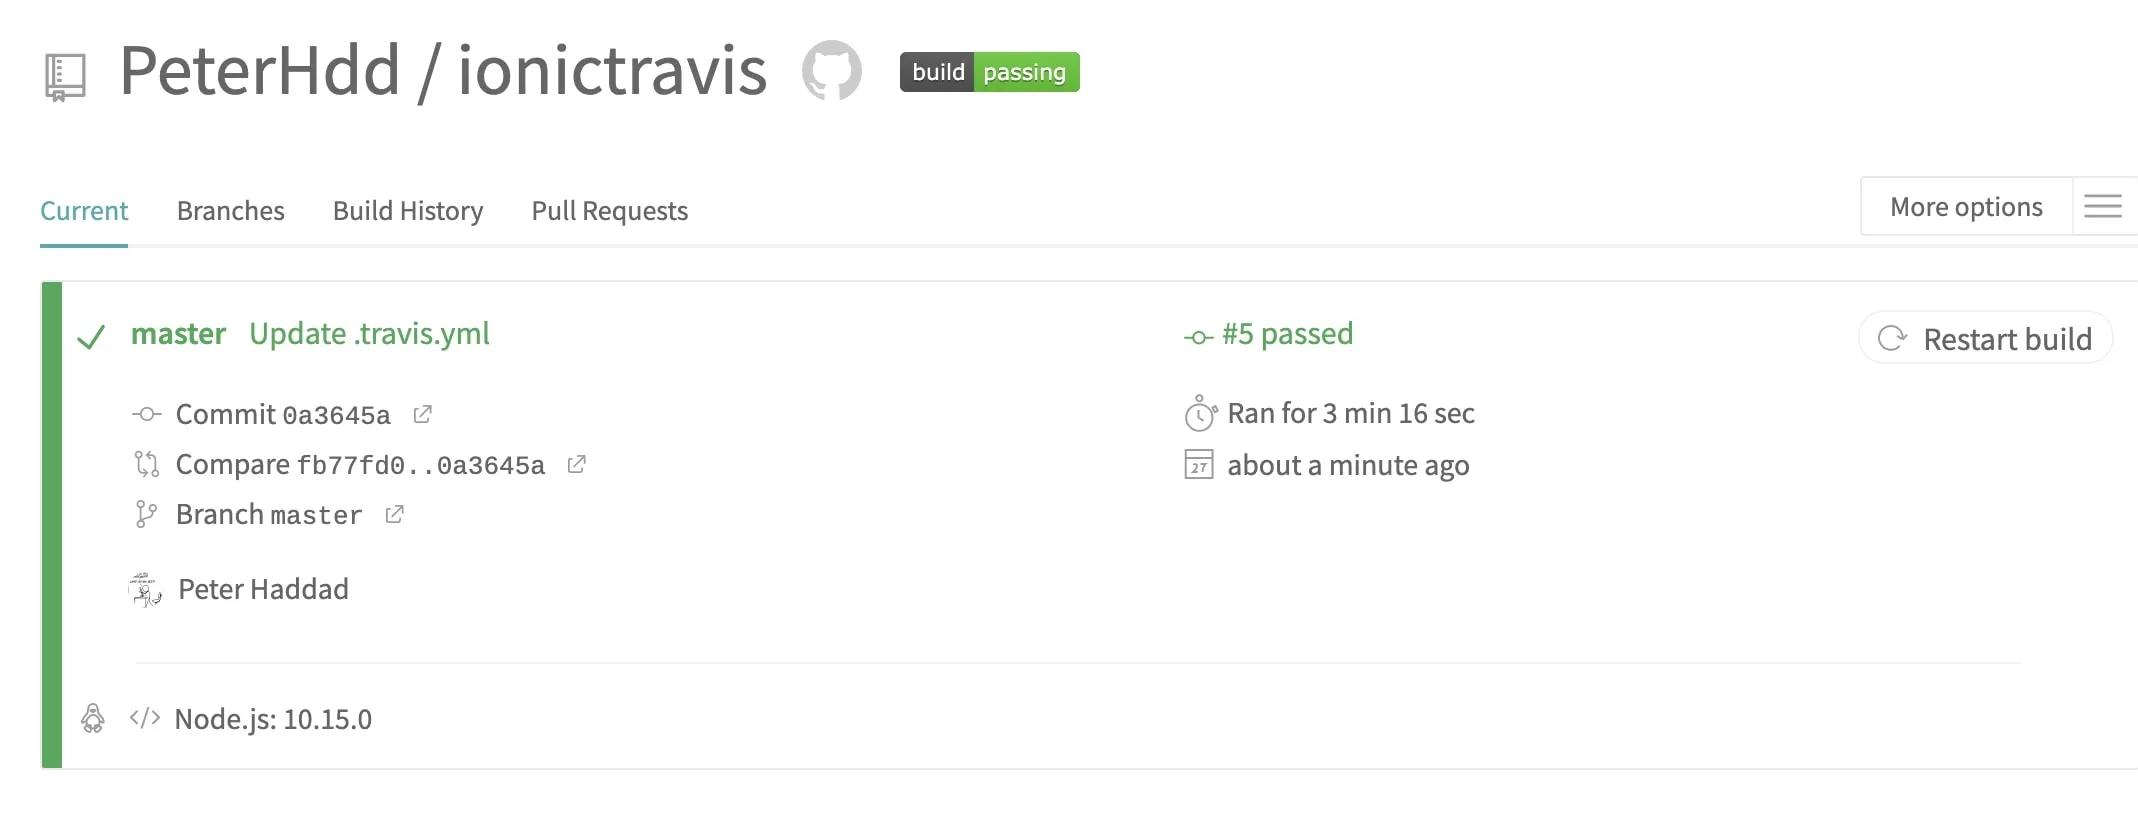
As you can see from the above screen, it successfully built the project.
It is very important that the version specified in the .travis.yml file, should be the same as the nodejs version used locally.
One nice feature when using travis ci and github, is the automatic security fixes, so whenever you get the following dependency error:

And when executing a build on travis ci, the “dependabot” will perform a pull request and update the dependencies that contain security vulnerabilities. You can learn more about the automatic security fixes in the following link Configuring automated security fixes.
So, travis ci is also activated in pull requests, whenever someone does a pull request travis ci will build the repository and update the PR with the result.
Also, if you click on the build success badge, then you can take the markdown and add it to the readme in your github repository.
Jobs in Travis CI
Travis CI supports many programming language, therefore it provides default builds for each language. When a build is triggered by a commit, a virtual machine is created, with the build environment, the repository is cloned and the build is executed.
Jobs in Travis CI is made up of two parts:
- install, which installs any required dependency
- script, which runs the build script.
Example if you have the following inside the .travis.yml file:
language: node_js
node_js:
- 4
Then first, it will do npm install and then it will execute npm test. Each language contains a default install and script.
Another example, if you are using Java then you can add the following in the .travis.yml file:
language: javaThis will first execute the default install, for example if you are using gradle it will first execute gradle assemble and then it will execute gradle check.
You can check the documentation to know what the default install and script are for each programming language.
You can also use different commands in the .travis.yml:
- before_install
- install
- before_script
- script
- after_success or after_failure
- after_script
- OPTIONAL before_deploy
- OPTIONAL deploy
- OPTIONAL after_deploy
before_install will execute command that run before install
install will install the required dependencies of a project
before_script will execute command that run before script
script will execute the script command, example in gradle gradle check
If any of the above commands returns a non-zero exit code, it means that the build failed, and you can check in travis ci console output which command failed.
You can also use the deploy command to deploy your code to Heroku, Amazon, github pages and other different platforms that can be found in the documentation under the Deployments and Uploads. You can use the following .travis.yml:
deploy:
  skip_cleanup: true
To prevent travis ci from resetting the directory and deleting changes made during the build.
Another useful command is the branch. Example:
branches:
  except: [".."]
  only: ["master"]
Every branch inside except will not trigger a travis ci build, and only the master branch will trigger a build.
Build Stages in Travis CI
Build Stages is used to group different jobs, build stages will run one after the other. So, when the first stage finishes then the next stage will start. If one job fails in a stage, then all jobs in the next stage will be canceled. An example:
jobs:
  include:
    - stage: test
      script: ./test 1
      script: ./test 2
    - stage: deploy
      script: ./deploy
Here you create the test stage that contains two jobs that will run in parallel, after the two jobs successfully finish, the third job inside the deploy stage will start executing.
You can also name the jobs inside the stages, example:
jobs:
  include:
    - stage: test
      name: "Unit Tests"
      script: ./unit-tests
Here the first job inside the test stage is named “Unit Tests”. You can also use conditions in the .travis.yml file, example:
stages:
  - name: deploy
    if: branch = master
Here if the branch is not the master branch then the deploy stage is not executed.
Sending Notifications
When a build fails or succeeds, the person that did the last git push will recieve an email about the build. But you can also customize the .travis.yml file to send notifications to other channels or to different emails. Example you can send notifications to the slack channel:
notifications:
  slack:
    if: branch = master
This will send notifications to slack if the branch that is getting built, is the master branch.
You should configure travis ci first in slack before recieving notifications.
You can also send it to specific emails, by specifying the emails in the .travis.yml file:
notifications:
  email:
    - [email protected]
    - [email protected]
You can also remove email notifications by adding email: false in the .travis.yml file. You can find more information about sending notifications in travis ci, in the following link: Configuring Build Notifications.