Using Shared Preferences In Flutter

Software Developer | Technical Writer | Actively helping users with their questions on Stack Overflow.
In this article, we will use the shared preferences plugin to store data locally in a Flutter application.
Creating a Flutter Project
You can check other Flutter articles that use null safety in the below links:
First we need to create a Flutter project, after following the documentation and installing the Flutter SDK. You can then open vscode or android studio and execute in the terminal the following command:
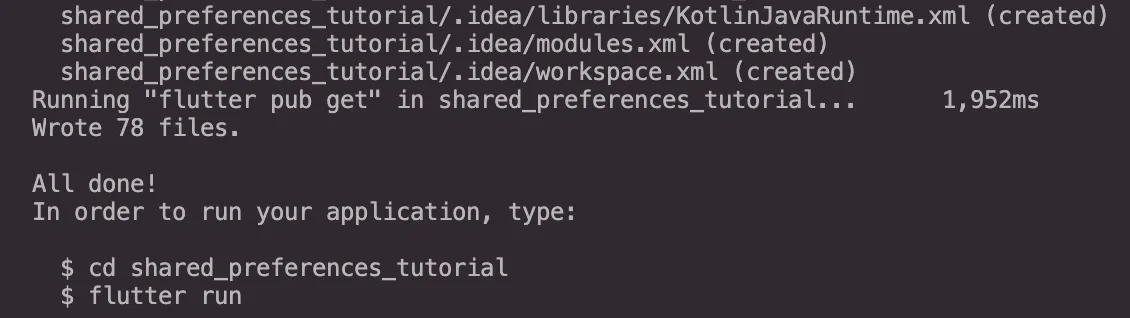
flutter create shared_preferences_tutorialYou should get the following output in the end:
In this tutorial I’m using Flutter 2.0+ with null safety enabled, therefore to check which Flutter version you are using you can execute the following command:
flutter doctorwhich should give you the version number:
Doctor summary (to see all details, run flutter doctor -v):
[✓] Flutter (Channel stable, 2.0.0, on Mac OS X 10.14.6 18G103 darwin-x64, locale en-LB)
[✓] Android toolchain - develop for Android devices (Android SDK version 29.0.2)
[!] Xcode - develop for iOS and macOS
    ✗ Xcode 10.1.0 out of date (12.0.1 is recommended).
      Download the latest version or update via the Mac App Store.
    ! CocoaPods 1.9.0 out of date (1.10.0 is recommended).
        CocoaPods is used to retrieve the iOS and macOS platform sides plugin code that responds
    to your plugin usage on the Dart side.
    Without CocoaPods, plugins will not work on iOS or macOS.
    For more info, see https://flutter.dev/platform-plugins
  To upgrade see https://guides.cocoapods.org/using/getting-started.html#installation for
  instructions.
[✓] Chrome - develop for the web
[✓] Android Studio (version 4.0)
[✓] IntelliJ IDEA Community Edition (version 2020.1)
[✓] VS Code (version 1.54.3)
[✓] Connected device (1 available)

! Doctor found issues in 1 category.
If you are using an older version then do flutter upgrade. To learn about null safety then check null safety in dart
Adding Shared Preferences to Flutter
Shared preferences will store data locally on the device, so for example if you want to use some data in a different page then you can use the Shared Preferences to store and retrieve that data. So first to add it you need to navigate to the pubspec.yaml file, and write the following:
dependencies:
  cupertino_icons: ^1.0.8
  flutter:
    sdk: flutter
  shared_preferences: ^2.3.2

dev_dependencies:
  flutter_test:
    sdk: flutter
Now you can use the library!
Initializing Shared Preferences
Now if you navigate to the main.dart file, you will find the following:
class MyApp extends StatelessWidget {

  @override
  Widget build(BuildContext context) {
    return MaterialApp(
      title: 'Flutter Demo',
      theme: ThemeData(
        primarySwatch: Colors.blue,
      ),
      home: MyHomePage(title: 'Flutter Demo Home Page'),
    );
  }
}
The class MyApp is a Stateless widget, which means it’s state does not change. Then we initialize the class MatererialApp() and pass MyHomePage() widget to the home property. The class MyHomePage() is a Stateful Widget:
class MyHomePage extends StatefulWidget {
  MyHomePage({Key? key, this.title}) : super(key: key);
  final String? title;

  @override
  _MyHomePageState createState() => _MyHomePageState();
}
So here we override the method createState() which will return a class of type State. Now to initialize the Shared Preferences in Flutter we have to call the method getInstance():
class _MyHomePageState extends State<MyHomePage> {
  int _counter = 0;
  SharedPreferences? preferences;

     @override
   void initState() {
     super.initState();
     initializePreference().whenComplete((){
       setState(() {});
     });
   }

  Future<void> initializePreference() async{
     this.preferences = await SharedPreferences.getInstance();
  }
Saving Data In Shared Preferences
After initializing Shared Preferences in a Flutter application, you can now save data. For example in the counter application you can do the following:
class _MyHomePageState extends State<MyHomePage> {
  int _counter = 0;
  SharedPreferences? preferences;

     @override
   void initState() {
     super.initState();
     initializePreference().whenComplete((){
       setState(() {});
     });
   }

  void _incrementCounter() async{
    setState(() {
     _counter++;
     this.preferences?.setInt("counter", _counter);
    });
  }

    Future<void> initializePreference() async{
     this.preferences = await SharedPreferences.getInstance();
     this.preferences?.setString("name", "Peter");
     this.preferences?.setStringList("infoList", ["developer","mobile dev"]);
  }
Here we create the method initializePreference() which will initialize the Shared Preferences and since getInstance(),setString() and setStringList() return a Future therefore we can use async/await to wait for the data to be stored in the local storage. When the Future is completed we can call whenComplete() which takes a callback function as a paramter and then we call setState() to rebuild the widget tree. Inside the _incrementCounter() we use the method setInt() which takes a key and a value, as you can see the key here is counter and the value being saved is _counter. Now this value will be saved locally in the device.
Retrieving Data from Shared Preferences
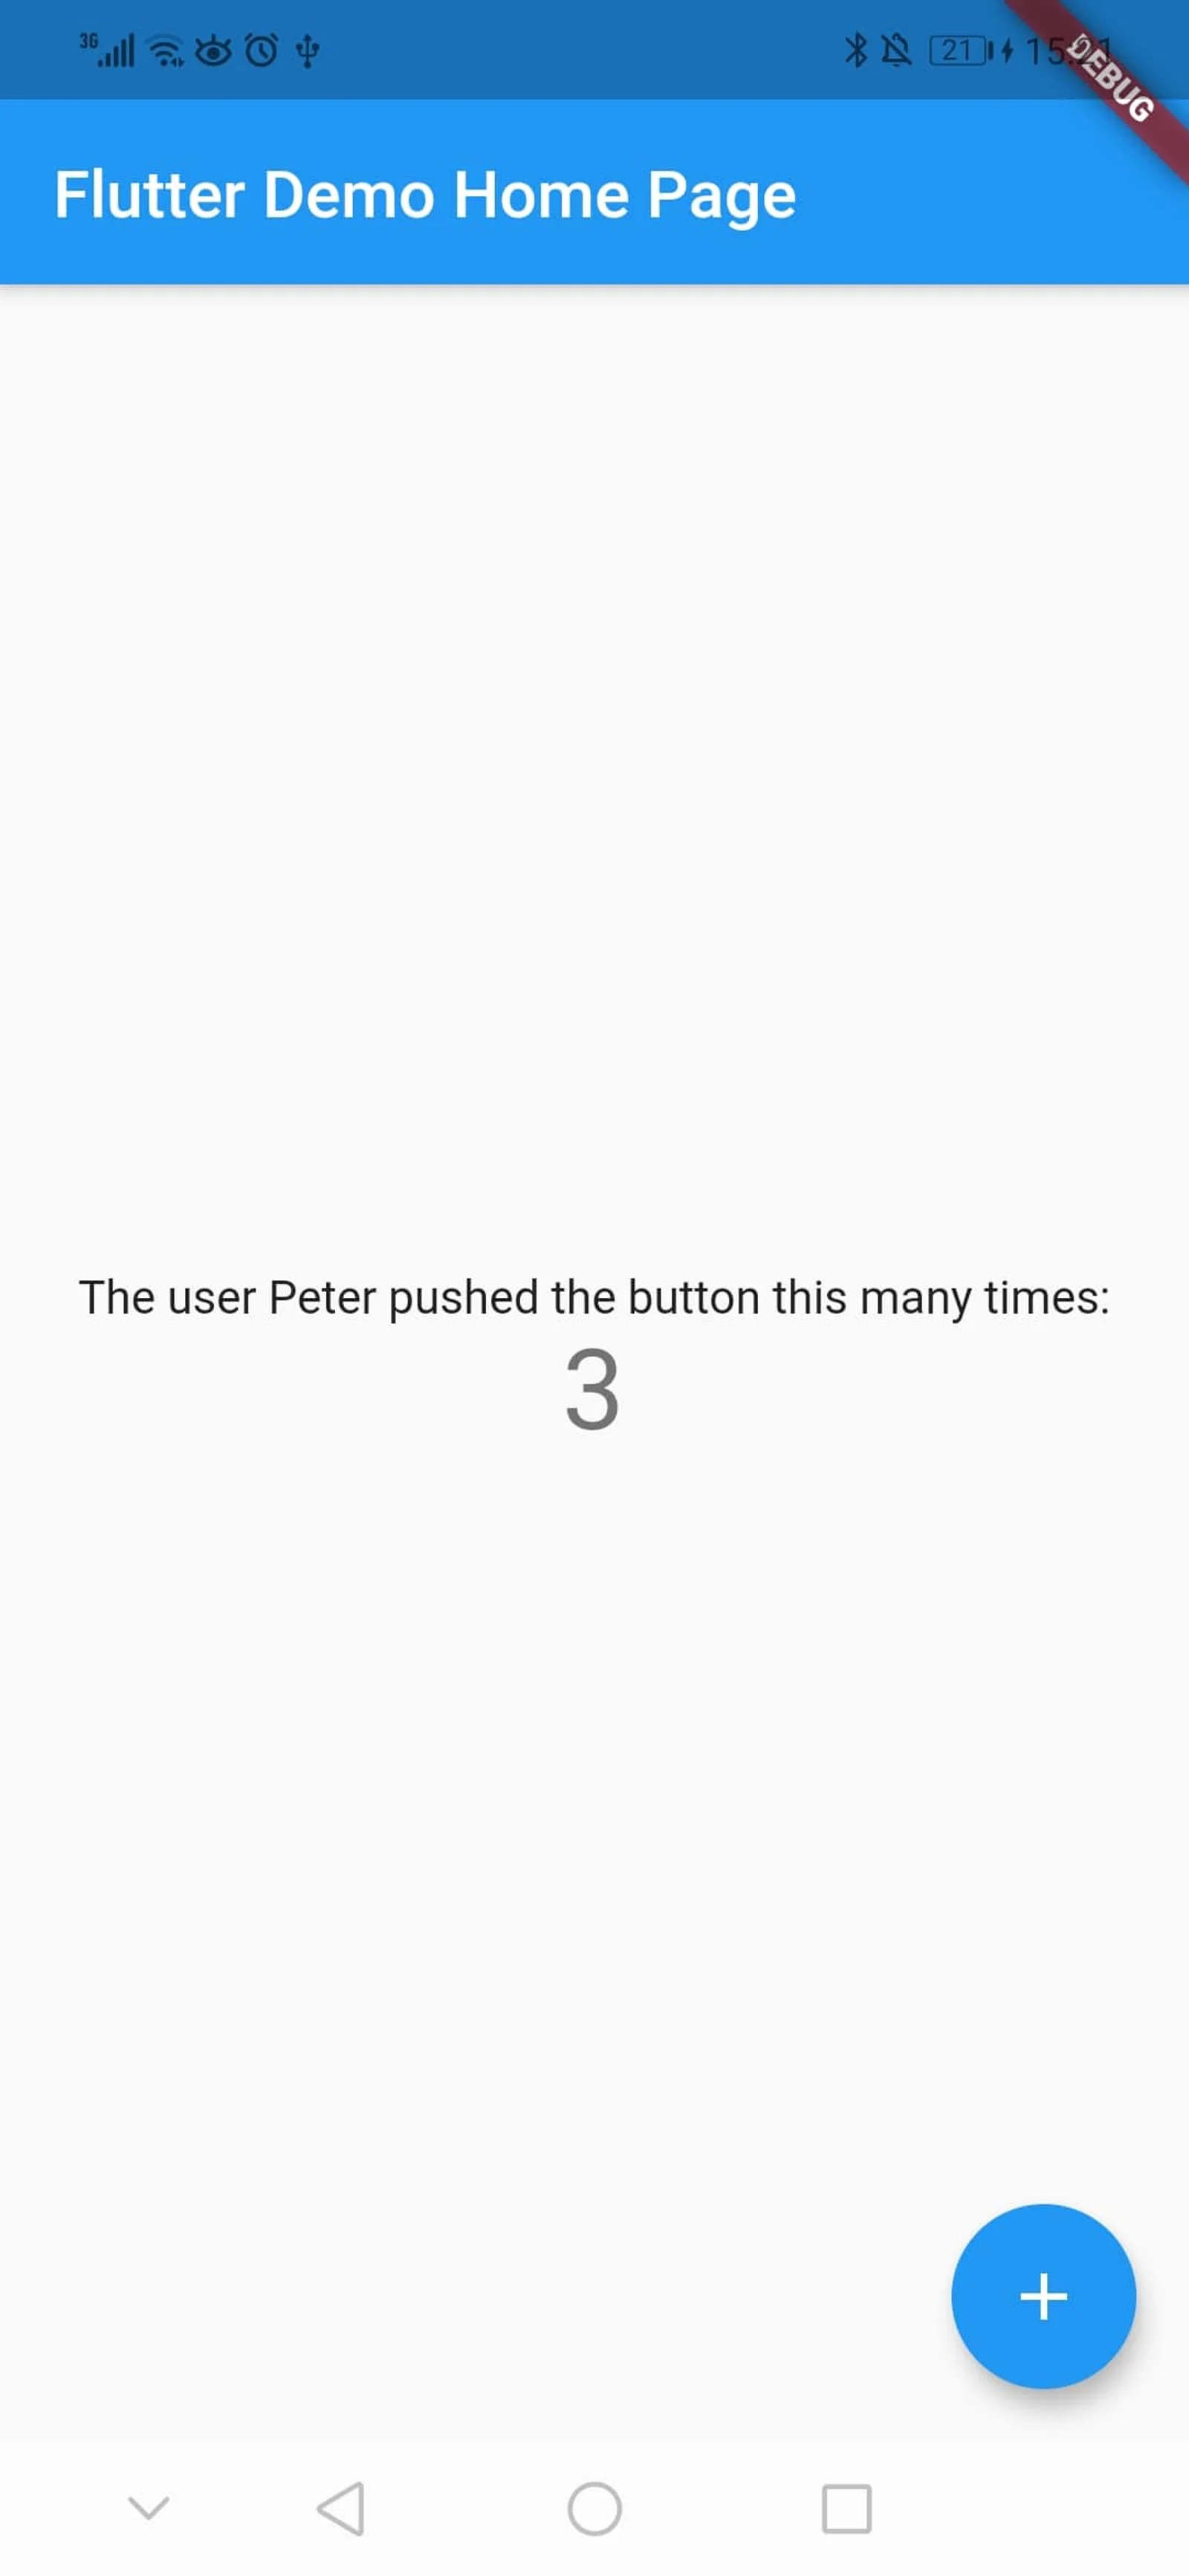
Now that we added the data, we can easily retrieve data using the method getInt() and getString(). For example:
  @override
  Widget build(BuildContext context) {
  return Scaffold(
      appBar: AppBar(
        title: Text(widget.title!),
      ),
      body: Center(
        child: Column(
          mainAxisAlignment: MainAxisAlignment.center,
          children: <Widget>[
          Text(
            'The user ${this.preferences?.getString("name")} pushed the button this many times:',
          ),
            Text(
              '${this.preferences?.getInt("counter") ?? 0}',
              style: Theme.of(context).textTheme.headlineMedium,
            ),
          ],
        ),
      ),
      floatingActionButton: FloatingActionButton(
        onPressed: _incrementCounter,
        tooltip: 'Increment',
        child: Icon(Icons.add),
      ),
    );
  }
Here we pass the key that was stored to both getString() and getInt() which will return the value. This will give you the following output:

Saving Object in Shared Preferences
The plugin Shared Preferences does not have any method that will let you store an object, example setObbject(). Therefore to store an object you need to serialize the object to json, and then deserialize to read it. To learn more about serialization then check the following json and serialization. First create a class:
class Payment {
  final int accountNumber;
  final String accountName;

  Payment({required this.accountNumber,required this.accountName});

    factory Payment.fromJson(Map<String, dynamic> json) {
    return Payment(
      accountName: json['accountName'],
      accountNumber: json['accountNumber'],
    );
  }

   Map<String, dynamic> toJson() =>
    {
      'accountName': accountName,
      'accountNumber': accountNumber,
    };
}
Here we use the fromJson() factory method to convert from json to object, and the toJson() method to be able to store the data. Then in the main.dart class we can do:
  Future<void> initializePreference() async{
     this.preferences = await SharedPreferences.getInstance();
     this.preferences?.setString("name", "Peter");
     this.preferences?.setStringList("infoList", ["developer","mobile dev"]);
     await storingPayment();
  }

  Future<void> storingPayment() async{
    Payment payment = Payment(accountName: "Peter",accountNumber: 123);
    String storePayment = jsonEncode(payment.toJson());
    await this.preferences?.setString('payment', storePayment);
    await retrievePayment();
  }

  Future<void> retrievePayment() async{
    String? result = this.preferences?.getString("payment");
    Map<String,dynamic> decoded = jsonDecode(result!);
    print(Payment.fromJson(decoded).accountName);
  }
Here we first create a storingPayment() method and inside the method create an instance of Payment class. Then using the jsonEncode() method we can convert the object to a JSON string and store it. Then to retrieve, we can use getString() which will return a value of type String? which we pass to jsonDecode(). The jsonDecode() method will parse the String and return it as a Map<String,dynamic>. Finally, we can use the factory method created Payment.fromJson() to access the value of each instance variable.
Remove Data From Shared Preferences
To remove any data from Shared Preferences you need to use the method remove(), for example:
  Future<bool> removePayment() async{
   SharedPreferences preferences  = await SharedPreferences.getInstance();
   return preferences.remove("payment");
  }
I hope you enjoyed reading this Flutter tutorial about Shared Preferences, please feel free to leave any comments or feedback on this post!