Using SQLite In Flutter

Software Developer | Technical Writer | Actively helping users with their questions on Stack Overflow.
In this article, we will use the sqflite plugin which is a plugin that enables the of use SQLite to create a database,store data, update, and remove in a Flutter application.
Creating a Flutter Project
You can check other Flutter articles that use null safety in the below links:
First we need to create a Flutter project, after following the documentation and installing the Flutter SDK. You can then open vscode or android studio and execute in the terminal the following command:
flutter create sqlite_tutorialAlso I’m using latest Flutter version 2.0+ with null safety enabled, you can enable null safety by executing:
dart migrate --apply-changesNote: Check the alternative plugin Using Floor Plugin in Flutter
What Is SQLite
SQLite is an open source relational database, it is used to create a database, perform different operation like add, delete,and remove data.
SQLite does not require a server or backend code, all the data is saved to a text file in the device. You can learn more about it here.
Adding Sqflite Plugin to Flutter
To be able to use SQLite in Flutter, you need to add the plugin sqflite. So to add it you need to navigate to the pubspec.yaml file, and write the following:
environment:
  sdk: "^3.5.0"

dependencies:
  cupertino_icons: ^1.0.8
  flutter:
    sdk: flutter
  path: ^1.9.0
  sqflite: ^2.3.3+1
Now you can start using SQLite in the Flutter project! In the following sections we will create a list of users and add those users to the database.
Creating the Model Class
Since we need to add multiple users to the database, then we have to create a class called User which will contain different fields related to a user, for example:
class User {
  final int? id;
  final String name;
  final int age;
  final String country;
  final String? email;

  User(
      { this.id,
      required this.name,
      required this.age,
      required this.country,
      this.email});

  User.fromMap(Map<String, dynamic> res)
      : id = res["id"],
        name = res["name"],
        age = res["age"],
        country = res["country"],
        email = res["email"];

  Map<String, Object?> toMap() {
    return {'id':id,'name': name, 'age': age, 'country': country, 'email': email};
  }
}
Here we create a named constructor called User.fromMap() and a method called toMap() since to save data to the SQLite database we need to convert it to a map. Now, we will create the DatabaseHandler class.
Create a table in SQLite
Now, under the lib folder, create another folder called services and inside of it create a class called DatabaseHandler. This class will take care of all the operations regarding the SQLite database.
Before initializing the database, we need to specify the location of the file that will be created which will contain the database, to do that we need to add another plugin called path, therefore navigate to the pubspec.yaml and add the following:
dependencies:
  flutter:
    sdk: flutter
  cupertino_icons: ^1.0.2
  sqflite: ^2.0.0+3
  path: ^1.8.0
Now inside the DatabaseHandler class we can initialize the database, for example:
import 'package:sqflite/sqflite.dart';
import 'package:path/path.dart';

class DatabaseHandler {
  Future<Database> initializeDB() async {
    String path = await getDatabasesPath();
    return openDatabase(
      join(path, 'example.db'),
      onCreate: (database, version) async {
        await database.execute(
          "CREATE TABLE users(id INTEGER PRIMARY KEY AUTOINCREMENT, name TEXT NOT NULL,age INTEGER NOT NULL, country TEXT NOT NULL, email TEXT)",
        );
      },
      version: 1,
    );
  }
}
So here the method getDatabasePath() is inside the sqflite package and it will get the default database location. The openDatabase() method is also inside the package sqflite and it accepts a mandatory String as an argument which will be the path of the database.
As you can see above, we use the method join() which is inside the package path, it will join the given path into a single path, so for example we would get databasepath/example.db.
The onCreate() callback will be called after the database was created, and it will execute the above sql query that will create the table users.
Saving Data in SQLite
Now inside the class DatabaseHandler, we can create another method to insert users to the database, for example:
  Future<int> insertUser(List<User> users) async {
    int result = 0;
    final Database db = await initializeDB();
    for(var user in users){
      result = await db.insert('users', user.toMap());
    }
    return result;
  }
Here insertUser() will take a list of users, then we loop inside the collection and insert each user to the table users. The insert() method takes the following parameters String table, Map<String, Object?> values, and that’s why we create a toMap() method in the model class.
Retrieve Data From SQLite
Then to retrieve data, we can create another method in the DatabaseHandler class, for example:
  Future<List<User>> retrieveUsers() async {
    final Database db = await initializeDB();
    final List<Map<String, Object?>> queryResult = await db.query('users');
    return queryResult.map((e) => User.fromMap(e)).toList();
  }
So here we use the query() method and give it the string users which is the table name. So this will select all columns from the table users. Then since queryResult returns a List, therefore we use the map() method to transform the List<Map<String, Object?>> into a List<User>.
Delete Data From SQLite
To delete data, we create the following method:
  Future<void> deleteUser(int id) async {
    final db = await initializeDB();
    await db.delete(
      'users',
      where: "id = ?",
      whereArgs: [id],
    );
  }
Here using the delete() method we pass the table name and then specify according to which column we need to delete the row in the database table.
Display Data From The Database
Navigate to the main.dart file, and remove all the code related to the counter Flutter application, and inside the _MyHomePageState add the following:
class _MyHomePageState extends State<MyHomePage> {

  late DatabaseHandler handler;

  @override
  void initState() {
    super.initState();
    this.handler = DatabaseHandler();
    this.handler.initializeDB().whenComplete(() async {
      await this.addUsers();
      setState(() {});
    });
  }
So here we create an instance of the class DatabaseHandler() and then call initalizeDb() to create the database which will contain the users table. When the Future is completed we call addUsers(). For simplicity, I’m creating two users manually instead of creating a form, therefore inside the addUsers() we would have the following:
  Future<int> addUsers() async {
    User firstUser = User(name: "peter", age: 24, country: "Lebanon");
    User secondUser = User(name: "john", age: 31, country: "United Kingdom");
    List<User> listOfUsers = [firstUser, secondUser];
    return await this.handler.insertUser(listOfUsers);
  }
Here, we create two users and add them to the list, then call insertUser() method.
After this is done, setState(() {}); will be called which will rebuild the widget tree. Inside the build() method we will use a FutureBuilder widget to call retrieveUsers() method:
body: FutureBuilder(
future: this.handler.retrieveUsers(),
builder: (BuildContext context, AsyncSnapshot<List<User>> snapshot) {
if (snapshot.hasData) {
return ListView.builder(
itemCount: snapshot.data?.length,
itemBuilder: (BuildContext context, int index) {
return Dismissible(
direction: DismissDirection.endToStart,
background: Container(
color: Colors.red,
alignment: Alignment.centerRight,
padding: EdgeInsets.symmetric(horizontal: 10.0),
child: Icon(Icons.delete_forever),
),
key: ValueKey<int>(snapshot.data![index].id!),
onDismissed: (DismissDirection direction) async {
await this.handler.deleteUser(snapshot.data![index].id!);
setState(() {
snapshot.data!.remove(snapshot.data![index]);
});
},
child: Card(
child: ListTile(
contentPadding: EdgeInsets.all(8.0),
title: Text(snapshot.data![index].name),
subtitle: Text(snapshot.data![index].age.toString()),
)),
);
},
);
} else {
return Center(child: CircularProgressIndicator());
}
},
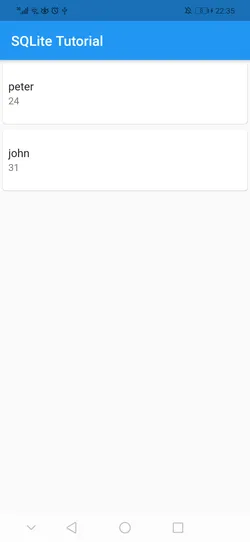
),The above build() method will give us the following:
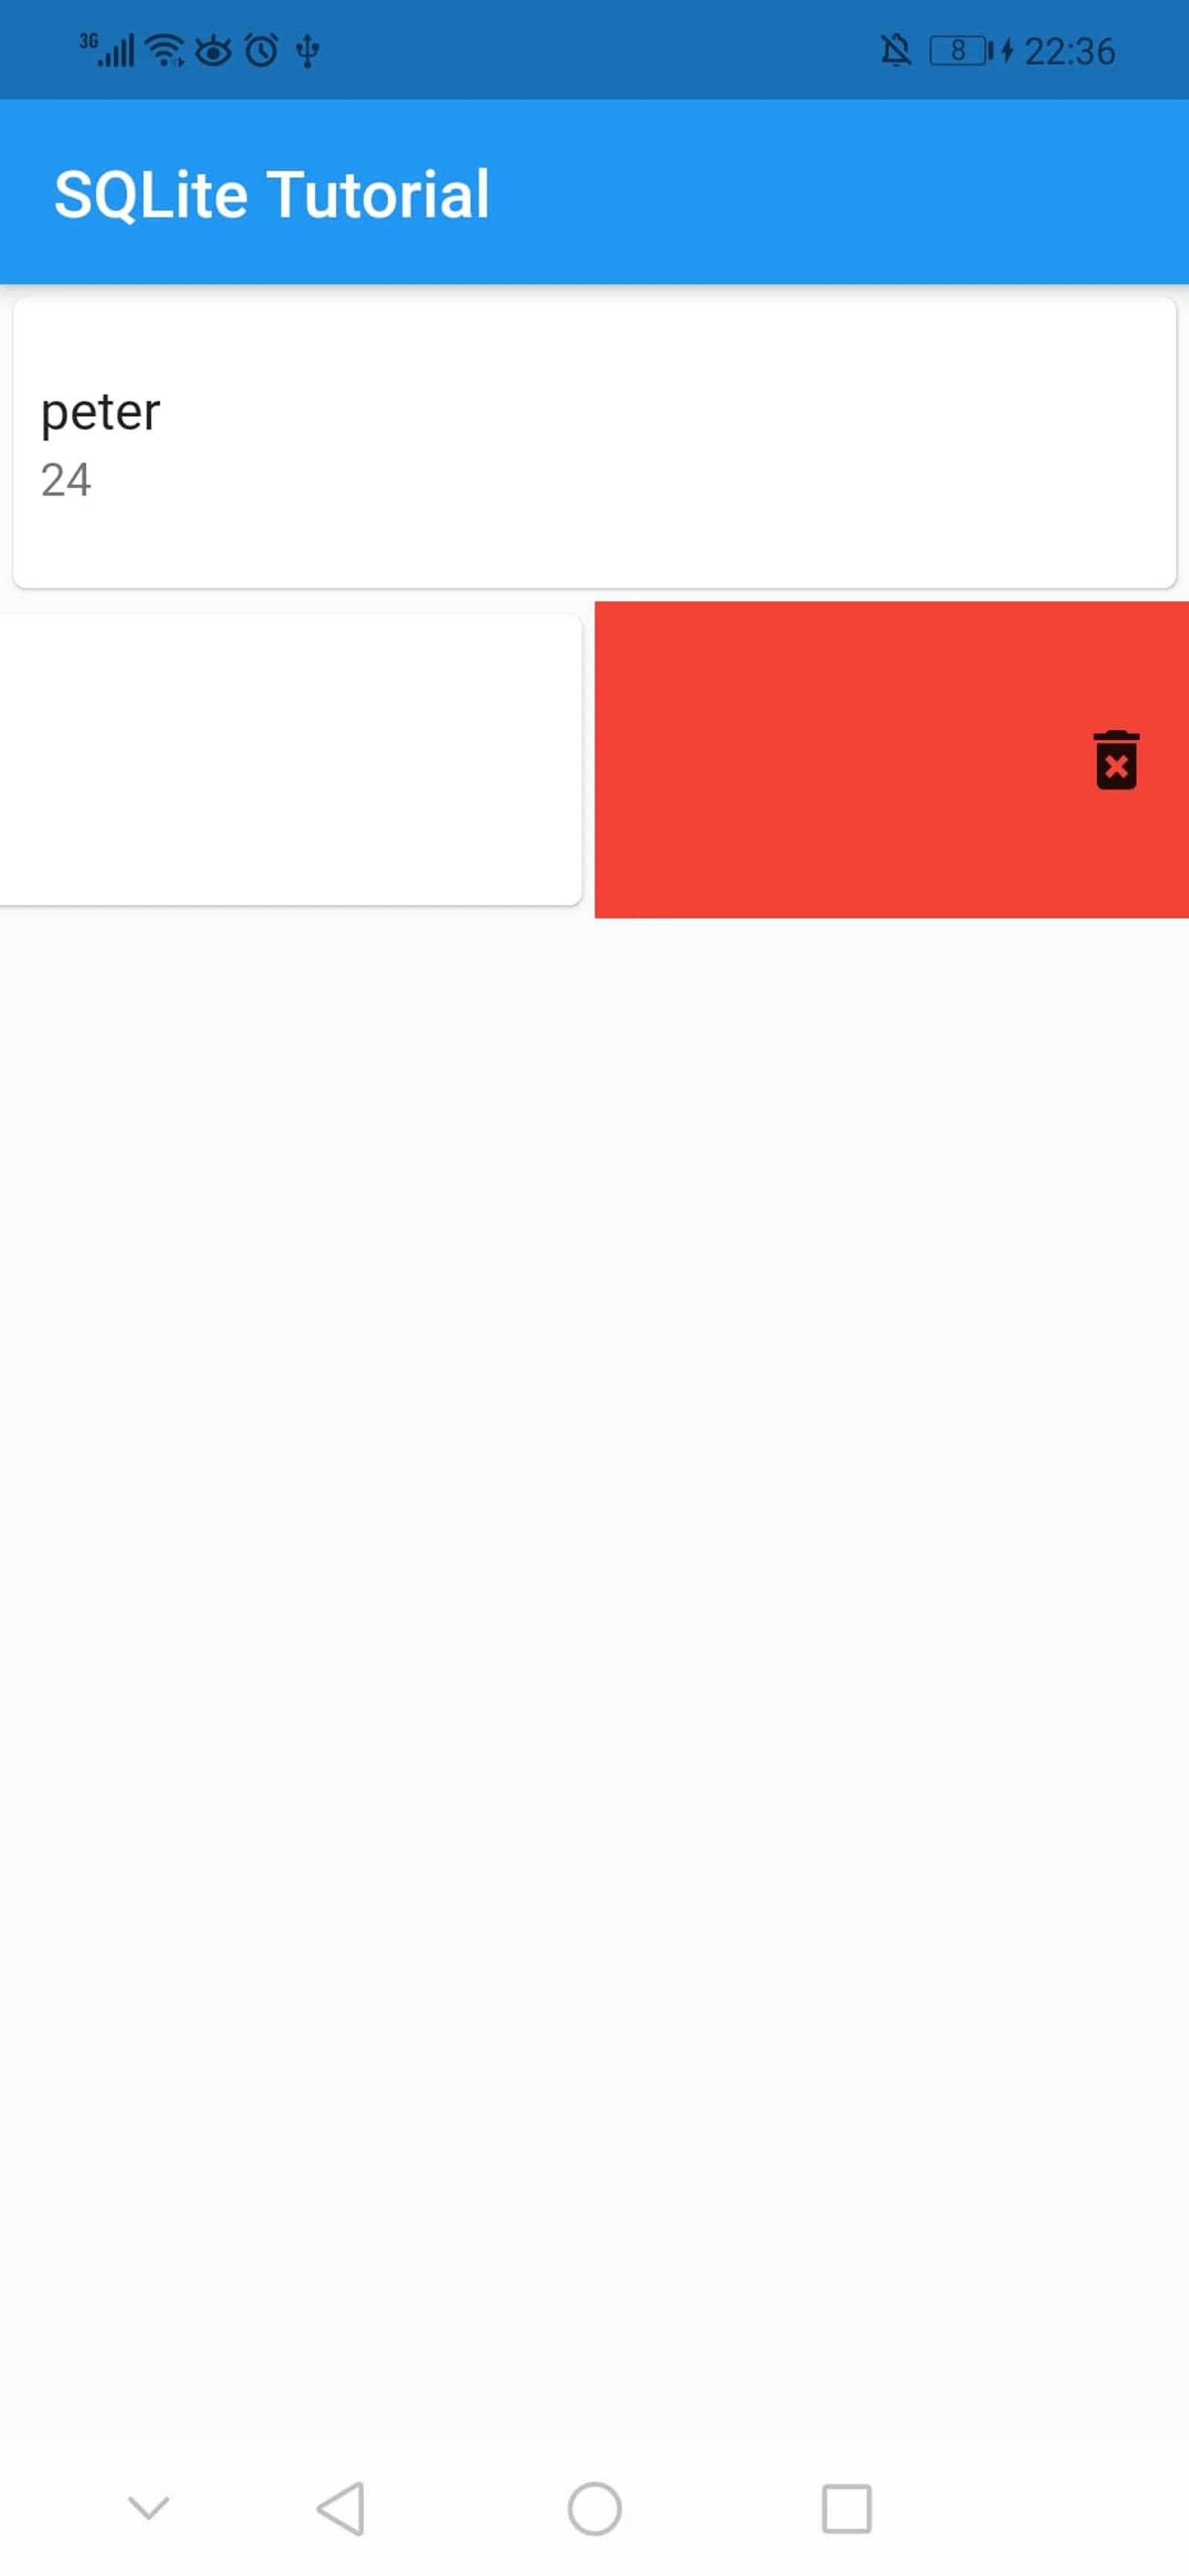
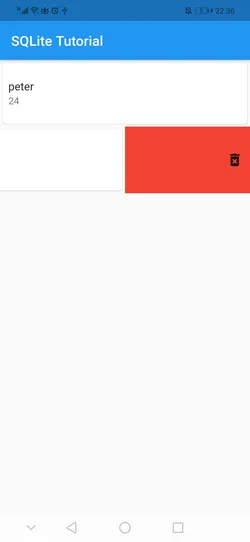
To delete a user, we can use the Dismissible widget to swipe to the right, which will remove the item from the list and delete the user from the database by calling the method deleteUser():
I hope you enjoyed reading this flutter tutorial, please feel free to leave any comments or feedback on this post!