Using CustomPaint In Flutter

Software Developer | Technical Writer | Actively helping users with their questions on Stack Overflow.
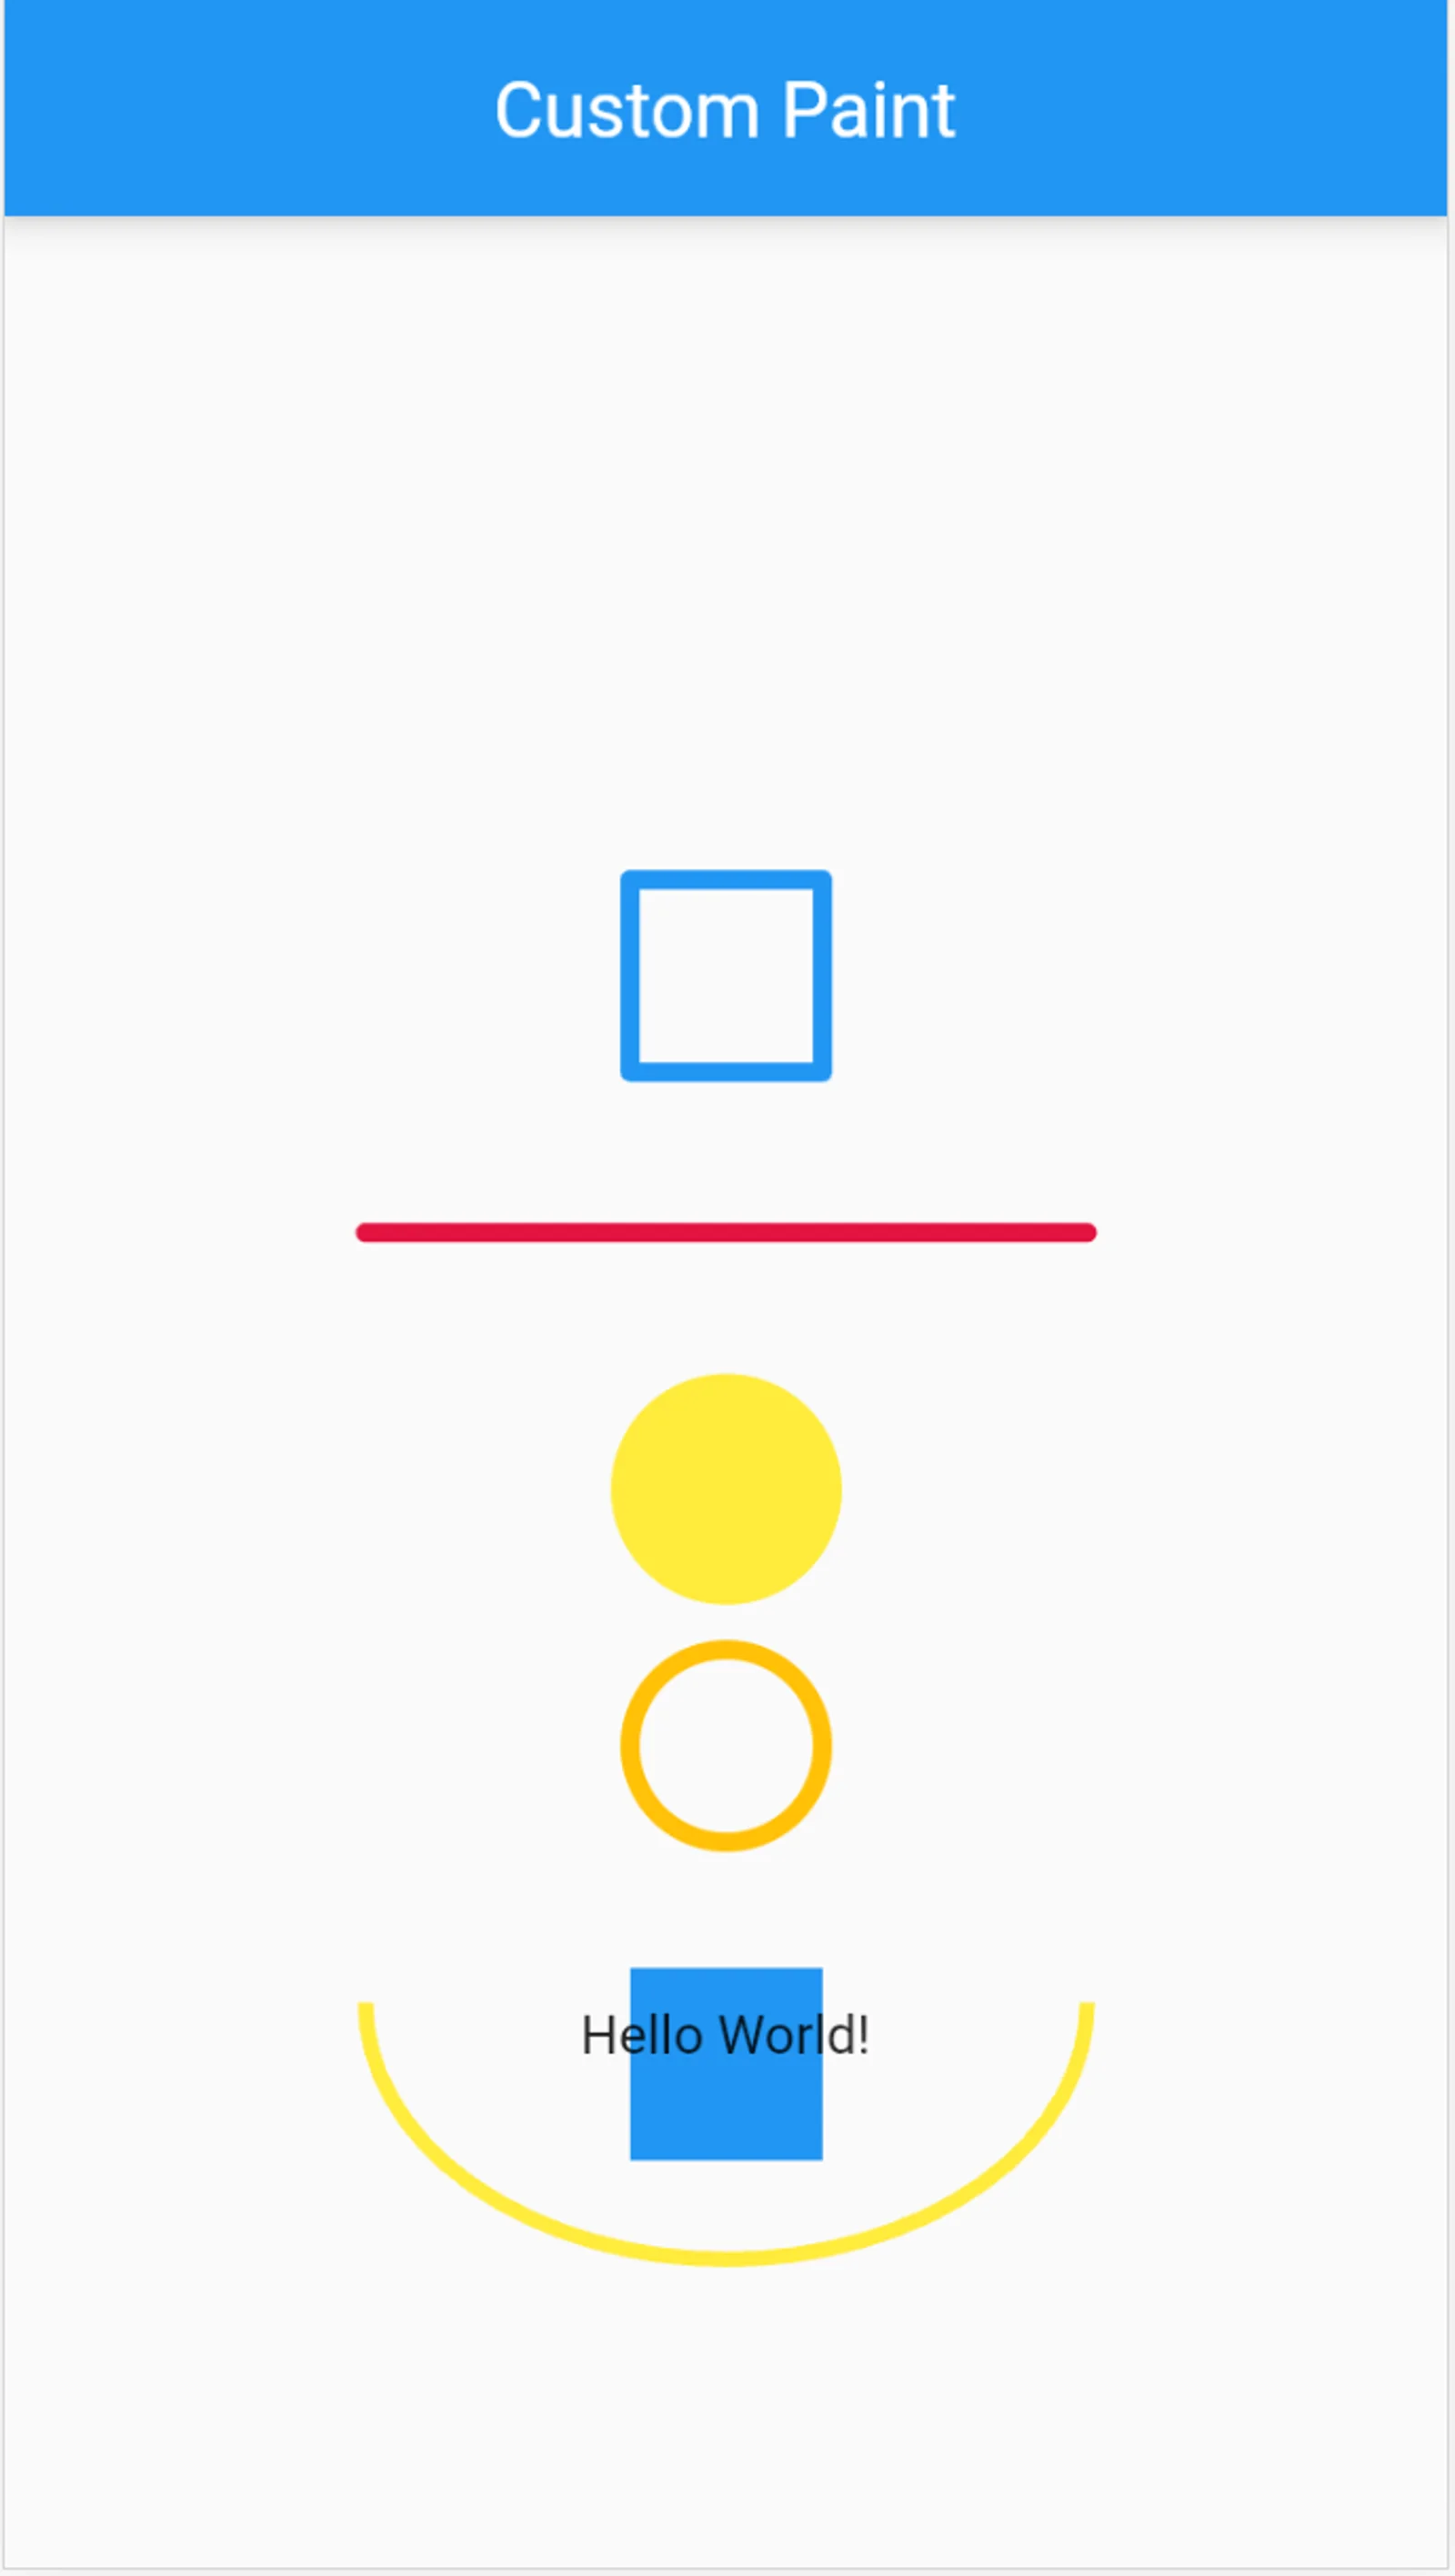
In this article, we will explain what is CustomPaint widget, check different shapes that can be created and give an example on how to use it in a Flutter application.
What is CustomPaint?
CustomPaint is a widget from the Flutter SDK, which enables you to use a canvas to draw different shapes. It contains the following properties:
painter: The painter that paints before the child. Here you would need to create a class that extends the classCustomPaintersize: The size of thisCustomPainter, initiallysizeis equal toSize.zerowhich means if you don’t define asizeor achildthen theCustomPaintwill not show.foregroundPainter: The painter that paints after the children. Also it takes a class that extends the classCustomPainter.child: The widget below this widget tree.
When using CustomPaint, you have two choices either specify a size property without a child or use the child property giving it a widget.
The CustomPainter Class
To be able to use the CustomPaint widget, you need to create a class that extends the CustomPainter. The class would have to implement two methods paint() and shouldRepaint(), example:
class Rectangle extends CustomPainter {
  @override
  void paint(Canvas canvas, Size size) {
    // TODO: implement paint
  }

  @override
  bool shouldRepaint(covariant CustomPainter oldDelegate) {
    // TODO: implement shouldRepaint
    throw UnimplementedError();
  }

}
As you can see above, the paint() method will get called whenever the objects needs to repaint and it will have two parameters Canvas and Size. The Canvas class is used to create different shapes as we will see later on, and the Size will return the size of this canvas and it contains both the height and width properties which you can use when creating shapes.
The shouldRepaint() method will be called whenever there is a new instance of the CustomPainter. If the new instance will always have the same property value then the method can just return false.
Drawing A Rectangle
Before adding the shapes, you need to understand the coordinates in the canvas. The canvas, same as in web, the upper left-corner will have coordinates (0,0) that’s the starting point while the upper right corner will have coordinates (max_width,0). The lower left-corner will have the coordinates (0,max_height) while the lower right-corner will have the coordinates (max_width,max_height).
To draw a rectangle, first we need to create a CustomPaint widget:
CustomPaint(
    size: Size(size.width * 0.5, size.height * 0.1),
    painter: Rectangle(),
)
Here we give the CustomPaint it’s own size, so the canvas will be inside that size. Then we need to create the Rectangle class:
class Rectangle extends CustomPainter {
  bool? isFilled;
  Rectangle({this.isFilled});
  @override
  void paint(Canvas canvas, Size size) {
    Paint paint = Paint();
    paint.color = Colors.blue;
    if(isFilled != null){
      paint.style = PaintingStyle.fill;
    }
    else {
      paint.style = PaintingStyle.stroke;
    }
    paint.strokeCap = StrokeCap.round;
    paint.strokeJoin = StrokeJoin.round;
    paint.strokeWidth = 5;
    Offset offset = Offset(size.width * 0.5, size.height);

    Rect rect = Rect.fromCenter(center: offset, width: 50, height: 50);
    canvas.drawRect(rect, paint);
  }

  @override
  bool shouldRepaint(covariant Rectangle oldDelegate) {
    return false;
  }
}
Which would give us the following:
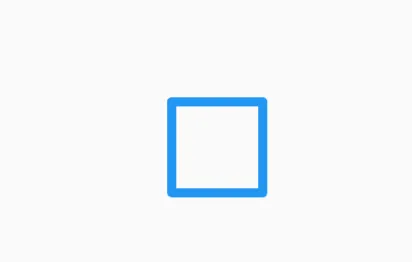
If we check the code above, first we are using the Paint class, which is used to style the canvas. We provide it with color blue and since isFilled is null then PaintingStyle.stroke is applied which will paint the edges of the rectangle and we also give the Paint object width 5. Then we create an Offset which would be half the width of the canvas and full height. After that we create the Rect object by using Rect.fromCenter which would construct a rectangle from its center point, width, and height. Finally, we call the method drawRect and pass to it the arguments rect and paint.
Another way is to use a child property with the CustomPaint widget:
CustomPaint(
    child: Container(child: const Text("Hello World!"),),
    painter: Rectangle(isFilled: true),
),
Now the canvas would take the size of the Container, and since we are using the painter property then the text would appear above of the rectangle. If you want the text to appear behind the rectangle then you need to use the foregroundPainter property.

Drawing a Line
To draw a line alone, you need to also use the CustomPaint widget, and create another class that extends the CustomPainter class:
CustomPaint(
    size: Size(size.width * 0.5, size.height * 0.1),
    painter: Line(),
),

class Line extends CustomPainter {
  @override
  void paint(Canvas canvas, Size size) {
    Paint paint = Paint();
    paint.color = const Color.fromARGB(255, 226, 19, 64);
    paint.strokeWidth = 5;
    paint.strokeCap = StrokeCap.round;

    Offset startingOffset = Offset(0, size.height);
    Offset endingOffset = Offset(size.width, size.height);

    canvas.drawLine(startingOffset, endingOffset, paint);
  }

  @override
  bool shouldRepaint(covariant CustomPainter oldDelegate) {
    return false;
  }
}
Here we also use the Paint object to style the Line and we give it width of 5. Then we need to create a starting point and an ending point that would be used to reflect the beginning of the line and the end. So, here we specify that the starting point must start at X-axis with coordinate 0 and y-axis with maximum height while the end point must have coordinate maximum width as X-axis and maximum height as y-axis thus creating a straight horizantal line.

Drawing a Circle
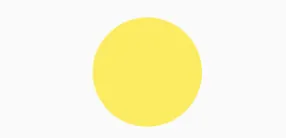
You can draw a circle by calling the method drawCircle() on the canvas object:
class Circle extends CustomPainter {
  @override
  void paint(Canvas canvas, Size size) {
    Paint paint = Paint();
    paint.color = Colors.yellow;
    paint.style = PaintingStyle.fill;
    paint.strokeCap = StrokeCap.round;
    paint.strokeJoin = StrokeJoin.round;

    Offset offset = Offset(size.width * 0.5, size.height);
    canvas.drawCircle(offset, 30, paint);
  }

  @override
  bool shouldRepaint(covariant CustomPainter oldDelegate) {
    return false;
  }
}
Here, same as the other shapes we use the Paint object to style the canvas and then we use the Offset object to determine the position of the circle in relation with the size of the canvas.
Drawing an Arc
To draw an arc, you need to call the method drawArc() on the canvas object:
class Arc extends CustomPainter {

  double _degreeToRadians(num degree) {
    return (degree * math.pi) / 180.0;
  }

  @override
  void paint(Canvas canvas, Size size) {
    Rect rect = Rect.fromLTRB(0, 0, size.width, size.height * 2);
    double startAngle = _degreeToRadians(0);
    double sweepAngle = _degreeToRadians(180);
    const useCenter = false;
    Paint paint = Paint();
    paint.color = Colors.yellow;
    paint.style = PaintingStyle.stroke;
    paint.strokeWidth = 4;
    canvas.drawArc(rect, startAngle, sweepAngle, useCenter, paint);
  }

  @override
  bool shouldRepaint(covariant CustomPainter oldDelegate) {
    return false;
  }
}
So here it’s a bit different in which the drawArc() method takes a startangle and a sweepangle radian. Therefore to change the degree into radian you can simply use (degree * math.pi) / 180.0, therefore in the above code we would get an arc with a 180 degree.
References
Couple of articles/videos that I read and recommend reading:
I hope you enjoyed reading this flutter tutorial, please feel free to leave any comments or feedback on this post!