Getting Started with Ionic

Software Developer | Technical Writer | Actively helping users with their questions on Stack Overflow.

Ionic is a framework that helps you to create hybrid applications, thus you will have only one codebase for both IOS and Android. The latest version of ionic is ionic 4. Since ionic is written using web languages, then it uses cordova to be able to use native device functionalities.
Installing Ionic
Ionic utilizes the command line, to be able to install it you need to open the terminal and execute the following command:
npm install -g ionic cordovaThis will install both ionic framework and the cordova CLI. You also need to install node before being able to execute this command. You can find information about node in the following link node install.
After that you can execute the following command to start a project:
ionic start <Project_Name> blankThen the project will be created and you can navigate to the folder using cd and execute ionic serve that will run the project in the browser.
You will get the following in the browser:
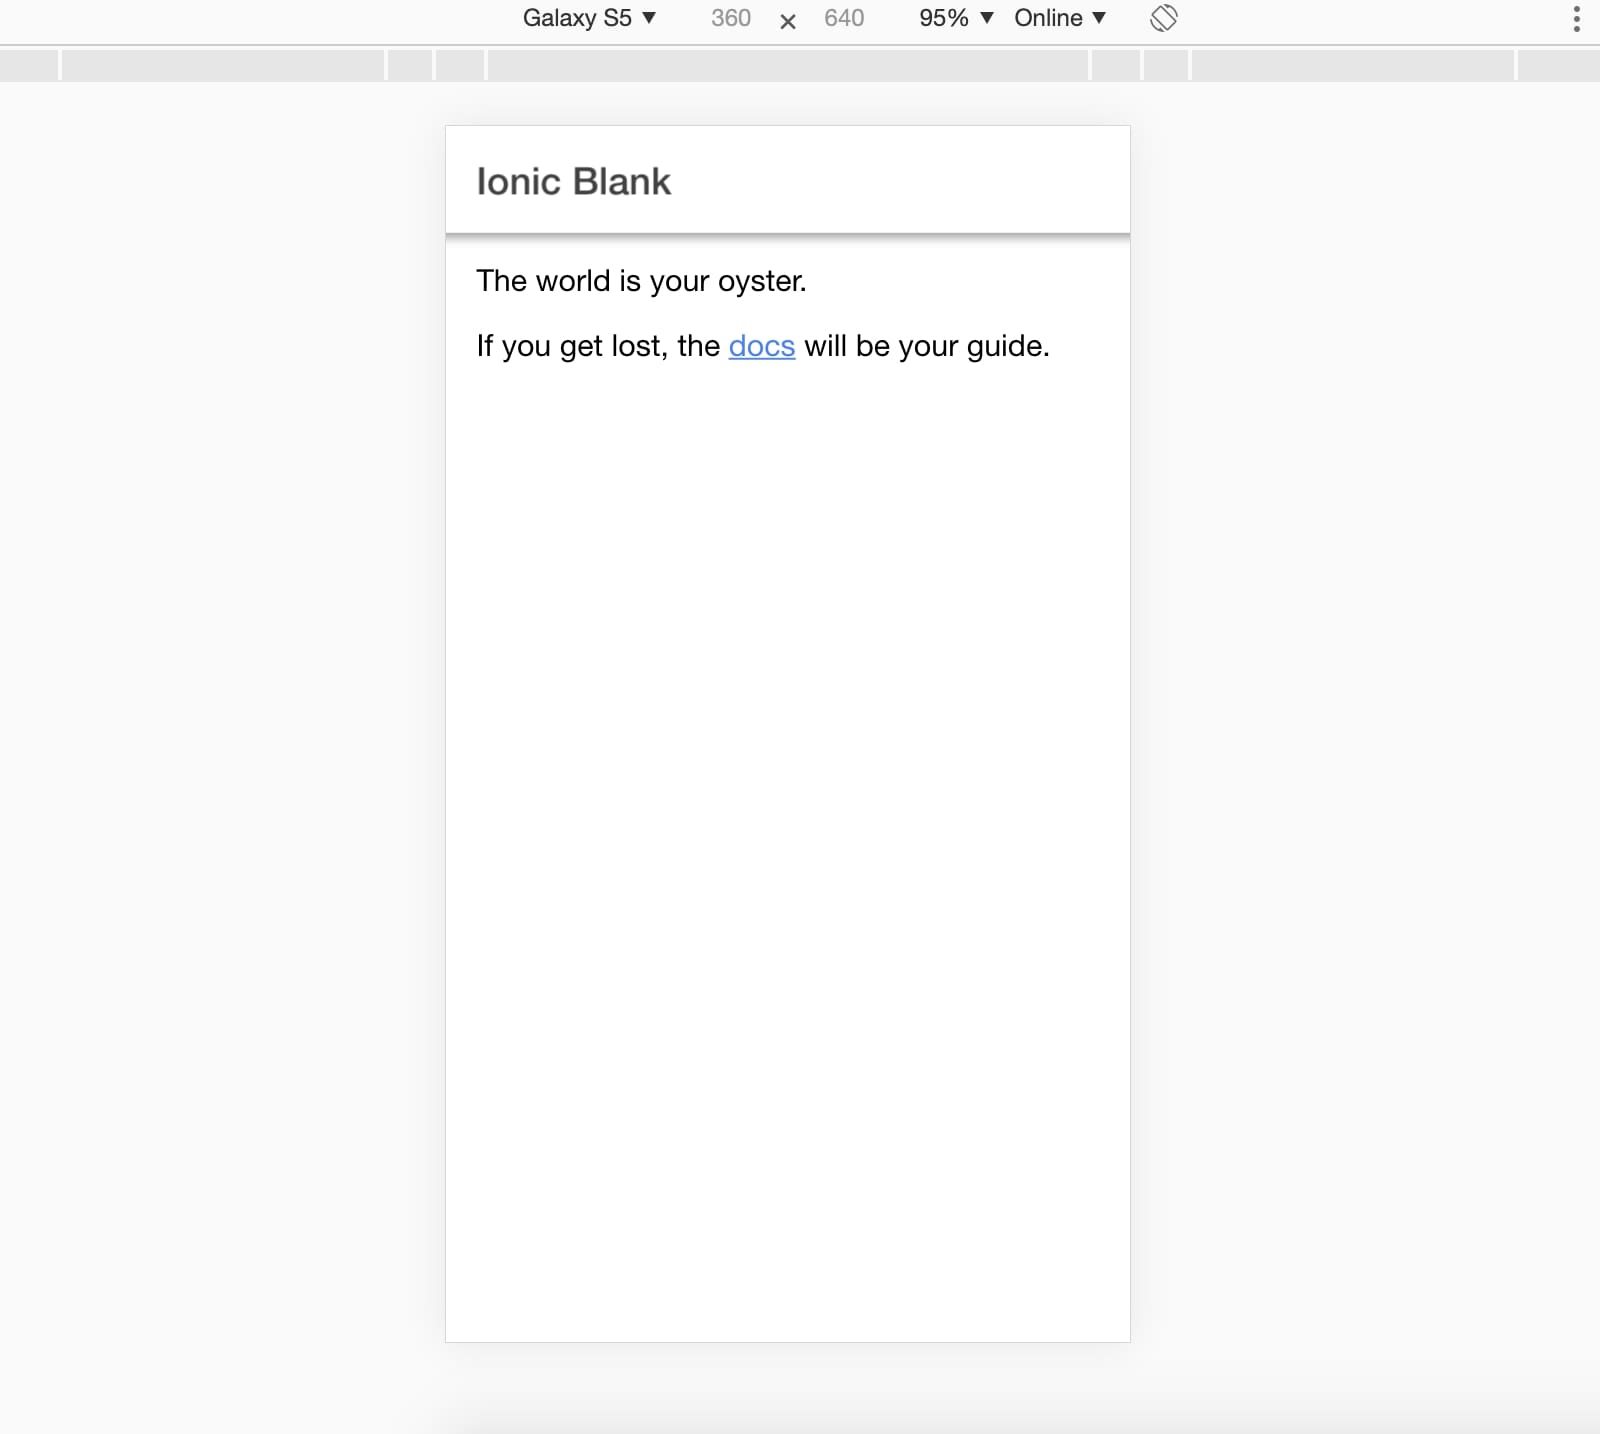
blank is a template that the ionic team created so we can use it in our projects. There are two other options like tabs and sidemenu.
Ionic Command List
The following tables contains the most used commands in ionic projects:
| Command | Description |
|---|---|
| ionic start Project_Name template | Creates a new project according to the template |
| ionic serve | Starts a local server to view the application |
| ionic generate | Enables you to generate pages, services, modules, directive |
| ionic info | Gives you information regarding the versions of ionic, cordova cli, node, os |
Project Structure
In this section, I will explain the different folders that will be avaiable after creating a project. Please note that I’am using ionic 4 with angular. The following is the project structure that will be created:
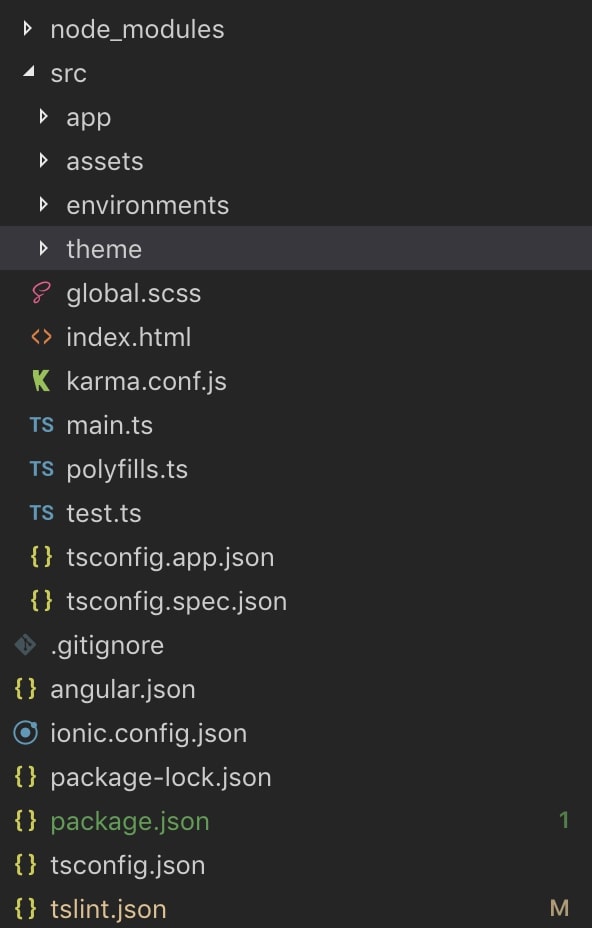
- node_modules , will contain all the npm packages in this project
- package.json, will contain information about all the different dependencies installed.
- tslint.json, will contain different rules that will enable it to check if the typescript code is readable.
- src, is the most important folder, it will contain all the pages and code of the project.
Explaining the src Folder Structure
Inside the src folder, you will find the app folder which will contain the different pages that were generated using the command ionic generate page <Page_Name>. Each page will have 4 files, the home.module.ts which will contain the @NgModule decorator that will let you import other modules, declare components to be used in the page or add services and plugins inside the providers array. For example
@NgModule({
  imports: [
    ReactiveFormsModule,
    CommonModule,
    FormsModule,
    IonicModule,
    RouterModule.forChild([
      {
        path: '',
        component: HomePage
      }
    ])
  ],
  declarations: [HomePage]
Another file is the home.page.html that is the template of this page, the home.page.scss which will contain different css configurations.
home.page.ts that will contain your typescript code, home.page.spec.ts which is used for testing.
Also under the app folder you can find the root app component and module. The root component contains an extra file compared to a page which is the app-routing.module.ts. The file is used for routing and navigation, it will contain an array of route objects. For example:
const routes: Routes = [
  { path: '', redirectTo: 'home', pathMatch: 'full' },
  { path: 'home', loadChildren: './home/home.module#HomePageModule' },
];
The above are all properties of the Router interface. The path will contain the url to the specific page, redirectTo will navigate to the page specified in this case home is the first page. The loadChildren will use lazy loading to load the pages.
Another directory under the src folder is assets, which can contain images,icons, or json data. The theme directory that has the variable.scss file which will contain the theme for the project, example the color used. The file can be configured according to the project’s requirement. The global.scss file will contain css classes that can be used globally.
The index.html file is the main entry of the project, it contains the selector of the root component <app-root></app-root>.
Creating a Sign up Page
After creating a new blank project, navigate to the file home.page.html, you will see the following:
<ion-header>
  <ion-toolbar>
    <ion-title>
      Ionic Blank
    </ion-title>
  </ion-toolbar>
</ion-header>

<ion-content>
  <div class="ion-padding">
    The world is your oyster.
    <p>If you get lost, the <a target="_blank" rel="noopener" href="https:ionicframework.com/docs/">docs</a> will be your guide.</p>
  </div>
</ion-content>
All elements that start with ion are ionic’s UI components. The <ion-header> component will contain the <ion-toolbar>, The toolbar can contain a title for the page, icons, or menu buttons for navigation. The main content of the page will be inside the element <ion-content>.
Since we are using angular with ionic then we can use the Reactive Forms. To add a form we can do the following:
<ion-content>
    <form [formGroup]="signUpForm">
        <ion-grid>
            <ion-row justify-content-center>
                <ion-item lines="none">
                    <ion-input input-design formControlName="fullName" type="text" placeholder="Full Name"></ion-input>
                </ion-item>
            </ion-row>
            <ion-row justify-content-center>
                <ion-button btn-design (click)="submitForm()" expand="block" shape="round" color="primary" type="submit" [disabled]="signUpForm.invalid">
                    Login
                </ion-button>
            </ion-row>
        </ion-grid>
    </form>
</ion-content>
The formGroup can be used to track any changes for each of it’s controls. The formControlName is used to bind the template to the typescript, thus making it easy to acess and set the value of the input element. The submit button contains a click event with method submitForm().
In the typescript file, we declare a variable of type FormGroup and call the variable the same name as in the html file which is signUpForm. Since angular uses the dependency injection concept, then we can add the FormBuilder to the constructor and we will have access to different method of class FormBuilder without the need to use the new keyword.
After adding the FormBuilder to the constructor, we can do the following:
  constructor(private fb : FormBuilder)
  {
    this.signUpForm = this.fb.group({
      fullName    : ["",Validators.compose([Validators.required])],
      email       : ["", Validators.compose([Validators.required])],
      password    : ["", Validators.compose([Validators.required])],
      dateOfBirth : ["", Validators.compose([Validators.required])],
    })
  }
The group method is used to create a new instance of FormBuilder and it will contain a collection of the child controls. The Validators.required will make the input field required or the form would be invalid. Inside the submitForm() method we can do the following:
  submitForm()
  {
    if(this.signUpForm.valid)
    {
      this.fullName    = this.signUpForm.value.fullName;
      this.dateOfBirth = this.signUpForm.value.dateOfBirth;
      console.log(`${this.fullName} ${this.dateOfBirth}`);
      this.signUpForm.get("email").setValue("[email protected]");
    }
  }
In the code snippet above, we check if this form is valid and retrieve the values of fullName and dateOfBirth. Then we get the control emailand set its value using setValue().
You can find the github repository of the project in the following link: Reactive Form tutorial.
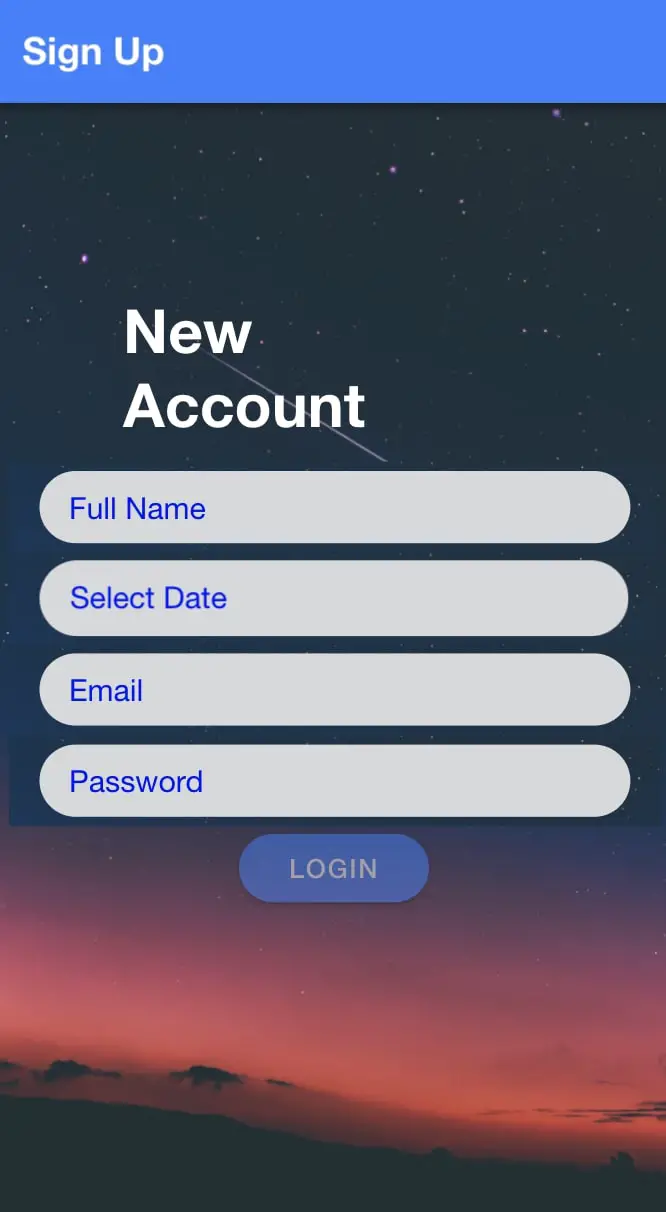
After running the project locally, you should get:
Plugins
Adding A Plugin
Ionic is a hybrid framework used to create mobile applications, but every application needs to use features that are available in the device. Ionic uses Cordova to be able to use native features. Cordova offers different plugins to communicate with the device.
Therefore first you need to download a cordova plugin, you can find the plugins in the following website: community plugins. Then you can use different methods that the plugin offers. Let’s take an example, if we want to get the details of a device we can download the device plugin. Therefore after creating a new project we need to execute the following commands:
ionic cordova plugin add cordova-plugin-device
npm install @ionic-native/device
After executing the above commands, the Device plugin should be automically added to the providers array in the app.module.ts. Then you can import it in the page and start using it, example:
import { Device } from '@ionic-native/device/ngx';

constructor(private device: Device) { }
console.log('Device UUID is: ' + this.device.uuid);
Here, first we import the Device then add it to the constructor, which also creates an instance of Device Note: Dependency Injection. After that you will be able to use the properties and method of Device. You can find the repository of the device plugin in the following link: Device Plugin. As you can see, we can use var string = device.platform; which will retrieve the platform of this device.
Adding Platforms
Cordova plugins are aimed to be used in ios or android platform, so to be able to see the output of some plugins you need to add those platforms and run the application on an emulator or a physical device.
To add the android platform you can execute the following commands:
ionic cordova platform add android
ionic cordova platform build android
The following two commands will add, build the application and create an apk. You can also specify the version of the android platform by doing for example ionic cordova platform add android@8.
To add the ios platform you can execute the following commands:
ionic cordova platform add ios
ionic cordova platform build ios
Then you can connect an iphone to the macbook, open xcode and run the application on the device.
To remove a platform, you can execute the following command:
ionic cordova platform rm <platform_name>I hope you enjoyed reading this ionic tutorial, please feel free to leave any comments or feedback on this post!