Side Menu In Ionic 4

Software Developer | Technical Writer | Actively helping users with their questions on Stack Overflow.
Ionic 4 contains a component called ion-menu that will enable you to easily create a side menu for navigation.
Getting Started
First we need to create a new ionic project, we can do that by executing the following command:
ionic start sidemenu blankThen to run the project, we can execute the command ionic serve.
Now, we currently have only one page which is the home page, since we need to use a side menu to navigate easily to other pages, then we can execute the following command to create different pages:
ionic generate page Contacts
ionic generate page Chat
Now that we have 3 pages, we can start creating the side menu!
Creating the side menu
Ionic provides a component called ion-menu to easily create a side menu, we will be using that component in this section.
First, we need to navigate to the root component, which is the app.component.ts. Then, we create an array of objects that will contain the different pages in our project, icons representing each page and the url of each page.
Example:
export class AppComponent {
  navigate : any;
  constructor(private platform    : Platform,
              private splashScreen: SplashScreen,
              private statusBar   : StatusBar)
  {
    this.sideMenu();
    this.initializeApp();
  }

  initializeApp() {
    this.platform.ready().then(() => {
      this.statusBar.styleDefault();
      this.splashScreen.hide();
    });
  }

  sideMenu()
  {
    this.navigate =
    [
      {
        title : "Home",
        url   : "/home",
        icon  : "home"
      },
      {
        title : "Chat",
        url   : "/chat",
        icon  : "chatboxes"
      },
      {
        title : "Contacts",
        url   : "/contacts",
        icon  : "contacts"
      },
    ]
  }
}
Note: To obtain the url, you can navigate to the app-routing.module.ts and check the path of each page inside the Routes array. Also, to get the icons, you can go to the following website Ionicons and retrieve the name value of each icon.
After adding a the navigate array, we need to add the ion-menu component in the app.component.html file to create a side menu.
Example:
<ion-app>
    <ion-menu side="start" menuId="first" contentId="content1">
        <ion-header>
          <ion-toolbar>
            <ion-title>Navigate</ion-title>
          </ion-toolbar>
        </ion-header>
        <ion-content>
          <ion-list *ngFor="let pages of navigate">
          <ion-menu-toggle auto-hide="true">
            <ion-item [routerLink]="pages.url" routerDirection="forward">
                <ion-icon [name]="pages.icon" slot="start"></ion-icon>
        {% raw %}           {{pages.title}} {% endraw %}
            </ion-item>
          </ion-menu-toggle>
          </ion-list>
        </ion-content>
      </ion-menu>
  <ion-router-outlet id="content1"></ion-router-outlet>
</ion-app>
Explanation:
The ion-menu with side="start" will create a side menu that starts from left to right, ion-title will create a title for the pages in the side menu. Also, don’t forget to add the attribute contentId which the id the menu should use. The routerLink will let you navigate to the url specified, and the routerDirection Determines the animation that takes place when the page changes.
Then, we use ngFor to loop inside the array navigate and we use the attribute url to navigate to the specific page when clicking on it.
Note: ion-menu-toggle is used to open and close the side menu, therefore when you click on a menu item, it will close the side menu automatically.
Menu Button
After we create the side menu in the root component, we need to be able to open/close it in each page. To be able to do that we need to use the component ion-menu-button in the html of each page, that will create an icon and functionality to open a menu on a page.
Example, in the home.page.html:
<ion-header>
<ion-toolbar>
<ion-buttons slot="start">
<ion-menu-button></ion-menu-button>
</ion-buttons>
<ion-title>
Home
</ion-title>
</ion-toolbar>
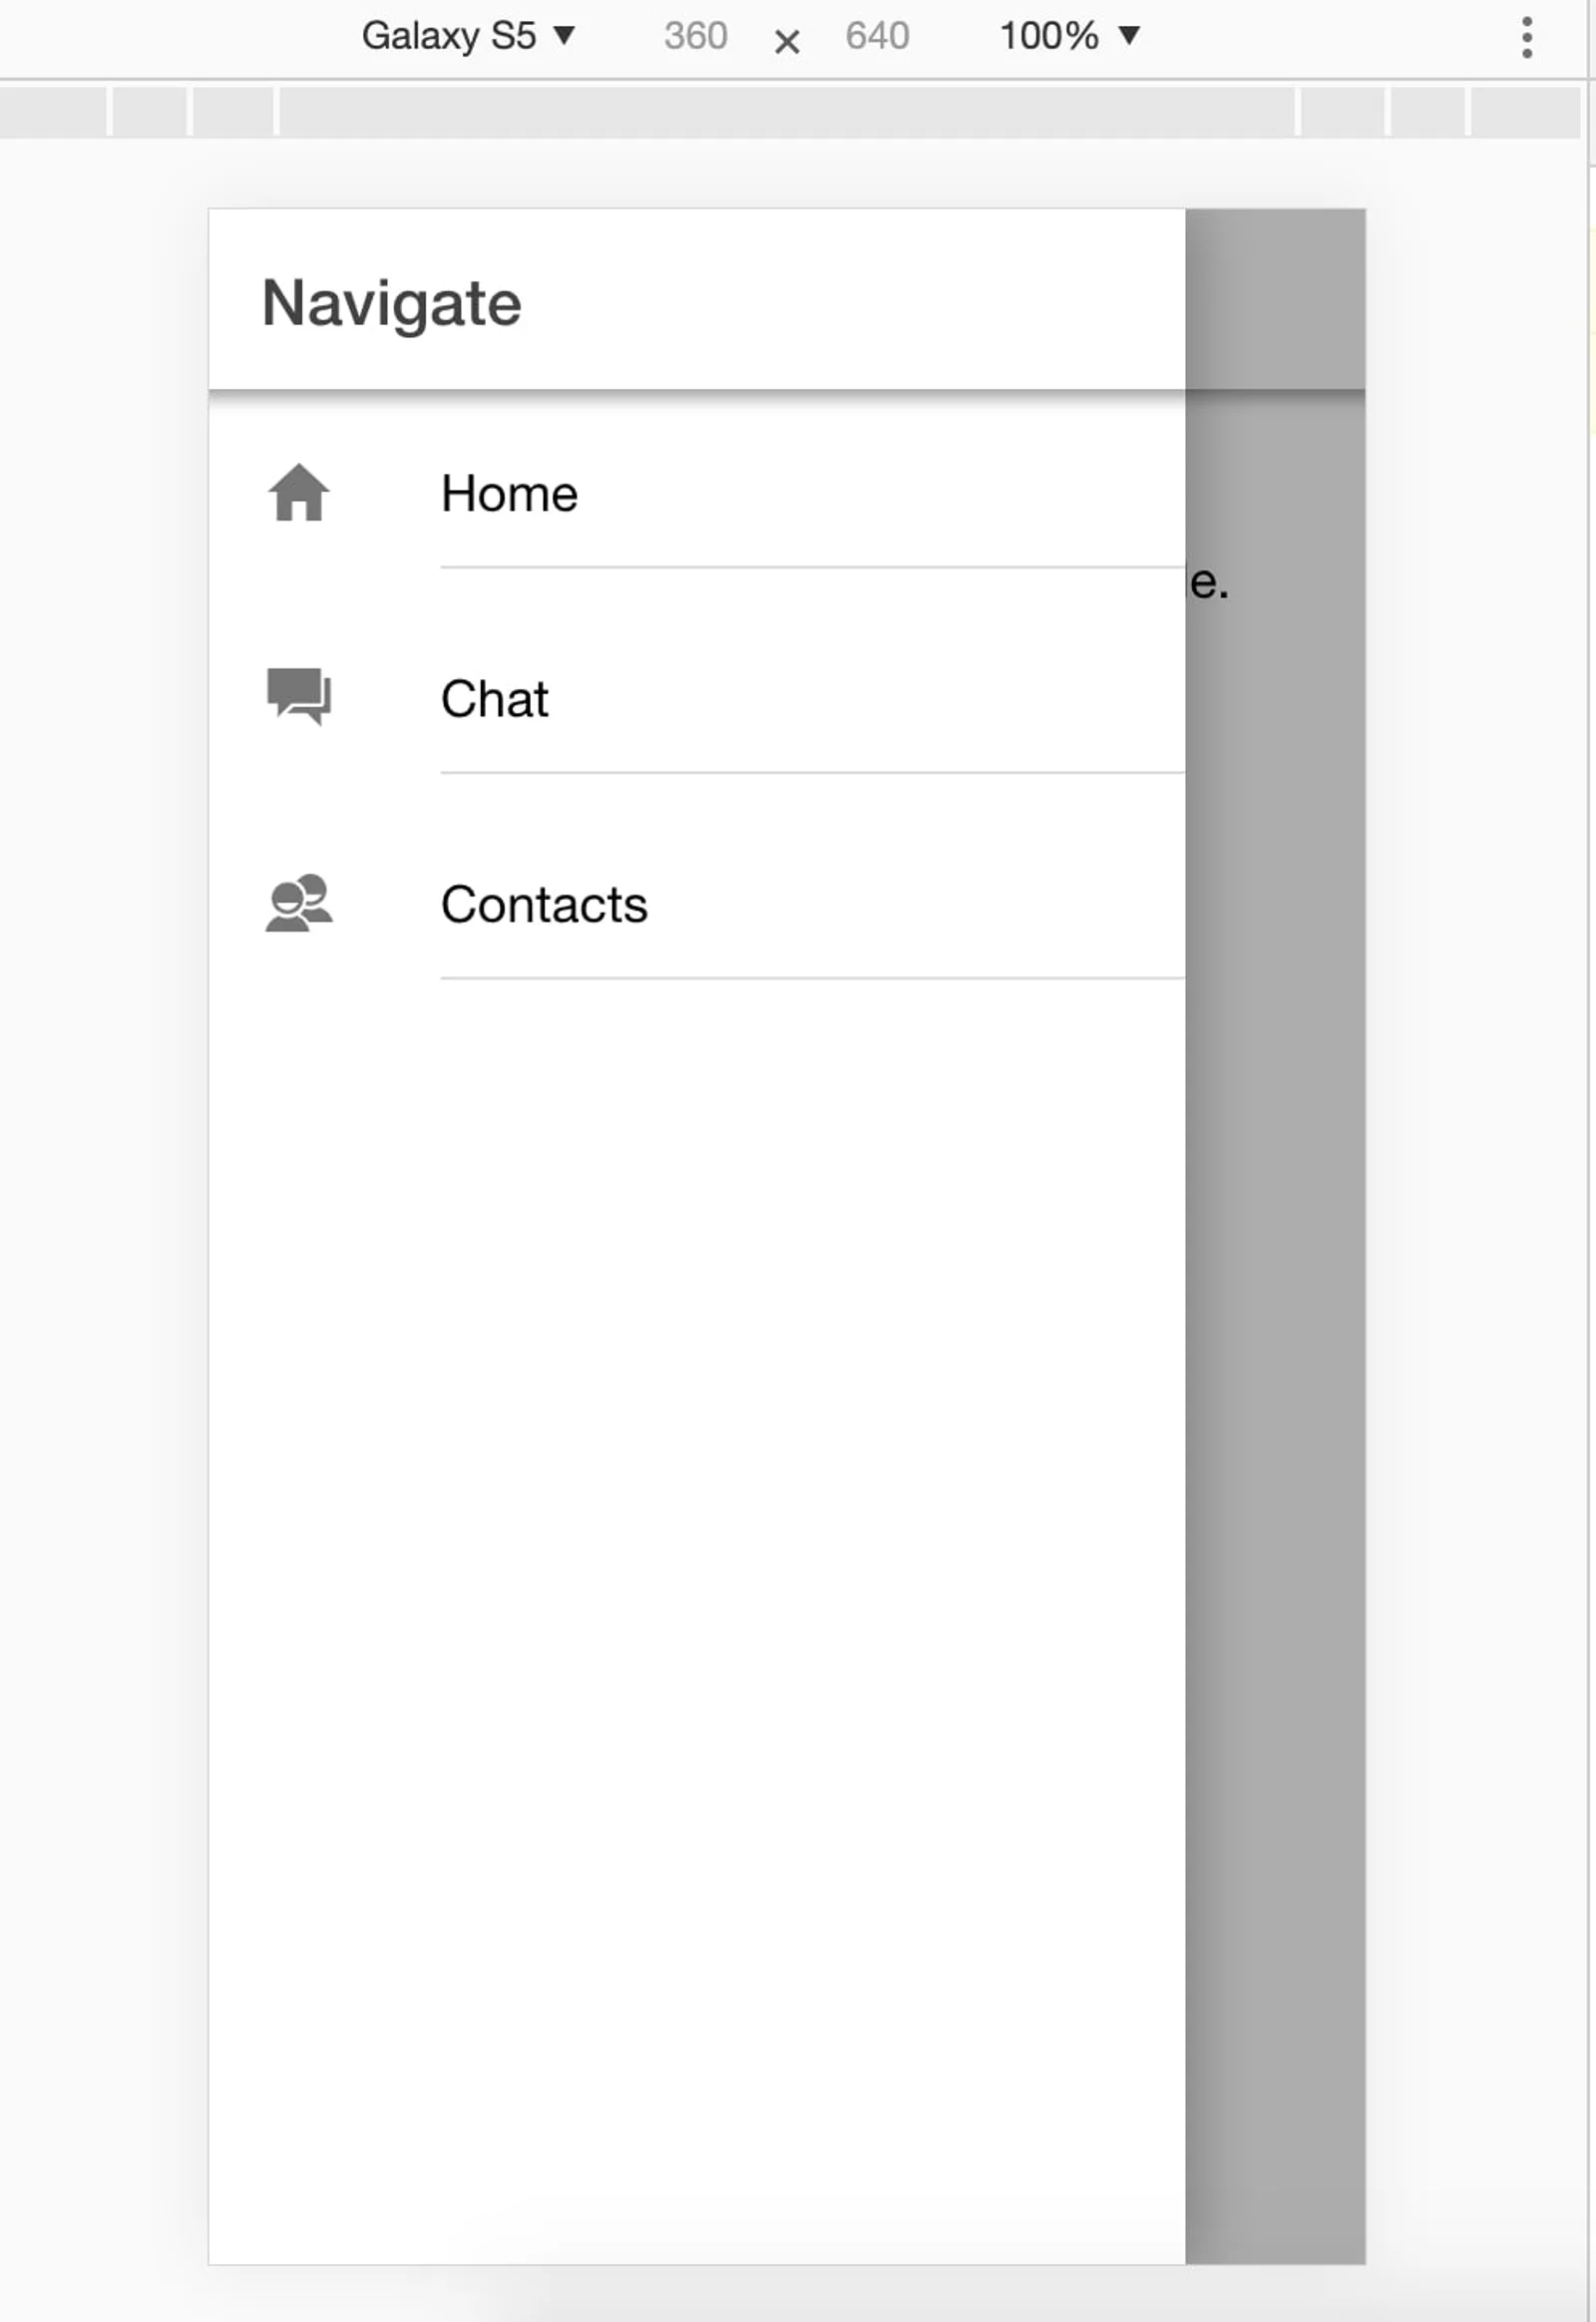
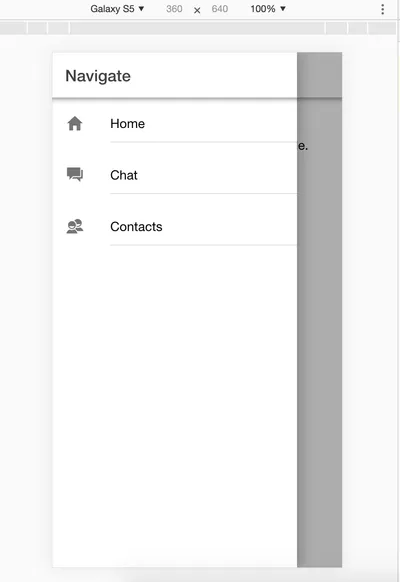
</ion-header>After adding the above code, you should get the following side menu:
I hope you enjoyed reading this ionic tutorial, please feel free to leave any comments or feedback on this post!