Using Bloc Pattern In Flutter

Software Developer | Technical Writer | Actively helping users with their questions on Stack Overflow.
In this guide, we will learn about the Bloc Design Pattern and how to use it in a Flutter application. We will show an example of using both Cubit and Bloc.
What Is Bloc?
In previous tutorials we have seen the use of setState() which will trigger the build() method and update the UI with the new state.
We have also seen the provider state management which in simple terms, is a wrapper around Inherited Widgets.
Another statement management is Bloc which stands for Business Logic Components and it is a widely used state management in Flutter. Bloc has many advantages, but one of it’s main advantage is that it enables us to easily implement seperation of concern.
Using Bloc, we can easily seperate the application into multiple layers, first we would have the presentation layer which would contain the UI/Views/widgets, then the business logic layer (Bloc) which will take care about the state changes and will have a dependency on the data access layer.
The data access layer will be the last layer in the application, it can contain a repository class which will act as an abstract class above the data access object classes.
As you can see in the below diagram, the UI will send events to the Bloc, which will then send the requests to the data layer. Then the data layer will return a response and the Bloc will trigger state changes.

To understand it more, let’s say we want to fetch data from some kind of service. Then the UI will trigger the event TodoFetched to the Bloc. The Bloc will initially have a state called TodoInitial and then when we fetch the data from the repository, we can update the state to TodoLoaded. Also, when we update the states, we also update the UI. We will see this in the example later on.
Since Bloc contains some boilerplate code, another simplified version of it was created called Cubit. Both Cubit and Bloc extend the same class which is BlocBase so they have the same functionality. But as you can see in the diagram below, in Cubit we don’t have events anymore instead that would be replaced by functions. Those functions will then trigger a state change which will update the UI.

So Cubit is more simplified in which we only have to define functions, and states while in Bloc we would have to define the events, states and the EventHandler implementation.
If you want to learn how to setup Firebase and Bloc Pattern in Flutter, then check the following article: Using Firebase With Bloc Pattern in Flutter
Adding Bloc to Flutter
First, you need to add the following dependency to the pubspec.yaml file:
dependencies:
  bloc: ^8.1.4
  cupertino_icons: ^1.0.8
  equatable: ^2.0.5
  flutter:
    sdk: flutter
  flutter_bloc: ^8.1.6
  http: ^1.2.2

dev_dependencies:
  flutter_lints: ^1.0.0
  flutter_test:
    sdk: flutter
Click CTRL + S to save, and you have successfully added the above dependencies to your Flutter application!
The bloc dependency is used because we also used cubit in the example. The flutter_bloc will provide you with the widgets necessary to make it easier to use the Bloc pattern in Flutter. The equatable package is used to easily compare objects in Dart.
When comparing objects, you would have to override both the == and the hashcode method, so with equatable you wouldn’t have to worry about that since it’s easily done with just one line of code.
The http dependency is used to create http request to fetch, delete, update, create.
Observing Bloc Changes
In the following application, we would fetch data from the following url:
https://jsonplaceholder.typicode.com/todos
First, in the main.dart file delete all the code and add the following:
import 'package:bloc/bloc.dart';
import 'package:flutter/material.dart';

import 'app.dart';
import 'todo_bloc_observer.dart';

void main() async {
    Bloc.observer = TodoBlocObserver();
    runApp(const App());
}
Here the Bloc class has a property called observer, so we can then set the instance of BlocObserver which is in this case our custom class TodoBlocObserver. Setting this class would make it easier when getting stuck on some issue. Now create a file called todo_bloc_observer.dart and add the following:
import 'package:bloc/bloc.dart';

class TodoBlocObserver extends BlocObserver {
  @override
  void onEvent(Bloc bloc, Object? event) {
    super.onEvent(bloc, event);
    print('onEvent $event');
  }

  @override
  void onChange(BlocBase bloc, Change change) {
    super.onChange(bloc, change);
    print('onChange $change');
  }

  @override
  void onTransition(Bloc bloc, Transition transition) {
    super.onTransition(bloc, transition);
    print('onTransition $transition');
  }

  @override
  void onError(BlocBase bloc, Object error, StackTrace stackTrace) {
    print('onError $error');
    super.onError(bloc, error, stackTrace);
  }
}
So the TodoBlocObserver will extend the class BlocObserver and then we can override the method onEvent which is called whenever an event is added to any bloc with the given bloc and event. onChange which is called whenever a Change occurs in any bloc. onTransition which is called whenever a transition occurs in any bloc with the given bloc and transition. Finally, onError will be called whenever an error occurs inside the bloc.
Adding Cubit to the Application
First create a file called app.dart, this file will contain the parent class that will contain the MaterialApp widget:
class App extends StatelessWidget {
  const App({Key? key}) : super(key: key);

  @override
  Widget build(BuildContext context) {
    return  MaterialApp(
      debugShowCheckedModeBanner: false,
      title: "Bloc Tutorial",
      home: BlocProvider(
        create: (context) => TodoCubit(TodoRepositoryImpl()),
        child: const TodoNameView(),
      ),
    );
  }
}
As you can see here we use the widget called BlocProvider which is part of the flutter_bloc dependency. Internally, flutter_bloc uses provider to implement the following widgets: BlocProvider, MultiBlocProvider, RepositoryProvider and MultiRepositoryProvider.
Therefore if you used provider package before then you can compare the BlocProvider to the ChangeNotifierProvider for example.
In the Bloc package, you would declare the BlocProvider as a top widget, that way any child in the tree widget will be able to access an instance of the cubit by just doing BlocProvider.of(context).
Now, create a folder called features/todo and inside of that folder we will add the view, business logic and the data access layer that are related to the todo feature.
Before adding cubit, I advise you to download this vscode extension which will make it easier when using the bloc dependency. Now create a folder called cubit and create the file todo_state.dart:
part of 'todo_cubit.dart';

@immutable
abstract class TodoState extends Equatable {
    @override
  List<Object> get props => [];
}

class TodoInitial extends TodoState {
}

class TodoLoaded extends TodoState {
  final List<Data> data;
  TodoLoaded({required this.data});
}

class TodoError extends TodoState {
  final String message;
  TodoError({required this.message});
}
TodoState will be the state used in this cubit. Since we only need to display the data then we would have 3 possible states:
- the initial state
- the success/loaded state
- the error/failing state
Now that we defined our state, we can then create the cubit class. Therefore create a file called todo_cubit.dart and add the following:
part 'todo_state.dart';

class TodoCubit extends Cubit<TodoState> {
    final TodoRepository _todoRepository;

  TodoCubit(this._todoRepository) : super(TodoInitial());

  Future<void> getData() async {
    try {
      List<Data> data = await _todoRepository.fetchData();
      emit(TodoLoaded(data: data));
    } on Exception {
      emit(TodoError(message: "Could not fetch the list, please try again later!"));
    }
  }
}
The TodoCubit will extend the class Cubit and we need to provide the state as a type. In this case we add the TodoState as a type. Then the cubit class will have a dependency on the repository class, therefore we pass the abstract type TodoRepository as an argument to the constructor and we pass the initial state which is TodoInitial to the super constructor.
Then to fetch the data, we can create a method called getData() in which we call fetchData() and use the emit() method to update the state.
Creating the Repository class
Now create a file called todo_repository_impl.dart and add the following:
class TodoRepositoryImpl implements TodoRepository {

  TodoService service = TodoService();

  @override
  Future<List<Data>> fetchData() {
    return service.fetchData();
  }

}

abstract class TodoRepository {
  Future<List<Data>> fetchData();
}
Here, we create the TodoRepository abstract class which is used as a dependency in the cubit class. Then we create an implementation class and call the fetchData() inside the service class which will communicate directly with the data provider.
Creating the Service class
Now create a file called todo_service.dart and add the following:
class TodoService {
  Future<List<Data>> fetchData() async {
    http.Response response =
        await http.get(Uri.parse('https://jsonplaceholder.typicode.com/todos'));
    if (response.statusCode == 200) {
      return (jsonDecode(response.body) as List<dynamic>)
          .map((e) => Data.fromJson(e))
          .toList();
    } else {
      throw Exception('Failed to load todos');
    }
  }
}
Here we use the http package to do a GET request to fetch the data from the above url and then we return a List<Data>. The class Data is a custom class that will be used for converting the result from json and to json:
class Data{
  int userId;
  int id;
  String title;
  bool completed;
  Data({required this.userId,required this.id, required this.title, required this.completed});


  Data.fromJson(Map<String, dynamic> json)
      : userId = json['userId'],
        id = json['id'],
        title = json['title'],
        completed = json['completed'];

  Map<String, dynamic> toJson() => {
        'userId': userId,
        'id': id,
        'title' : title,
        'completed' : completed
      };

}
Creating the View class
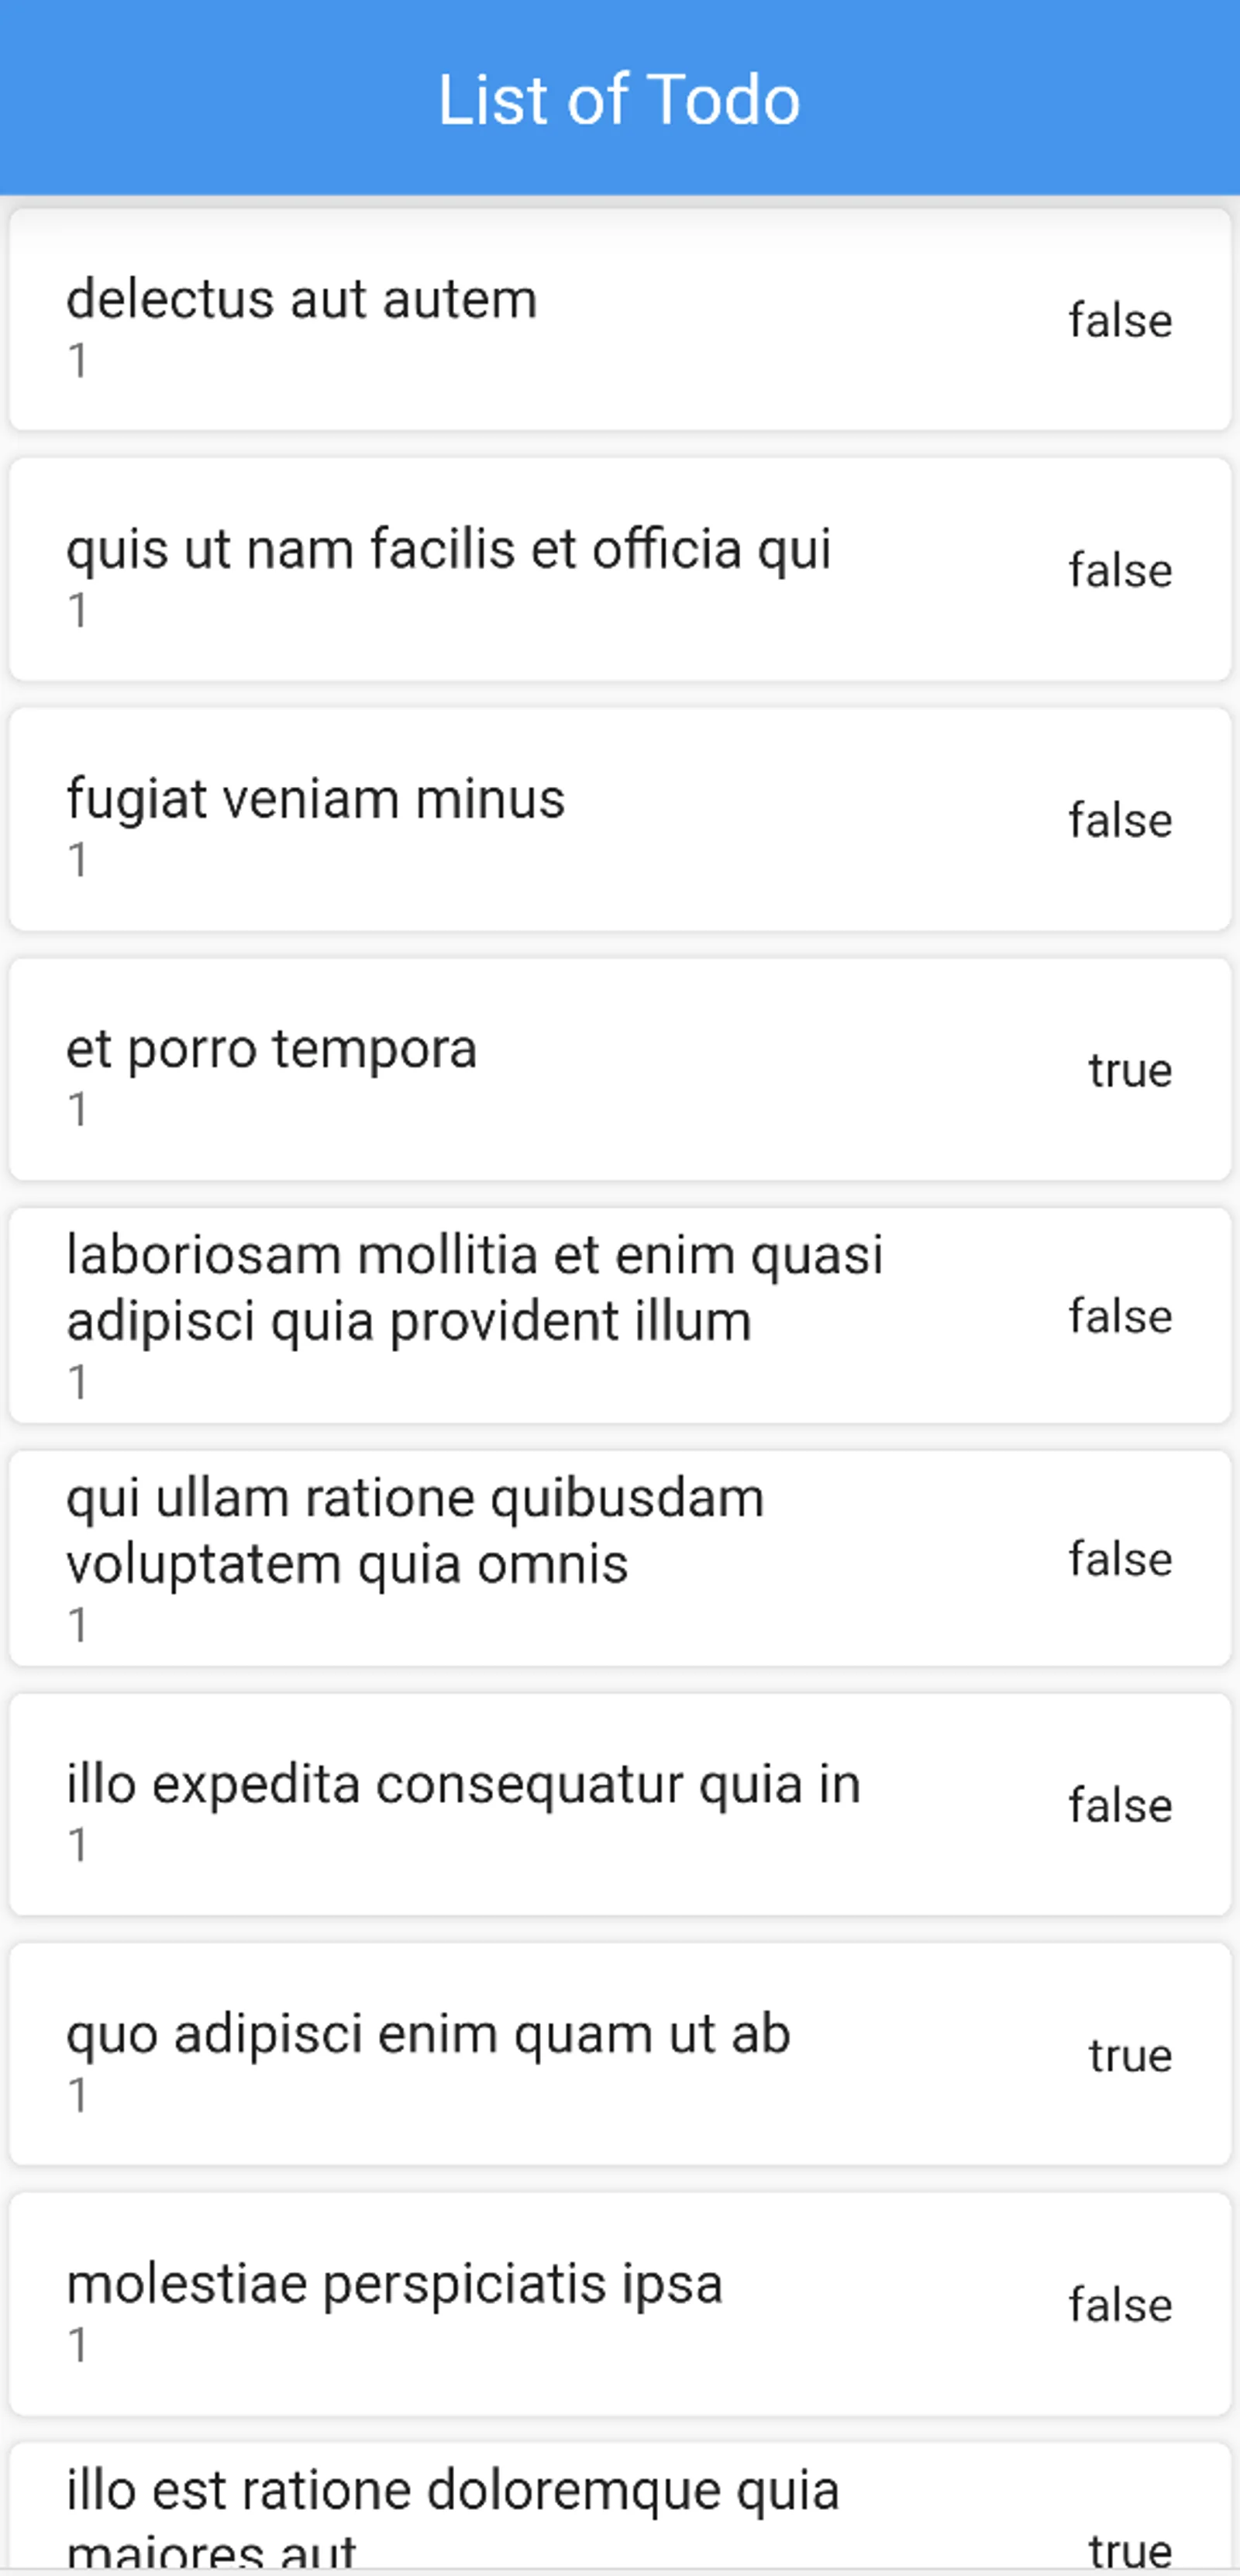
After creating all the other layers, we need to create the UI layer. In the UI layer, we need to use the BlocBuilder widget which will handle building the widgets according to new states. The BlocBuilder widget will take the cubit and the state as a type and then using the builder function we can access the state and the methods inside the cubit. For example, create a todo_view.dart with the following:
class TodoNameView extends StatelessWidget {
  const TodoNameView({Key? key}) : super(key: key);

  @override
  Widget build(BuildContext context) {
    return Scaffold(
      appBar: AppBar(title: const Text("List of Todo"),),
      body: Center(child : BlocBuilder<TodoCubit, TodoState>(
        builder: (context, state) {
          if (state is TodoInitial) {
             context.read<TodoCubit>().getData();
              return showLoader();
            } else if (state is TodoLoaded) {
              return ListView.builder(
                itemCount: state.data.length,
                itemBuilder: (BuildContext context, int index) {
                  return Card(
                    child: ListTile(
                      title: Text(state.data[index].title),
                      subtitle: Text(state.data[index].userId.toString()),
                      trailing: Text(state.data[index].completed.toString()),
                    ),
                  ) ;
                },
              );
            } else {
              return const CircularProgressIndicator();
            }
        },
      )),
    );
  }
    Widget showLoader() {
    return const Center(
      child: CircularProgressIndicator(),
    );
  }
}
So, here using the builder function we check what the state is and change the UI accordingly. If we are still in the initial state hten we show a CircularProgressIndicator and call getData() which will then fetch the data and call the emit() method to update state and eventually the UI will get updated also.
Adding Bloc to the Application
So, we have seen how to add Cubit to the application. We can also easily add Bloc, all we have to do is add Events that will trigger the Bloc.
Therefore create a bloc folder under features/todo and then create a class called todo_event.dart:
part of 'todo_bloc.dart';

@immutable
abstract class TodoEvent extends Equatable {
    @override
  List<Object> get props => [];
}

class TodoFetched extends TodoEvent {}
Then create a file called todo_bloc.dart and add the following:
part 'todo_event.dart';
part 'todo_state.dart';

class TodoBloc extends Bloc<TodoEvent, TodoState> {
  final TodoRepository _todoRepository;
  TodoBloc(this._todoRepository) : super(TodoInitial()) {
    on<TodoEvent>((event, emit) async {
    try {
      List<Data> data = await _todoRepository.fetchData();
      emit(TodoLoaded(data: data));
    } on Exception {
      emit(TodoError(message: "Couldn't fetch the list, please try again later!"));
    }
    });
  }
}
Here, the class TodoBloc has to extend the class Bloc which will take the Event and State as types. Then we pass the repository as arugment and in the super() constructor we pass the initial state. Then we use the method on() which will register event handler for an event of type TodoEvent, and we call emit() to update the state.
Now inside the todo_view.dart you have to change the BlocBuilder type to the following BlocBuilder<TodoBloc, TodoState> and add the event inside the if (state is TodoInitial) { to trigger the EventHandler context.read<TodoBloc>().add(TodoFetched());
Also inside the app.dart, change the BlocProvider to the following:
      home: BlocProvider(
        create: (context) => TodoBloc(TodoRepositoryImpl()),
        child: const TodoNameView(),
      ),
References
I hope you enjoyed reading this flutter/firebase tutorial, please feel free to leave any comments or feedback on this post!