Using Facebook Authentication With Firebase In Flutter

Software Developer | Technical Writer | Actively helping users with their questions on Stack Overflow.
In this article, we will add Firebase Authentication and Facebook Auth login to a Flutter application, which will authenticate a user by logging in using the facebook account and then we will retrieve user information in the home page.
Get Started With Facebook Authentication
This is the ninth article related to Firebase in Flutter, you can check the previous articles in the below links:
- Get Started With Firebase in Flutter
- Using Firebase Queries In Flutter
- Using Firebase Auth In Flutter
- Using Firebase Storage In Flutter
- Using Cloud Firestore In Flutter
- Using Firebase Cloud Messaging In Flutter
- Using Google Sign-in With Firebase In Flutter
- Using Twitter Authentication With Firebase In Flutter
To know how to integrate Firebase with Flutter, you can check the first article in the above list. In the other two articles, I created a form using Flutter performed queries for the realtime database and authenticated users with Firebase, in the cloud firestore article, it was different code snippet related to Firestore and explaining each one. In the last two articles I demonstrated how to use twitter_login, google_sign_in and firebase_auth. This article is aimed for the android phones.
Adding Firebase And Facebook Auth To Flutter
As I said before, to check how to create a flutter project and add Firebase, then please check this article Get Started With Firebase in Flutter. Next, you need to add the following dependency to the pubspec.yaml file:
dependencies:
  cupertino_icons: ^1.0.8
  firebase_auth: ^5.1.4
  firebase_core: ^3.3.0
  flutter:
    sdk: flutter
  flutter_facebook_auth: ^7.1.0
  font_awesome_flutter: ^10.7.0
  google_sign_in: ^6.2.1
  twitter_login: ^4.4.2

dev_dependencies:
  flutter_test:
    sdk: flutter
Click CTRL + S to save, and you have successfully added the above dependencies to your Flutter application!
- This article is a followup to the previous two articles: Using Google Sign-in With Firebase In Flutter, and Using Twitter Authentication With Firebase In Flutter, that’s why
google_sign_inandtwitter_loginis added as a dependency also.
Generate Facebook App ID and Secret Key
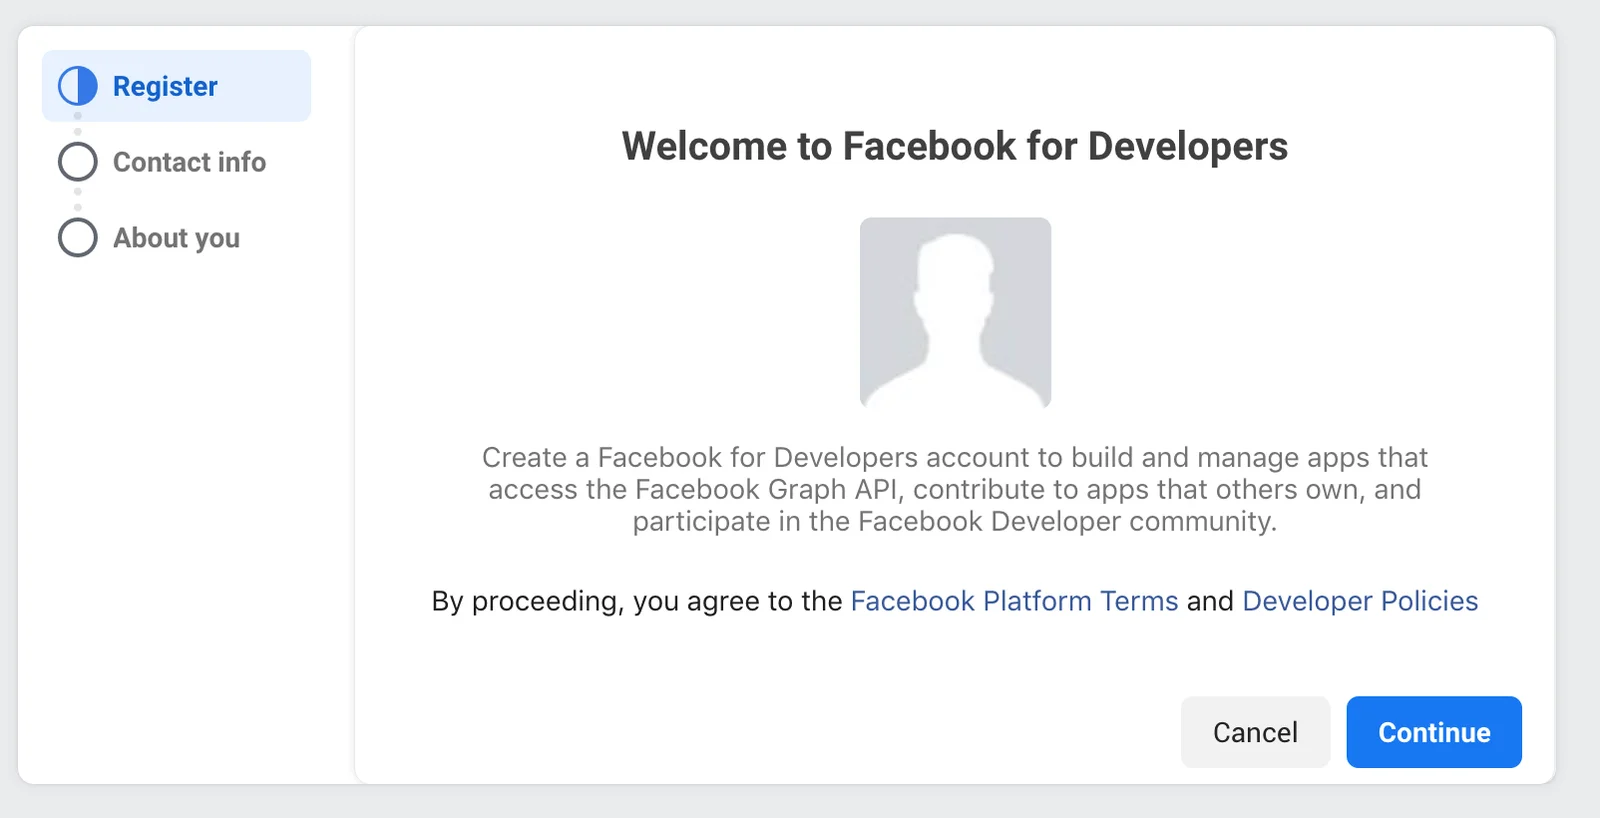
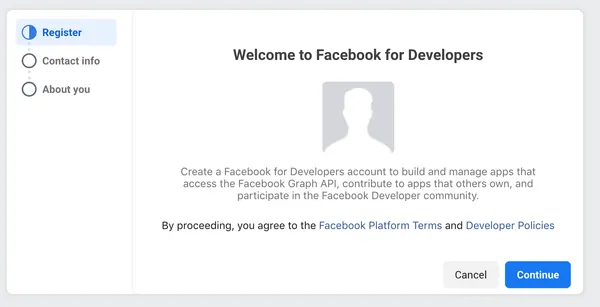
To use facebook authentication in your application, first you need to have a facebook account, and then navigate to Facebook Developer Platform, and click on Register, which will show the following screen:
Follow the steps and choose Developer when asked, which one of these best describes you. Then after registering you can click on Create App and the following screen will be displayed:
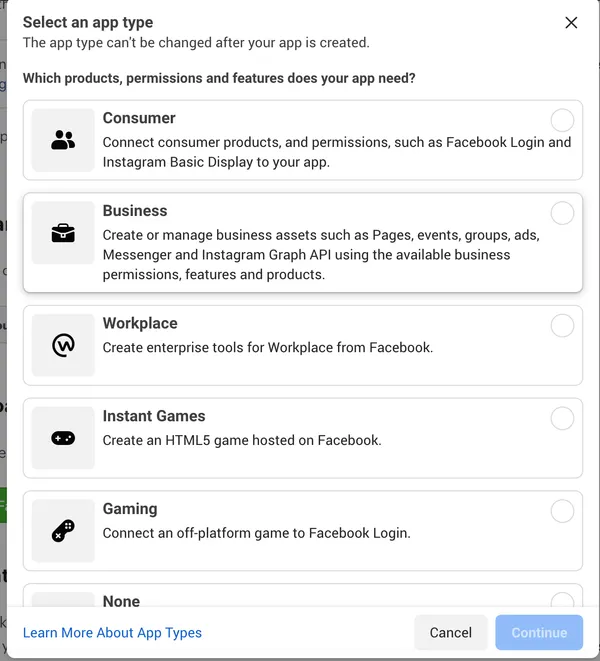
Since we need Facebook login, therefore choose Consumer and click Continue, then add the app name and app contact email:
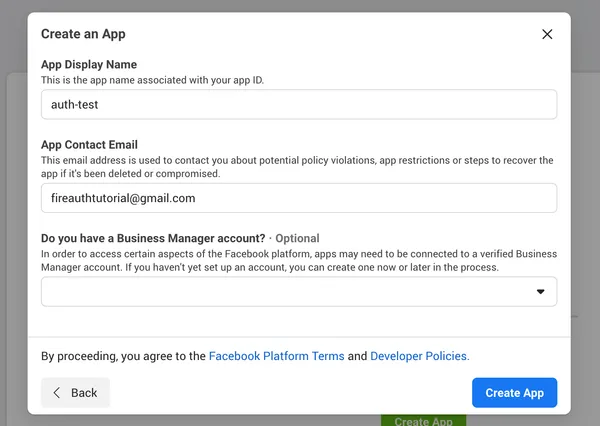
and now you have successfully created an app on the Facebook developer platform!
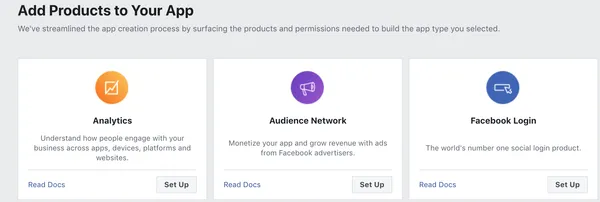
Now, click on Set up under the Facebook Login:
Now choose Android, and basically all you have to do is follow the steps. So first you would get this:
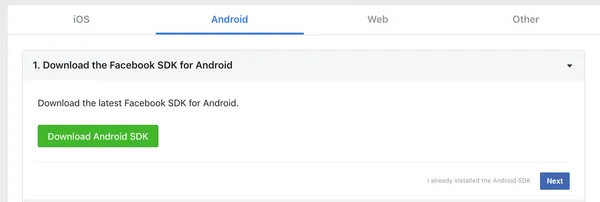
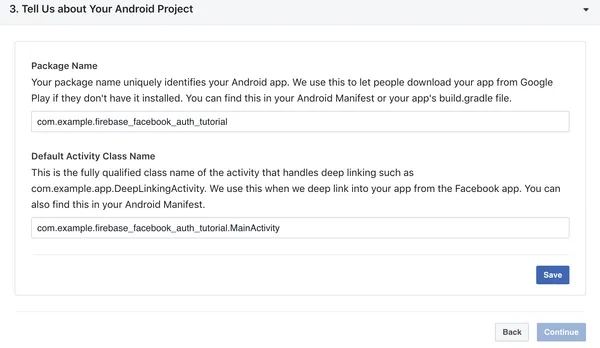
Do not download the sdk, just click next and in the second step also just click next. Then you need to provide the package name and the default activity class name. You can get the package name from the AndroidManifest.xml file and for the class name just add your own package and the MainActivity class:
Then you need to provide the android key hash, you can do that by executing the following command:
keytool -exportcert -alias androiddebugkey -keystore ~/.android/debug.keystore | openssl sha1 -binary | openssl base64This will generate the hash key, if you were asked to provide the keystore password then just write android which is the default password.
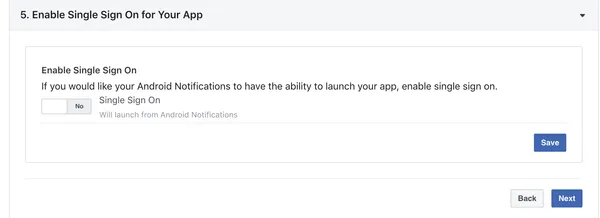
After that, you need to enable single sign on:
Next, you need to edit the manifest file, so just copy the code provided. For example:
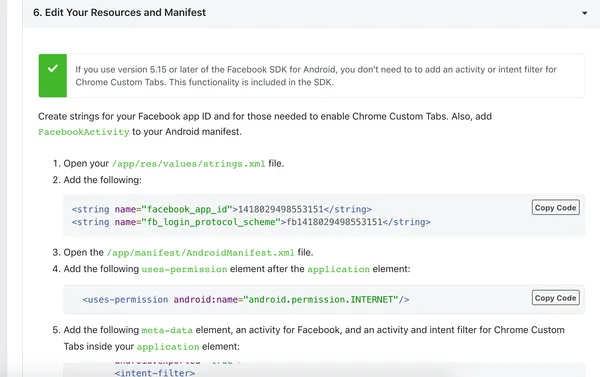
So, first create a strings.xml file under android/app/src/res/values and add the following:
<?xml version="1.0" encoding="utf-8"?>
<resources>
<string name="app_name">Firebase Facebook Auth</string>
<string name="facebook_app_id">1418029498553151</string>
<string name="fb_login_protocol_scheme">fb1418029498553151</string>
</resources>
In your app, you would have a different app id, therefore just copy the code that was given. Then in the manifest file add the internet permission and the meta-data element, an activity for Facebook, and an activity and intent filter for Chrome Custom Tabs inside your application element. For example:
      <uses-permission android:name="android.permission.INTERNET"/>
   <application
        android:label="firebase_facebook_auth_tutorial"
        android:icon="@mipmap/ic_launcher">
        <meta-data android:name="com.facebook.sdk.ApplicationId"
        android:value="@string/facebook_app_id"/>

    <activity android:name="com.facebook.FacebookActivity"
        android:configChanges=
                "keyboard|keyboardHidden|screenLayout|screenSize|orientation"
        android:label="@string/app_name" />
    <activity
        android:name="com.facebook.CustomTabActivity"
        android:exported="true">
        <intent-filter>
            <action android:name="android.intent.action.VIEW" />
            <category android:name="android.intent.category.DEFAULT" />
            <category android:name="android.intent.category.BROWSABLE" />
            <data android:scheme="@string/fb_login_protocol_scheme" />
        </intent-filter>
    </activity>
Enable Facebook Authentication in Firebase
Now before working on the application, you need to navigate to the Firebase console and enable facebook authentication. Therefore navigate to the Authentication tab and then click Sign-in method. You will find multiple providers, but for this tutorial you need to enable the Facebook provider:
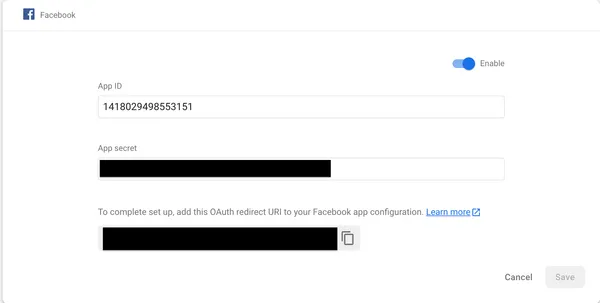
When enabling, you will also be asked to provide both the app ID and the app secret, you can get them both by going to the facebook developer platform then clicking on Settings then Basic. If you want to authenticate using email/password then check this tutorial: Using Firebase Auth In Flutter.
Creating the Facebook Sign in button
The design of this application is based on this dribbble design by Ashlee Mckay. Creating the Facebook button, is the same as creating the Twitter button that was previously explained here.
The only difference is that I added an one more field to the class SignInButton:
class SignInButton extends StatefulWidget {
  final FaIcon faIcon;
  final LoginType loginType;
  final textLabel;

  SignInButton({Key? key, required this.faIcon, required this.loginType,required this.textLabel})
      : super(key: key);
textLabel was added, therefore now in the Text widget you just need to assign the textLabel to the string parameter:
label: Text(
this.widget.textLabel,
style: TextStyle(
    color: Constants.kBlackColor, fontWeight: FontWeight.bold),
),
Then in the sign_in_page.dart, you need to do the following:
SignInButton(
loginType: LoginType.Google,
faIcon: FaIcon(FontAwesomeIcons.google),
textLabel: Constants.textSignInGoogle,
),
SignInButton(
loginType: LoginType.Twitter,
faIcon: FaIcon(FontAwesomeIcons.twitter),
textLabel: Constants.textSignInTwitter,
),
SignInButton(
loginType: LoginType.Facebook,
faIcon: FaIcon(FontAwesomeIcons.facebook),
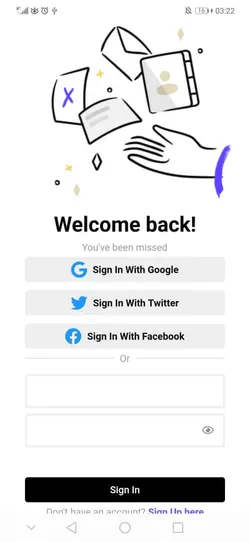
textLabel: Constants.textSignInFacebook),The LoginType is an enum as explained in the previous article:
enum LoginType {
  Google,
  Twitter,
  Facebook
}
The above code will give you the following screen:
Performing Facebook Sign-in
Now navigate to the FirebaseService class and add the following method:
    Future<Resource?> signInWithFacebook() async {
      try {
      final LoginResult result = await FacebookAuth.instance.login();
    switch (result.status) {
      case LoginStatus.success:
        final AuthCredential facebookCredential =
            FacebookAuthProvider.credential(result.accessToken!.token);
        final userCredential =
            await _auth.signInWithCredential(facebookCredential);
        return Resource(status: Status.Success);
      case LoginStatus.cancelled:
        return Resource(status: Status.Cancelled);
      case LoginStatus.failed:
        return Resource(status: Status.Error);
      default:
        return null;
      }
      } on FirebaseAuthException catch (e) {
      throw e;
    }
  }
As you can see, here we call the method FacebookAuth.instance.login(), it will open the facebook authentication page. If the user clicks on Continue, then they will be able to login:
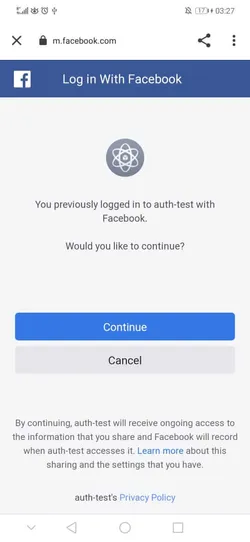
The Resource that is returned in the above method is a custom class created to return if the status of the facebook authentication process:
class Resource{

   final Status status;
  Resource({required this.status});
}

enum Status {
  Success,
  Error,
  Cancelled
}
Link Multiple Auth Providers
Since one user may login using different auth providers, then you will get the following error:
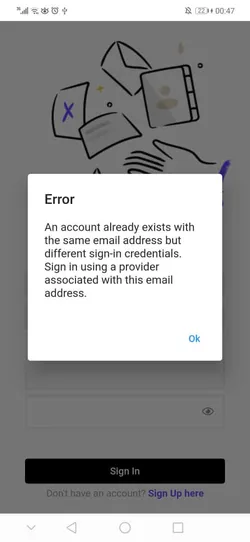
To see how to handle this then check the previous article.
The only addition to the previous article is that now we check if the sign in methods contain twitter.com:
if (e.code == 'account-exists-with-different-credential') {
List<String> emailList = await FirebaseAuth.instance
    .fetchSignInMethodsForEmail(e.email!);
if (emailList.first == "google.com" || emailList.first == "twitter.com") {
    await this.service.signInwithGoogle(true, e.credential);
            Navigator.pushNamedAndRemoveUntil(
context, Constants.homeNavigate, (route) => false);
}
}
Regarding the home page, check Retrieve User Information
I hope you enjoyed reading this flutter tutorial, please feel free to leave any comments or feedback on this post!