Sending Emails In Flutter

Software Developer | Technical Writer | Actively helping users with their questions on Stack Overflow.
In this article, we will use the flutter_email_sender plugin which will enable us to choose from different email provider applications and then send email from the Flutter application.
Creating a Flutter Project
You can check other Flutter articles that use null safety in the below links:
- Using Null Safety in Dart
- Using Shared Preferences in Flutter
- Using SQLite in Flutter
- Using Floor Plugin in Flutter
First we need to create a Flutter project, after following the documentation and installing the Flutter SDK. You can then open vscode or android studio and execute in the terminal the following command:
flutter create email_tutorialAdding The Email Plugin to Flutter
To be able to send emails from the Flutter application, you need to add the following plugin flutter_email_sender. Therefore navigate to the pubspec.yaml file and add the following:
dependencies:
  cupertino_icons: ^1.0.8
  flutter:
    sdk: flutter
  flutter_email_sender: ^6.0.3
Now you can start using flutter_email_sender in the Flutter project! In the following sections we will create a form and then send emails using this plugin.
Creating A Form
To be able to send an email, we need to specify the subject, recipient, and the message. Therefore we can use the Form widget in Flutter which will group multiple TextFormFields widgets. First navigate to the main.dart file and delete all the comments, change the title of the application to Email Tutorial and create a class called FeedBackPage that will extend StatefulWidget:
class MyApp extends StatelessWidget {
  @override
  Widget build(BuildContext context) {
    return MaterialApp(
      debugShowCheckedModeBanner: false,
      title: 'Email Tutorial',
      theme: ThemeData(
        primarySwatch: Colors.blue,
      ),
      home: FeedBackPage(title: 'Feedback'),
    );
  }
}
Now inside the class FeedBackPage override the method createState() which will return a value of type State, for example:
class FeedBackPage extends StatefulWidget {
  FeedBackPage({Key? key, this.title}) : super(key: key);

  final String? title;

  @override
  _FeedBackPageState createState() => _FeedBackPageState();
}
As you can see here we created a class called _FeedBackPageState which extends State<FeedBackPage>, that’s why we are able to return it in createState(). Now under the class declaration of _FeedBackPageState you need to declare the following instance variables:
  final _formKey = GlobalKey<FormState>();
  bool _enableBtn = false;
  TextEditingController emailController = TextEditingController();
  TextEditingController subjectController = TextEditingController();
  TextEditingController messageController = TextEditingController();
The _formKey which is of type GlobalKey<FormState> will be assigned to the property key in the form. We use the _formKey to be able to reset, save or validate every form field inside the form. The _enableBtn will be used as a flag to disable or enable the submit button, and the other three TextEditingController will be used to be able to extract the text from each field.
Since we have three TextFormFields and all three should be the same design, then to avoid writing the same code over and over again, we can create a folder called components and inside of it create a dart file called text_fields.dart, which will contain the following:
import 'package:flutter/material.dart';

class TextFields extends StatelessWidget {
  final TextEditingController controller;
  final String name;
  final String? Function(String?)? validator;
  final int? maxLines;
  final TextInputType? type;

  TextFields({required this.controller, required this.name, required this.validator,this.maxLines,this.type});
  @override
  Widget build(BuildContext context) {
    OutlineInputBorder border = OutlineInputBorder(borderRadius: BorderRadius.circular(40.0),borderSide: BorderSide.none);
    return  Padding(
        padding: EdgeInsets.all(20.0),
        child: TextFormField(
          autovalidateMode: AutovalidateMode.onUserInteraction,
           keyboardType: type,
          maxLines: maxLines,
          controller: controller,
          decoration: InputDecoration(
            border: InputBorder.none,
            fillColor: Colors.grey[300],
            filled: true,
            labelText: name,
            focusedErrorBorder: border,
            focusedBorder: border,
            enabledBorder: border,
            errorBorder: border,
          ),
          // The validator receives the text that the user has entered.
          validator: validator,
        ),
    );
  }
}
The above TextFields() class contains instance variables of type TextEditingController, String and the callback. All those three variables are required and passed to the constructor, therefore when we create an instance of TextFields() we need to pass each individual controller, it’s name, and the different validation for each field. We also use the OutlineInputBorder to obtain rounded corners for the field. Now navigate back to the main.dart file and add the following under the build() method:
@override
Widget build(BuildContext context) {
return Scaffold(
appBar: AppBar(
title: Text(widget.title!),
),
body: Form(
key: _formKey,
onChanged: (() {
setState(() {
_enableBtn = _formKey.currentState!.validate();
});
}),
child: SingleChildScrollView(
child: Column(
crossAxisAlignment: CrossAxisAlignment.stretch,
children: <Widget>[
TextFields(
controller: subjectController,
name: "Subject",
validator: ((value) {
if (value!.isEmpty) {
return 'Name is required';
}
return null;
})),
TextFields(
controller: emailController,
name: "Email",
validator: ((value) {
if (value!.isEmpty) {
return 'Email is required';
} else if (!value.contains('@')) {
return 'Please enter a valid email address';
}
return null;
})),
TextFields(
controller: messageController,
name: "Message",
validator: ((value) {
if (value!.isEmpty) {
setState(() {
_enableBtn = true;
});
return 'Message is required';
}
return null;
}),
maxLines: null,
type: TextInputType.multiline),
Padding(
padding: EdgeInsets.all(20.0),
child: ElevatedButton(
style: ButtonStyle(
backgroundColor:
WidgetStateProperty.resolveWith<Color>(
(Set<WidgetState> states) {
if (states.contains(WidgetState.pressed))
return Theme.of(context)
.colorScheme
.primary
.withOpacity(0.5);
else if (states.contains(WidgetState.disabled))
return Colors.grey;
return Colors.blue; // Use the component's default.
},
),
shape:
WidgetStateProperty.all<RoundedRectangleBorder>(
RoundedRectangleBorder(
borderRadius: BorderRadius.circular(40.0),
))),
onPressed: _enableBtn
? (() async {
final Email email = Email(
body: messageController.text,
subject: subjectController.text,
recipients: [emailController.text],
isHTML: false,
);
await FlutterEmailSender.send(email);
})
: null,
child: Text('Submit'),
)),
],
),
),
),
);
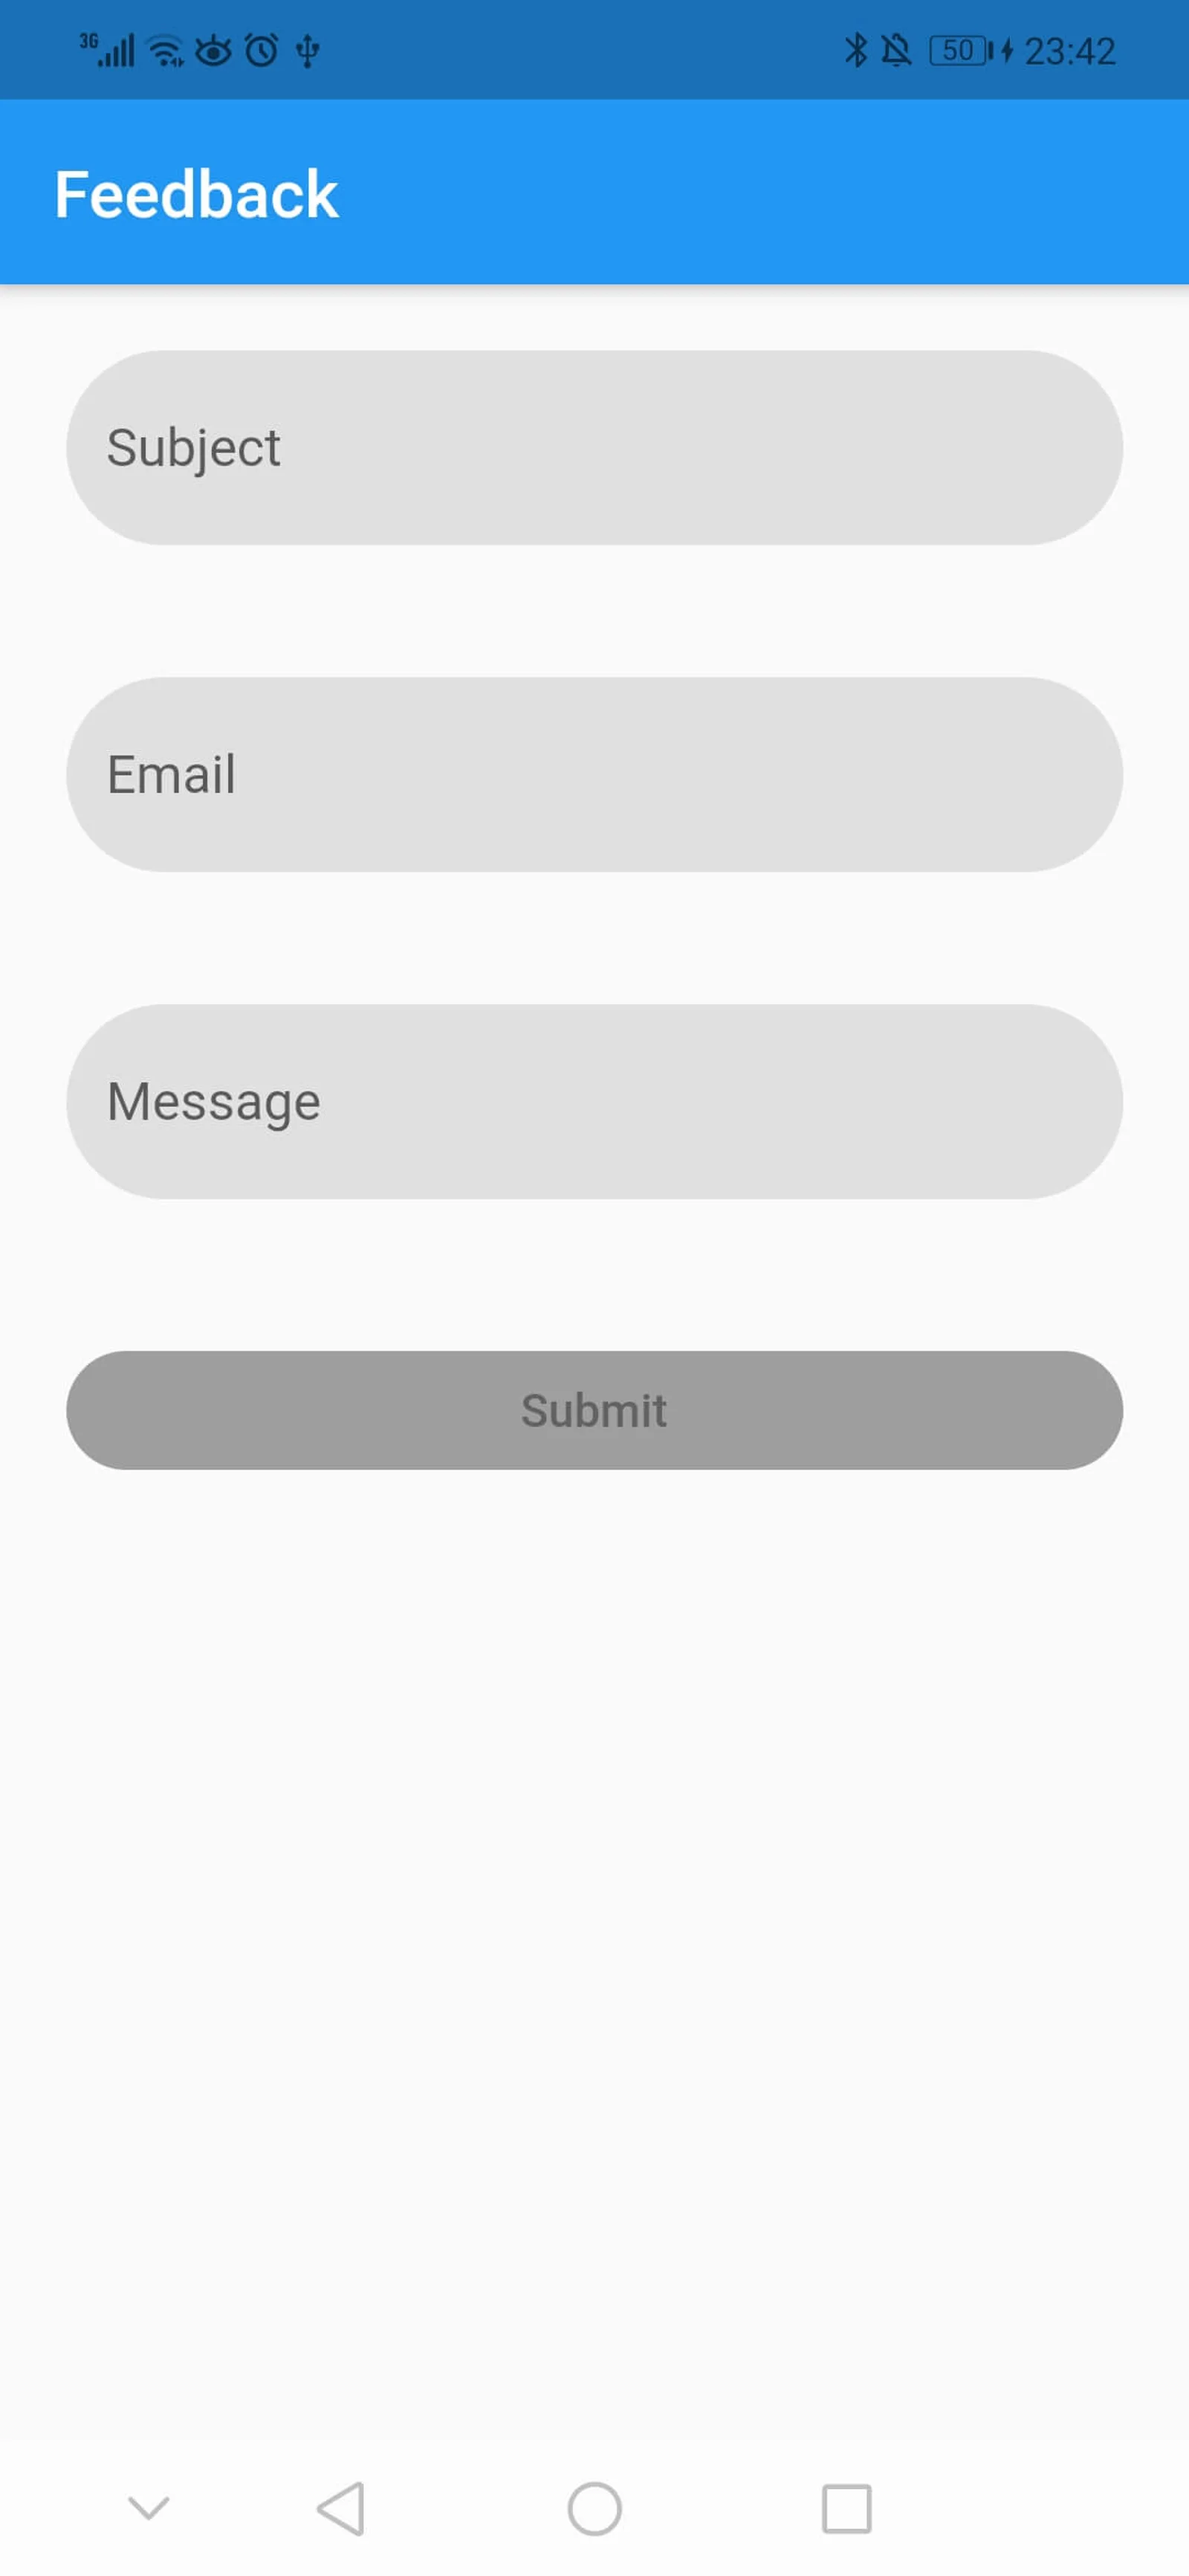
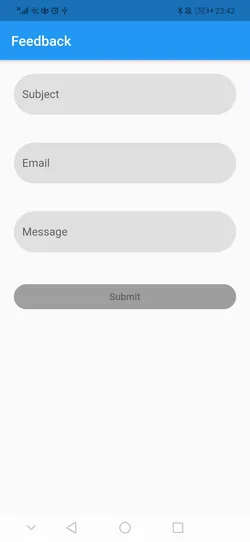
}So first we assign _formKey to the key property, then we use the onChanged() which will be called when one of the form fields changes, inside of the callback function we check if the form is valid, assign the result to _enableBtn, and then call setState() with the new value of _enableBtn. Then we use the Column widget, we create three instance of the custom class TextFields(), and add them as children to the widget Column. We will have the following UI screen:
Regarding the button we used the following style:
style: ButtonStyle(
backgroundColor:
WidgetStateProperty.resolveWith<Color>(
(Set<WidgetState> states) {
if (states.contains(WidgetState.pressed))
return Theme.of(context)
.colorScheme
.primary
.withOpacity(0.5);
else if (states.contains(WidgetState.disabled))
return Colors.grey;
return Colors.blue; // Use the component's default.
},
),
shape:
WidgetStateProperty.all<RoundedRectangleBorder>(
RoundedRectangleBorder(
borderRadius: BorderRadius.circular(40.0),
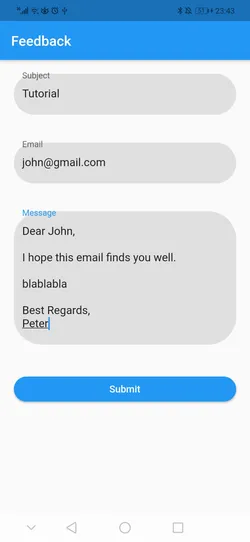
))),As you can see if the button is disabled then we use the color grey and if the button is pressed then we use the primary color which is blue in this case. For example when we fill the data we will get the following screen:
Sending Email In Flutter
If you check the onPressed property in the button, you will find the following:
onPressed: _enableBtn
? (() async {
final Email email = Email(
body: messageController.text,
subject: subjectController.text,
recipients: [emailController.text],
isHTML: false,
);
await FlutterEmailSender.send(email);
})
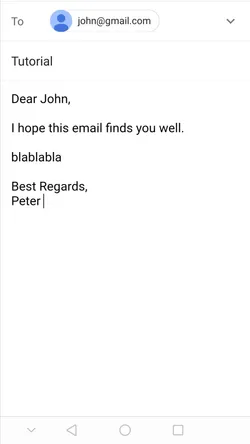
: null,So here we first check if _enableBtn is true then call the callback function, if it is false then the button will be disabled. So inside the callback function, we create an instance of Email class and pass the text value of each controller then we call FlutterEmailSender.send(email) which will open an application chooser and then send the data to the email application. For example
Also inside the _FeedBackPageState don’t forget to override the dispose() method so you can discard the controllers since they are no longer needed, this will free resources that are being used by this object.
  @override
  void dispose() {
    super.dispose();
    emailController.dispose();
    subjectController.dispose();
    messageController.dispose();
  }
I hope you enjoyed reading this flutter tutorial, please feel free to leave any comments or feedback on this post!