Navigating In Flutter

Software Developer | Technical Writer | Actively helping users with their questions on Stack Overflow.
If you check any application on your device, then you will notice that every application has multiple screens. In this article we will see how we can navigate to different screens using Flutter.
Creating a Flutter Project
You can check other Flutter articles that use null safety in the below links:
- Using Null Safety in Dart
- Using Shared Preferences in Flutter
- Using SQLite in Flutter
- Using Floor Plugin in Flutter
- Sending Emails in Flutter
First we need to create a Flutter project, after following the documentation and installing the Flutter SDK. You can then open vscode or android studio and execute in the terminal the following command:
flutter create email_tutorialAlso I’m using latest Flutter version 2.0 with null safety enabled, you can enable null safety by executing:
dart migrate --apply-changesAnonymous Routes
Flutter offers multiple ways to achieve navigation, in this section we will learn how to use anonymous routes. First in a Flutter application, every screen is also called a routes. Therefore navigate to the main.dart file and add the following:
body: Center(
    child: Column(
        mainAxisAlignment: MainAxisAlignment.center,
        crossAxisAlignment: CrossAxisAlignment.center,
        children: [
    ElevatedButton(
        child: Text("Navigate to Second Page"),
        onPressed: (() async {
            result = await Navigator.push(
            context,
            MaterialPageRoute(
                builder: (context) => SecondPage(page: "second page")),
        );
        setState(() {});
        }),
    ),
    Text(result ?? "")
    ])),
As you can see here, we use Navigator.push() to be able to navigate to the other route. The Navigator class is responsible for handling navigation in which each screen will be added on top of each other. In the above code, the push() method takes a value of type BuildContext as an argument, and an object of type Route, in this case we use MaterialPageRoute which will add a material design transition to the application. The MaterialPageRoute contains a builder property which is of type WidgetBuilder. The WidgetBuilder is a typedef with the following signature:
typedef WidgetBuilder = Widget Function(BuildContext context);Which basically means that the WidgetBuilder is also known as a Function that takes a BuildContext as an argument and returns a Widget. The context that is passed as an argument in the builder function will reference the new route which is in this case SecondPage().
Using the above code, you will get an error under SecondPage() since it wasn’t created. Therefore create a new file, call it second_page.dart, and add the following:
class SecondPage extends StatefulWidget {
  final String page;
  SecondPage({required this.page});
  @override
  _SecondPageState createState() => _SecondPageState();
}
Here we create a class that extends StatefulWidget, then we create the State class:
class _SecondPageState extends State<SecondPage> {
@override
Widget build(BuildContext context) {
return Scaffold(
appBar: AppBar(
title: Text("Second Page"),
),
body: Center(
child: Column(
mainAxisAlignment: MainAxisAlignment.center,
crossAxisAlignment: CrossAxisAlignment.center,
children: [
ElevatedButton(
child: Text("go back!"),
onPressed: (() {
Navigator.pop(context,"first page");
}),
),
Text(widget.page)
]),
),
);
}
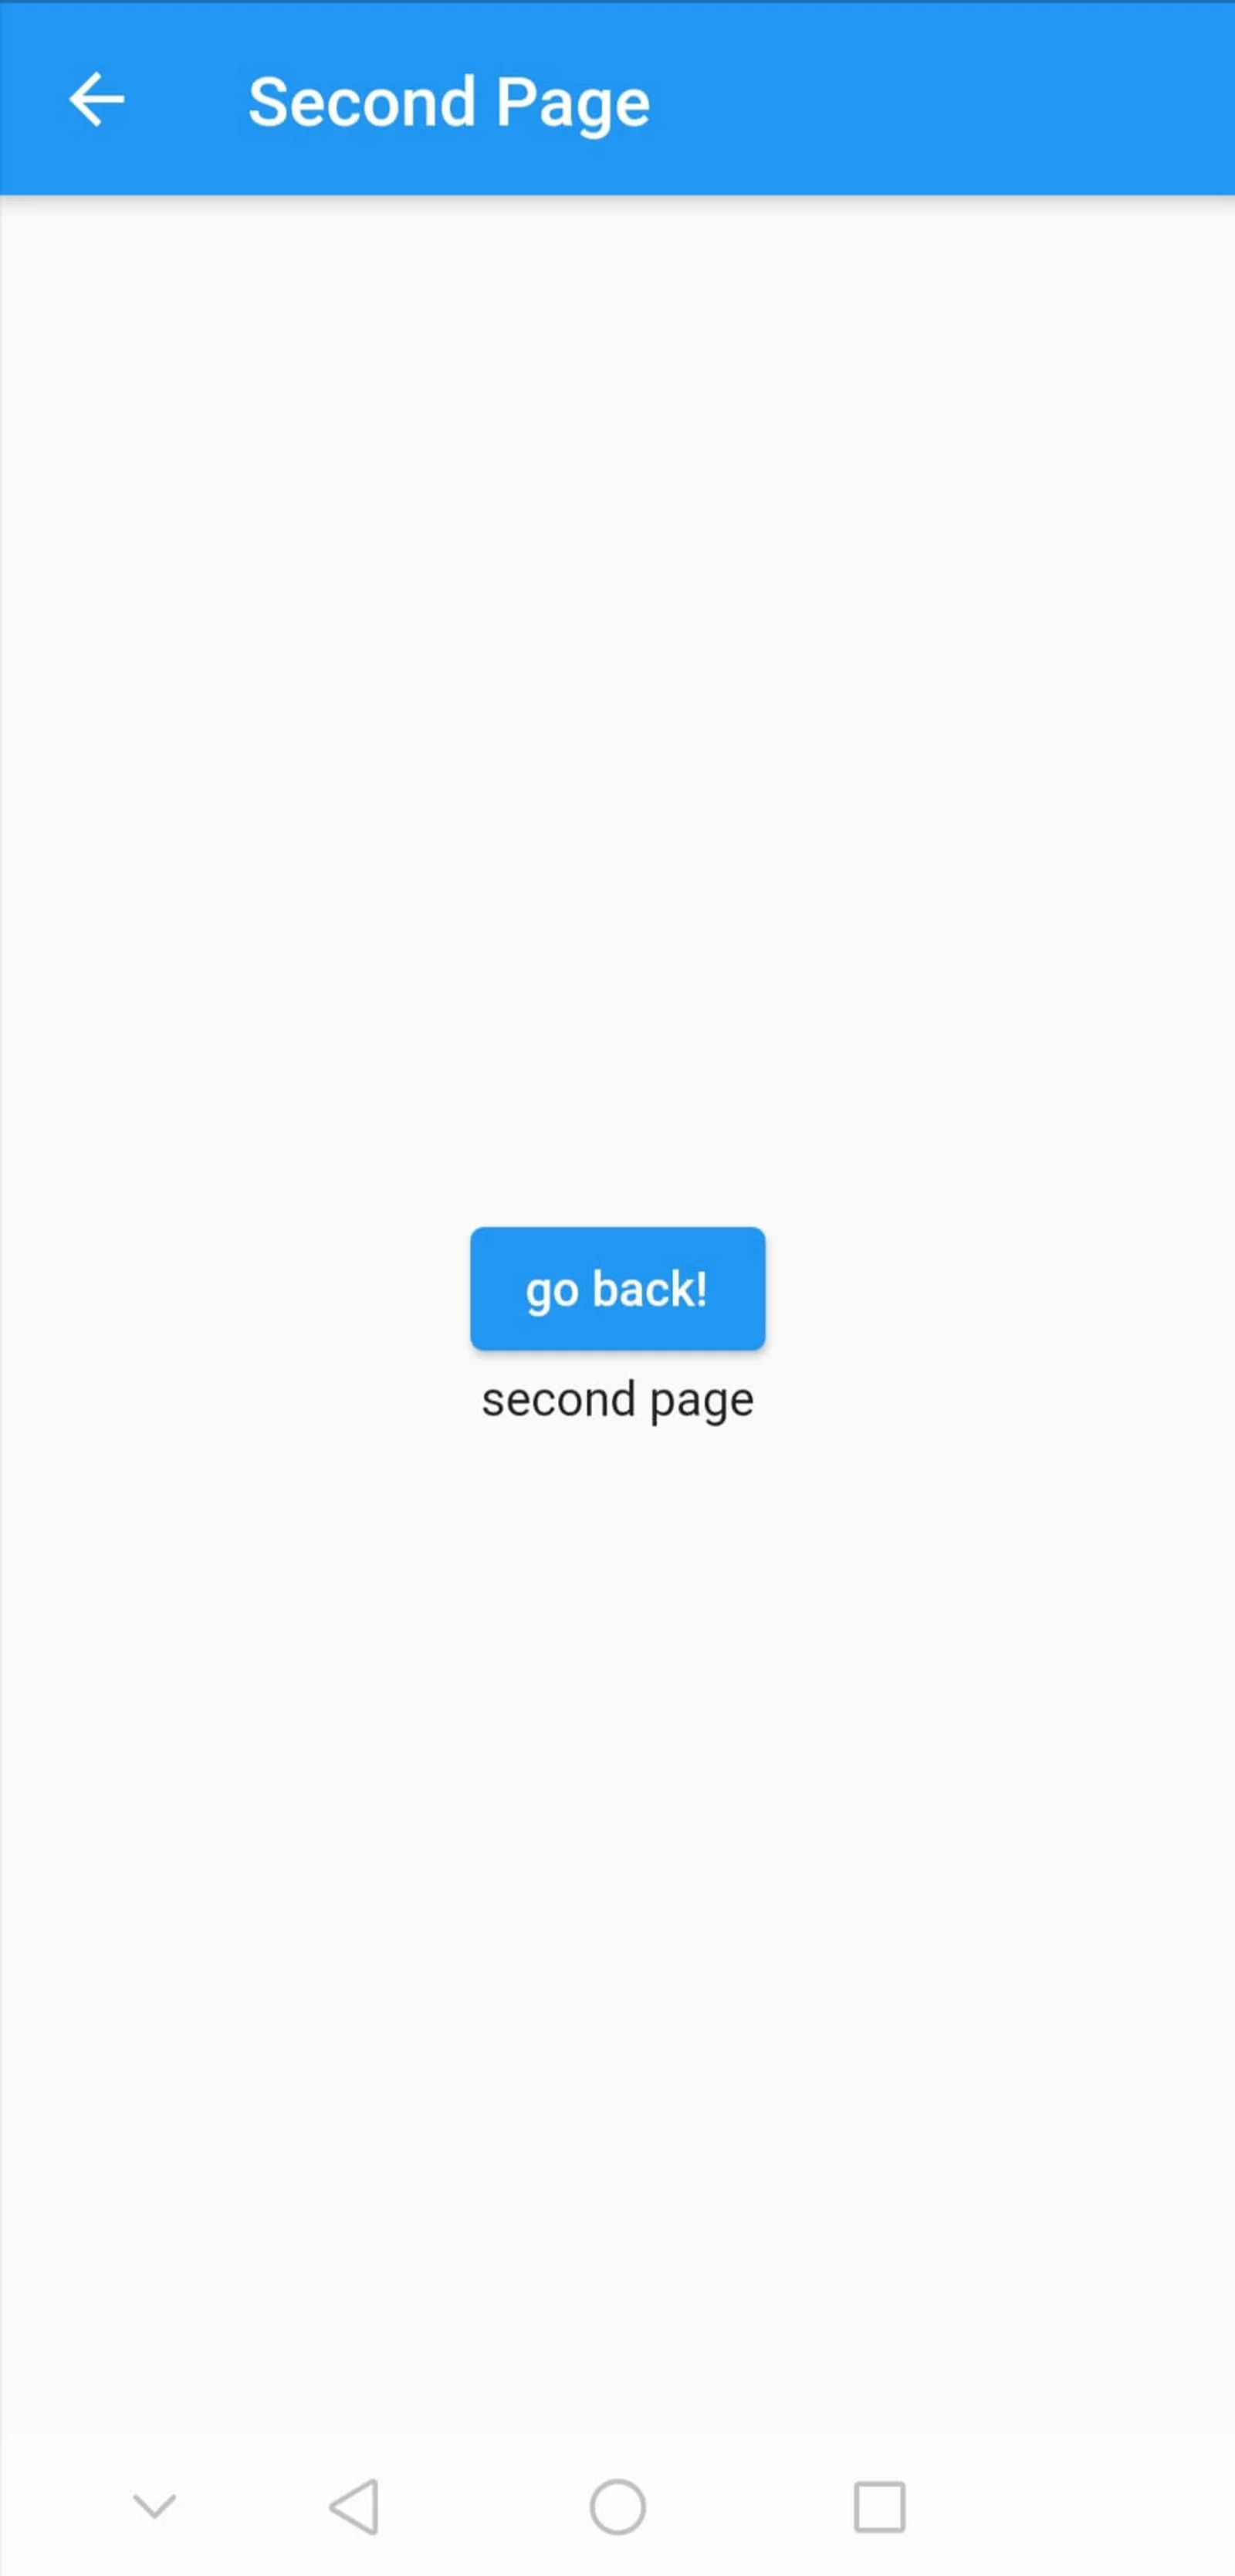
}Using the ElevatedButton you can create a button on the screen, then using onPressed event we can navigate back to the first screen. As you can see we use the Navigator class and call the pop() method to remove this screen from the stack and go back to the previous screen.
Sending Data To Another Screen
Using anonymous routes, you can send data to another screen by creating different fields inside the class, for example in our previous code we have the following:
Navigator.push(
            context,
            MaterialPageRoute(
                builder: (context) => SecondPage(page: "second page")),
        );
Here the SecondPage() class contains an instance variable page of type String, therefore we can send "second page" to the other screen.
Returning Data From Another Screen
If you come from an android native background, then to return data we used onActivityResult(). In Flutter it is very simple, the Navigator.pop(context,"first page"); takes as an optional second argument which will be returned to the previous screen. To recieve the result in the first screen you need to do the following:
    onPressed: (() async {
       result = await Navigator.push(
        context,
        MaterialPageRoute(
          builder: (context) => SecondPage(page: "second page")),
       );
       setState(() {});
        }),
      ),
      Text(result ?? "")
Here we use async/await since the push() method is asynchronous, after retrieving the result we call setState() to rebuild the widget tree with the new value of result.
You will have the following result:

Named Routes
Another way is to use named routes, in this way all the routes will be in one place, for example:
class MyApp extends StatelessWidget {
  @override
  Widget build(BuildContext context) {
    return MaterialApp(
      initialRoute: '/',
      routes: {
        '/': (context) => MyHomePage(),
        '/named-route': (context) => NamedRoutePage(),
      },
      onGenerateRoute: (settings){
        if(settings.name == "/generate-route"){
          final String arguments = settings.arguments as String;
          return MaterialPageRoute(builder: (context) => GenerateRoutePage(value: arguments));
        }
      },
      debugShowCheckedModeBanner: false,
      title: 'Navigation Tutorial',
      theme: ThemeData(
        primarySwatch: Colors.blue,
      ),
    );
  }
}
The initialRoute property which takes a String will be the first route the app navigates to, which is in this case MyHomePage(). The routes property which is of type final Map<String, WidgetBuilder>? takes a String as key and signature of WidgetBuilder (explained before) as a value. Then to navigate to another screen you can use pushNamed() method:
ElevatedButton(
  child: Text("Navigate to Named Route"),
  onPressed: (() {
    Navigator.pushNamed(context, "/named-route", arguments: "Named Route Page");
  }),
),
which takes the route name as a second argument. To navigate back, you can still use Navigator.pop() same as previous way.
Sending Data To Another Screen
When using named routes, to send data to another screen then you can use the arguments property which is of type Object for example:
onPressed: (() {
    Navigator.pushNamed(context, "/named-route", arguments: "Named Route Page");
  }),
Here we are sending a String to the next screen. Then we can get the argument by using ModalRoute.of() in the named route screen:
@override
  Widget build(BuildContext context) {
    final String arguments = ModalRoute.of(context)!.settings.arguments as String;

    return Scaffold(
        appBar: AppBar(
        title: Text("Named Route Page"),
      ),
       body: Center(
        child: Column(
            mainAxisAlignment: MainAxisAlignment.center,
            crossAxisAlignment: CrossAxisAlignment.center,
            children: [
              ElevatedButton(
                child: Text("go back!"),
                onPressed: (() {
                  Navigator.pop(context,"first page");
                }),
              ),
              Text(arguments)
            ]),
      ),
    );
  }
Since arugments is of type Object, therefore we use the as keyword to cast it to String.
OnGenerate Route
The last way to navigate is onGenerateRoute. It basically uses named routes but instead of extracting arguments after reaching the page, it sends the arguments in the constructor of the page for example:
onGenerateRoute: (settings){
  if(settings.name == "/generate-route"){
    final String arguments = settings.arguments as String;
    return MaterialPageRoute(builder: (context) => GenerateRoutePage(value: arguments));
  }
},
Here we check if the route name is /generate-route and then take the arguments and send them in the constructor of GenerateRoutePage(). The arguments will be passed in the pushNamed():
 ElevatedButton(
      child: Text("Navigate to Generated Route"),
      onPressed: (() {
        Navigator.pushNamed(context, "/generate-route", arguments: "Generate Route");
      }),
    ),
This is much better than routes property since you can add conditions before navigating to the page.
I hope you enjoyed reading this flutter tutorial, please feel free to leave any comments or feedback on this post!